


A Beginners’ Guide to Film Photography in 2018
Film cameras seem quite simple in comparison to modern digital cameras, but there are still quite a few things that you need to consider when you load-up a roll. Here’s our beginners’ guide to film photography to get you started:
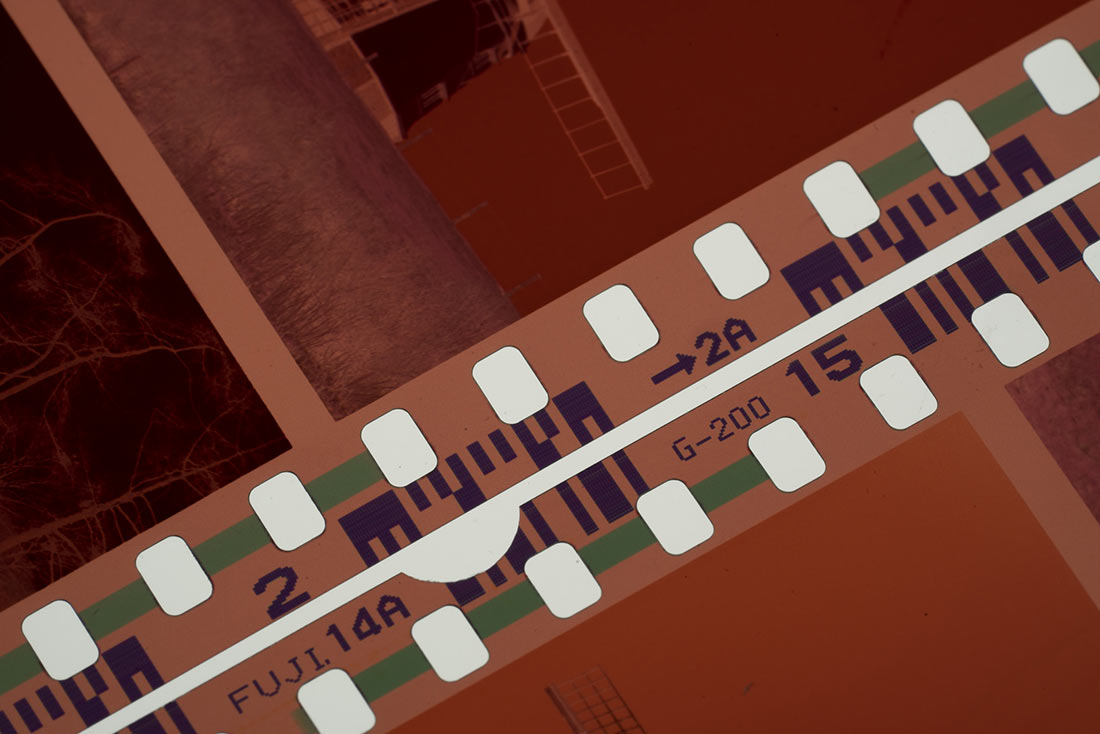
1. Pick the speed
With digital cameras you can swap and change the sensitivity at the drop of a hat. It’s not quite so easy with film. This means that you need to think about the conditions that you’re going to encounter before you start shooting. If you’re out on a bright sunny day, or you’re shooting landscapes with your camera on a tripod, ISO 100 or slower film is perfect. It will give you top-notch results with minimal grain.
If the weather is overcast you may need something a bit faster, ISO 400 for example. In gloomy conditions you may have to opt for faster film with an ISO rating of 1600 or 3200, but this will result in more visible grain.
If you’re not sure, ISO 400 or 800 is a good option.
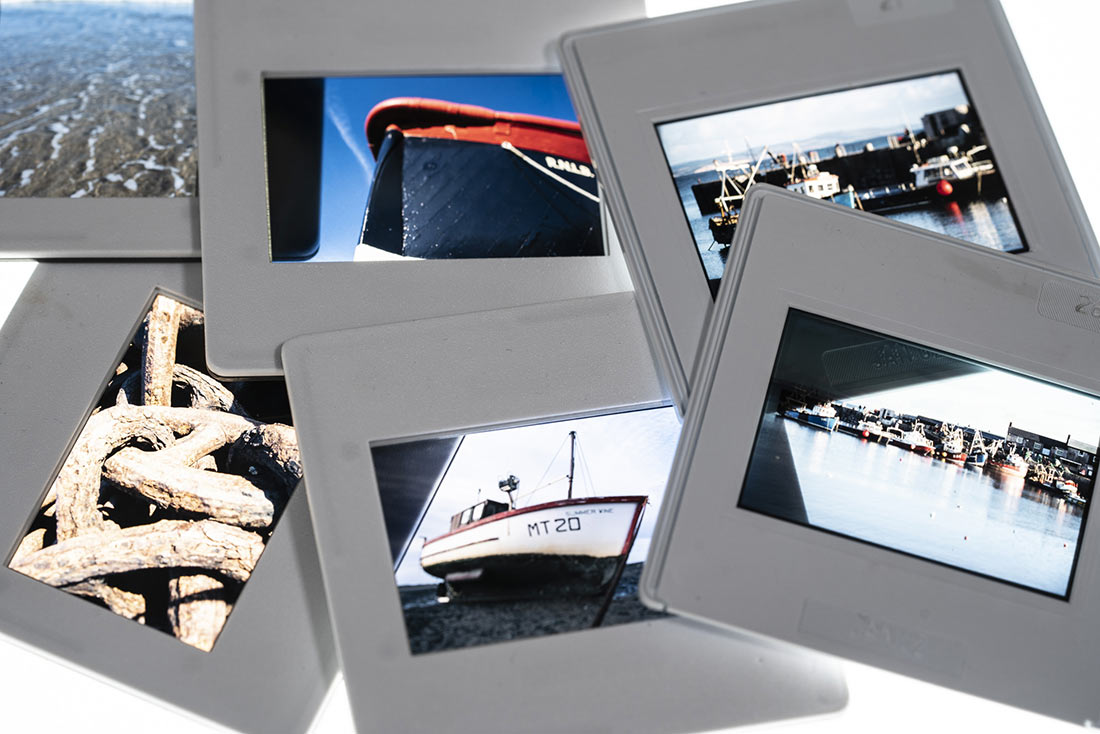
2. Colour or Black and White?
This is another decision that you need to make at the outset. Do you want to produce colour or monochrome images? If you opt for colour, you also have the choice of negative/print film or transparency/slide film. As a rule it’s easier to create digital images from slide film as it doesn’t have the brown base colour of negatives, but you can always scan or copy prints to get around that issue.
Slide film is generally considered to produce better quality results, but negative film is more forgiving and you can have prints made when it’s processed.
If you still have an enlarger and want to get back into the darkroom, black and white film is the way to go.
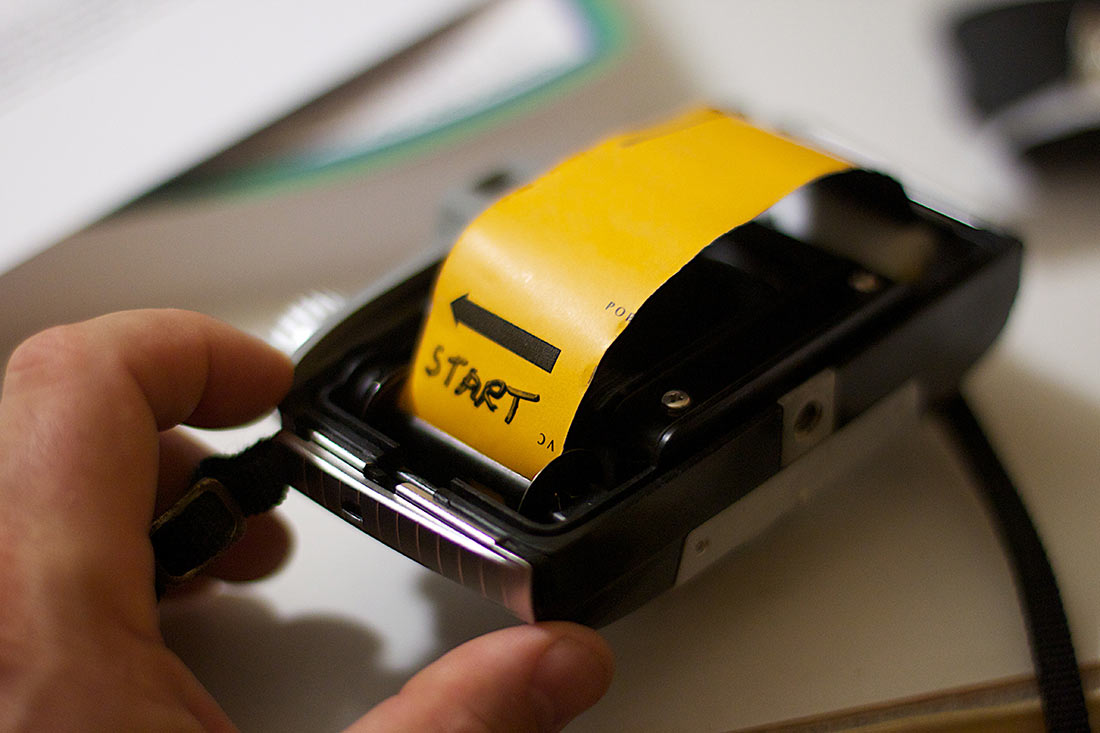
3. Load the Film
Loading film into a 35mm camera might have once been automatic for you, and just like riding a bike, it will come back to you very quickly. In the meantime, here’s a quick reminder: open the camera, pull the film a little way out and drop the cassette into position. Then feed the film across the plate and into the take-up spool, ensuring that the sprocket holes line-up with the teeth.
Next, close the camera and either wind-on the film to the first frame, or switch on the camera so that the automatic film advance does the job.
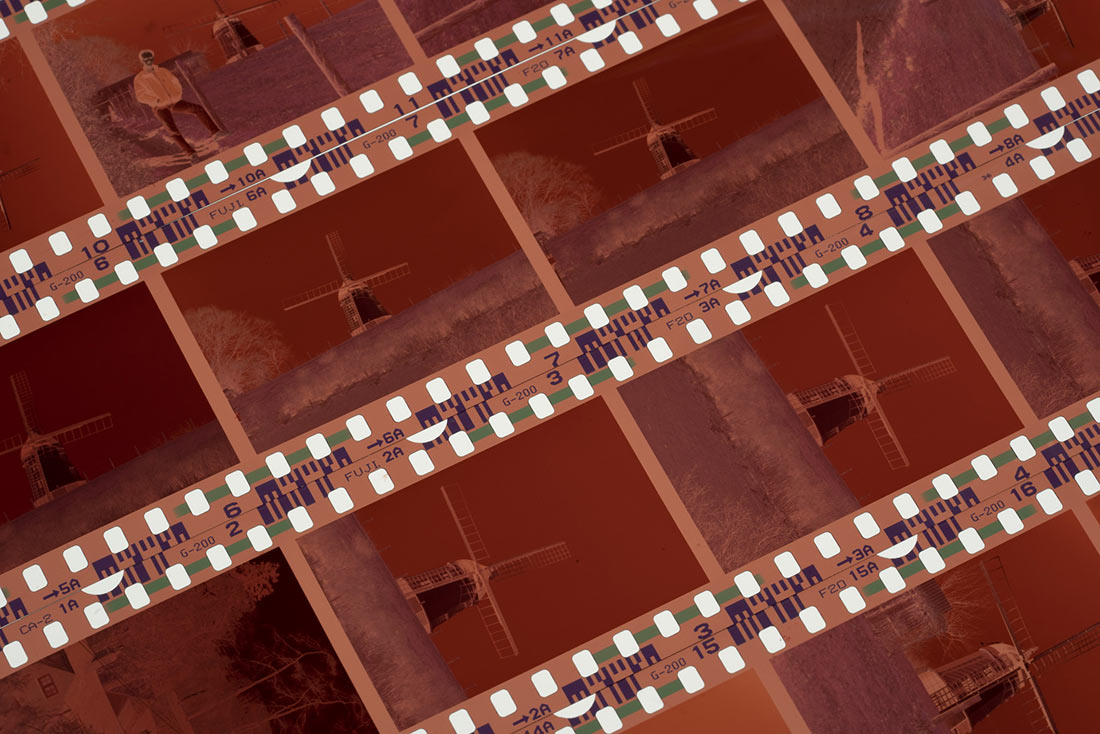
4. Each Frame Counts
Digital photography has got many photographers into the habit of shooting lots of images, but there are a finite number of shots that you can squeeze onto a roll of film. With a 35mm camera you’ll typically get 24 or 36 shots on a roll. This means that you need to consider the exposure and composition more carefully than you might with a digital camera before you press the shutter release.
In tricky lighting you might want to bracket the exposure, shooting images with more or less exposure than the camera suggests, but that eats-up the film quickly so if you can, it’s better to get it right first time.
5. Think about the light
We’re used to the auto white balance system of a digital camera correcting for the colour of different lighting. Film can’t do that. Most film available these days is balanced for use in daylight, so if you’re shooting in artificial light you may need a filter over the lens to correct the colours.
Alternatively, shoot black and white film and there’s no need to worry about colour casts.
6. Film Advance
If you’re using an old manual camera, don’t forget that you’ll need to advance the film manually between shots. Of course if it’s a more modern camera with automatic winding mechanism, this won’t be an issue but it might be a bit slower than you’re used to with a digital camera.
7. Film Processing
This isn’t quite as widely available as it once was, but there are still plenty of processing outlets available on the average high street. Helpfully, it’s usually possible to have your film scanned at the same time so you have digital versions as well as your prints/slides.
- 25 May 2018


