


Becoming a Better Wildlife Photographer with the Nikon Z8 & 180-600mm Lens
If there is one thing that I have always struggled with, it is wildlife photography. In fact, on multiple occasions, I have been told that I have no natural talent for it and that I should just give up on photography entirely.
But what if this novice-level nature photographer was partnered with some of the best kit out there?
Well, that is exactly what this blog is all about. I was given the opportunity to test out the Nikon Z8 and Nikon NIKKOR Z 180-600mm f5.6-6.3 Lens to see what I could do.
Check out the video below or keep reading to find out how I got on.
The Gear
Both the camera and the lens have been out for quite a while but I think it is worthwhile pointing out a few key specs.
The Z8 has a 45.7Mp Full Frame Stacked Sensor, 6 Stops of IBIS, an EXPEED 7 processor and 493 AF Points. All of this is very handy for capturing wildlife but then we also have the animal recognition settings which proved to be extremely useful. I had a CFExpress card installed and 20fps to play with so there no excuses not to get some good images.
Nikon NIKKOR Z 180-600mm f5.6-6.3 Lens
The lens, of course, offers a versatile focal length of 180-600mm and has 5.5 stops of vibration reduction along with an internal zoom which made things a lot easier for balance. The lens has a 70 degree throw which made zooming from 180 to 600mm effortless and is also Z teleconverter compatible, though I didn't have access to one this time.
The whole setup weighs the best part of 3kgs but it feels a lot lighter than that and I had very little issue carrying it around all day.
Always Be Ready!
I had the Z8 and 180-600mm for 3 days in total and went somewhere different each day. Day 1 was spent at the Avalon Marshes in Somerset as it was teaming with wildlife and had many hides that allowed me to get closer to the subjects. On the way to my first hide I encountered much wildlife and failed to capture images of any of them due to a lack of preparedness. I was so focussed on getting to my destination that I didn't even consider what I might see on the way. Things didn't get any better when I arrived at the hide and was horrified to find that there was virtually nothing there.
This leads me to the next thing I learned.
Know Your Subject
(By which I mean know where your subjects dwell, what time of day they are most likely to be active. Basically do some kind of research rather than just showing up at midday like I did and hope for the best.)
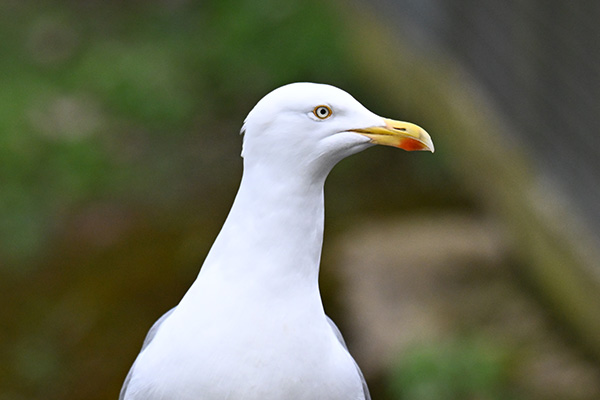
I wasted a lot of time at the first hide waiting for wildlife that was never going to appear. With the day fast leaving me behind my mood was beginning to sour. A lack of preparation and, let’s be frank about this, common sense ensured I had a lack of subjects and terrible lighting conditions in which to capture them. But then, just as I was about to abandon everything I finally managed to get a few decent shots.
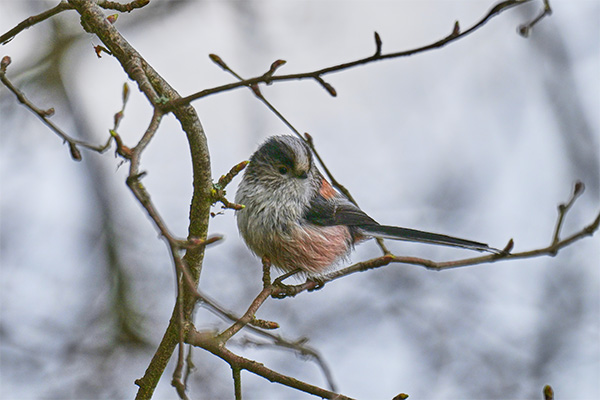 530mm | f/6.3 | 1/1250 | ISO 450
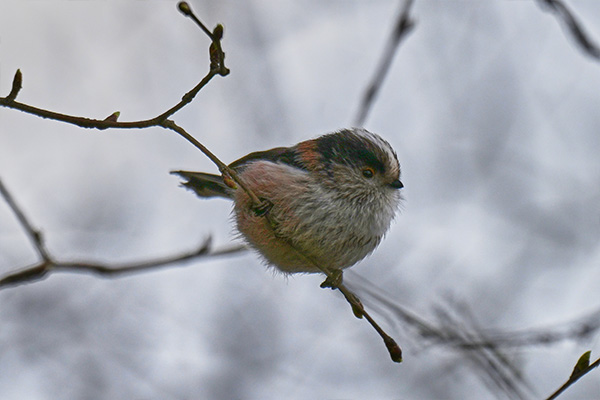 600mm | f/6.3 | 1/1250 | ISO 360
Be Where the Wild Things Be
(By which I mean put yourself in situations where you are definitely going to find wildlife such as zoos or wildlife parks etc. Essentially if you're not able to take images of anything you aren't going to get any better.)
Learning from yesterday's mistakes, I ensured that I would get more out of day 2. I visited Slimbridge Wetlands Centre so that I was guaranteed to have plenty of opportunites to practice. I cautiously began capturing images. I was much more conscious of shutter speed, subject separation and exposure and it showed in the photos. If nothing else, I was able to highlight the fantastic resolution that the Z8 is capable of.
 Cropped 450%
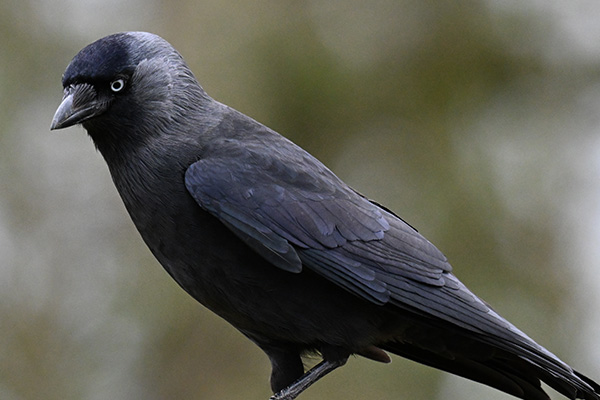 Cropped 450%
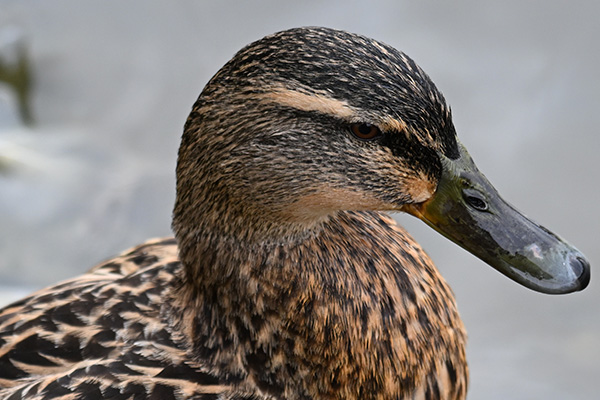 Cropped 450%
Now that I was starting to get better images of these static subjects I felt more comfortable moving on to something a little more taxing.
Know Thyself
(By which I mean know how to use the equipment that you are using.)
Many of my subjects would be shot against the bright sky, leaving the bird in shadow so I decided to shoot in RAW (as well as JPEG) so that I would gain more dynamic range to give me more to play with in editing. The lens featured an AF limiter switch so that it wouldn't focus on anything below 6 metres for faster focusing and there was also the fantastic Bird Recognition setting that I had neglected to use the day before.
Which was just as well as I now found myself with faster flying targets than ever before. Slowly but surely I found myself getting more comfortable with what I was doing and starting to get better shots.
 330mm | f/6.3 | 1/2000 | ISO 320
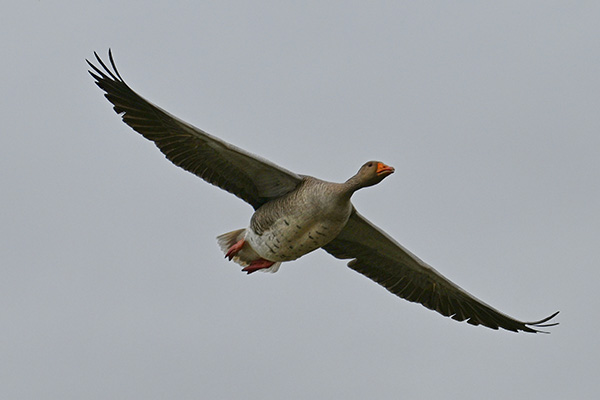 180mm | f/6.3 | 1/1600 | ISO 200
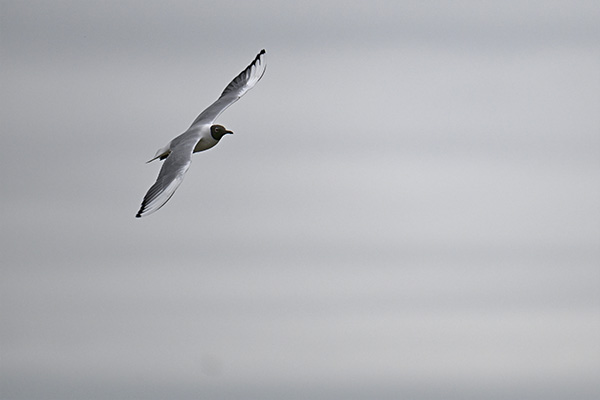 600mm | f/6.3 | 1/1250 | ISO 450
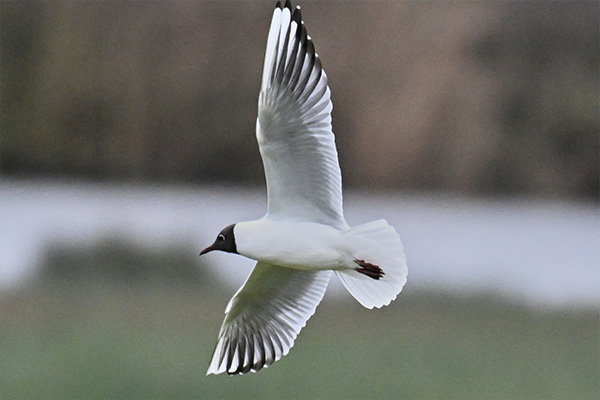 600mm | f/6.3 | 1/2000 | ISO 3200
Use What You Have Learned
(I was going to do a Yoda reference here about unlearning what you have learned but that made less and less sense the more that I thought about it.)
Now that I was getting more comfortable with the camera and the birds it was time to see what I could do out in the wild. My final day would see me visiting Cleeve Hill in the Cotswolds to put my skills to the test.
I spent a few hours trying to get images of Rabbits that I knew were in the area but this was not to be. The area was packed full of people and these timid creatures knew it was best to remain hidden away for now. There were no deer around either which meant that I was, once again, relying on birds if I was going to get anything at all.
I had spent the previous evening getting more tips and learned that birds take off into the wind (obvious really) and this gave me more of a chance to predict in which direction a bird was going to fly off in.
Time was running out and things were not looking good. But then. Just as I was about to give up, it appeared. A Red Kite.
The first shots I got were under-exposed due to heavy clouds and required heavy editing to bring out the details. The bird was still too far away for me to get a really sharp shot but now that I had a real subject I was determined to stick with it.
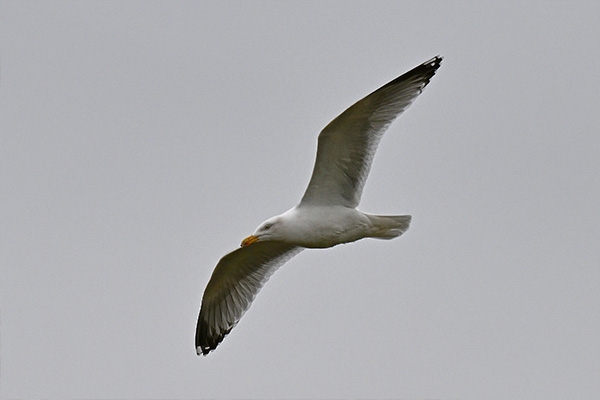
Many more failed attempts ensued but just when I was about to call it a day, the clouds parted for a brief moment and the bird got that little bit closer allowing me to capture these final images.
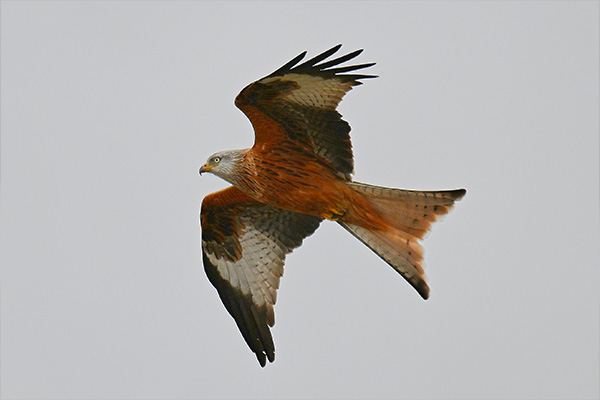 600mm | f/6.3 | 1/1250 | ISO 140
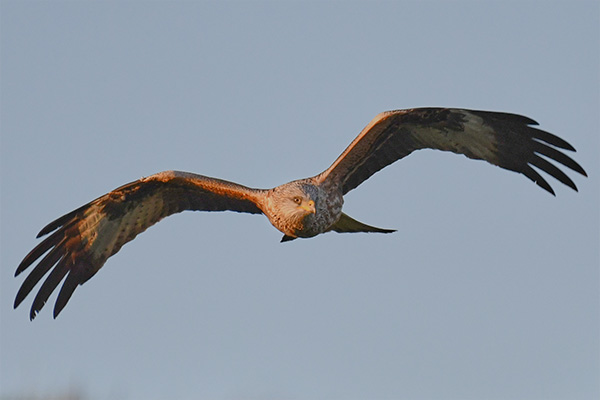 600mm | f/6.3 | 1/2000 | ISO 1600
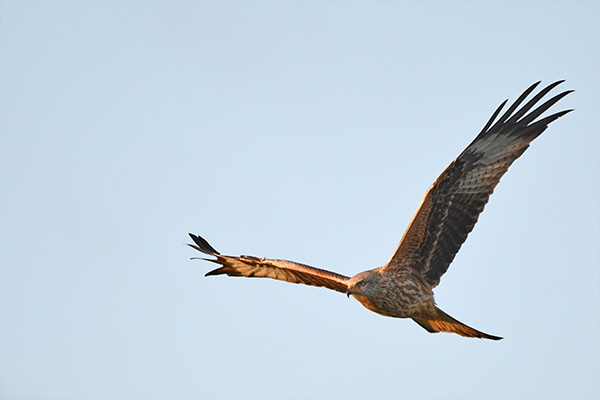 600mm | f/6.3 | 1/2000 | ISO 1600
So what did I learn?
Obviously there is only so much that I can learn in 3 days but I do feel I have learnt a lot and will continue to do so.
The most obvious to me is that I need to learn patience. I found myself in situations where I knew that there was wildlife around but I did not hang around long enough to get a good shot.
Learning all of the settings and capabilities of your equipment is essential. You have to be able to respond quickly to any opportunities that arise and having your settings dialed in correctly gives you the best chance of capturing exiting images.
You are never going to get any better at wildlife photograpy (or anything else for that matter) without lots of practice so don't be put off if there are no "exotic" looking animals in your vicinity. Just get out there and get images of what is available to you.
Lastly, I realised that knowledge of photography and the gear that you are using will only get you so far. You need to understand the habits of the animals and the enviroment that they dwell in. If I had spent some time doing this I would have been much more succesful as I would have known the best time of day to show up as well as have a better chance of predicting the movement of the animal.
There is no denying that I have a tremendous amount to learn but the Z8 and 180-600mm made things as easy as they could do.
My journey into wildlife photography has only just begun but I now have more confidence and am sure that I have the potential to progress.
Convinced yet?
- Buy the Nikon Z8
- Buy the Nikon NIKKOR Z 180-600mm f5.6-6.3 Lens
Click here to view Nikon Z8 Specifications >
Click here to view Nikon NIKKOR Z 180-600mm f5.6-6.3 Lens Specifications >
Read next
- Nikon Z8 Review - One Of The Most Complete Hybrid Cameras
- A Creative Introduction to the Nikon Z8 | Hands on Review
Thank you!
Thanks for taking the time to read our blog, we really do hope they help you out and answer some of your questions. If you still have some unanswered, then please feel free to get in touch with our team of experts.
We have a LiveChat option on our website and we can, of course, be contacted via our email, we're also on the end of the phone too! Read more on how to contact us here >
Want to write for us?
If you've got experience with producing content on photo, video and/or optics products or techniques then we would love to hear from you. Contact our blog editor, Bea, with a sample of your work at bea@cliftoncameras.co.uk.
- By Ben Wright
- 30 Apr 2024


