


How to Edit Images
Cameras, whether we’re talking about enthusiast compacts or pro-spec DSLRs dripping with features, they can all pretty much produce a solid and pleasing JPEG picture straight out of the camera. This is especially true when you opt for one of the many pictures styles often available, or you simply apply some of the more creative built-in filters options that come cameras have, but while these are great for sharing quickly you’re not getting the best from your camera if you only ever take JPEGs.
JPEGs are compressed files and the image has already be compromised by the time it’s displayed on the rear screen, with the camera making a host of creative decisions for you in the blink of an eye. Raw files though are like a digital negative – untouched by the camera and uncompressed, they allow you to make the key creative decisions and push the file further before it starts to deteriorate.
To edit Raw files, you’ll need a Raw converter – there’s often one bundled with your camera, while image editing programs like Photoshop feature their own built-in option know as Adobe Camera Raw (ACR), which is what we’ll be using here. Let’s take a look at a few things you can do to a Raw file to turn it from an average shot to a great shot.
Basic raw conversion
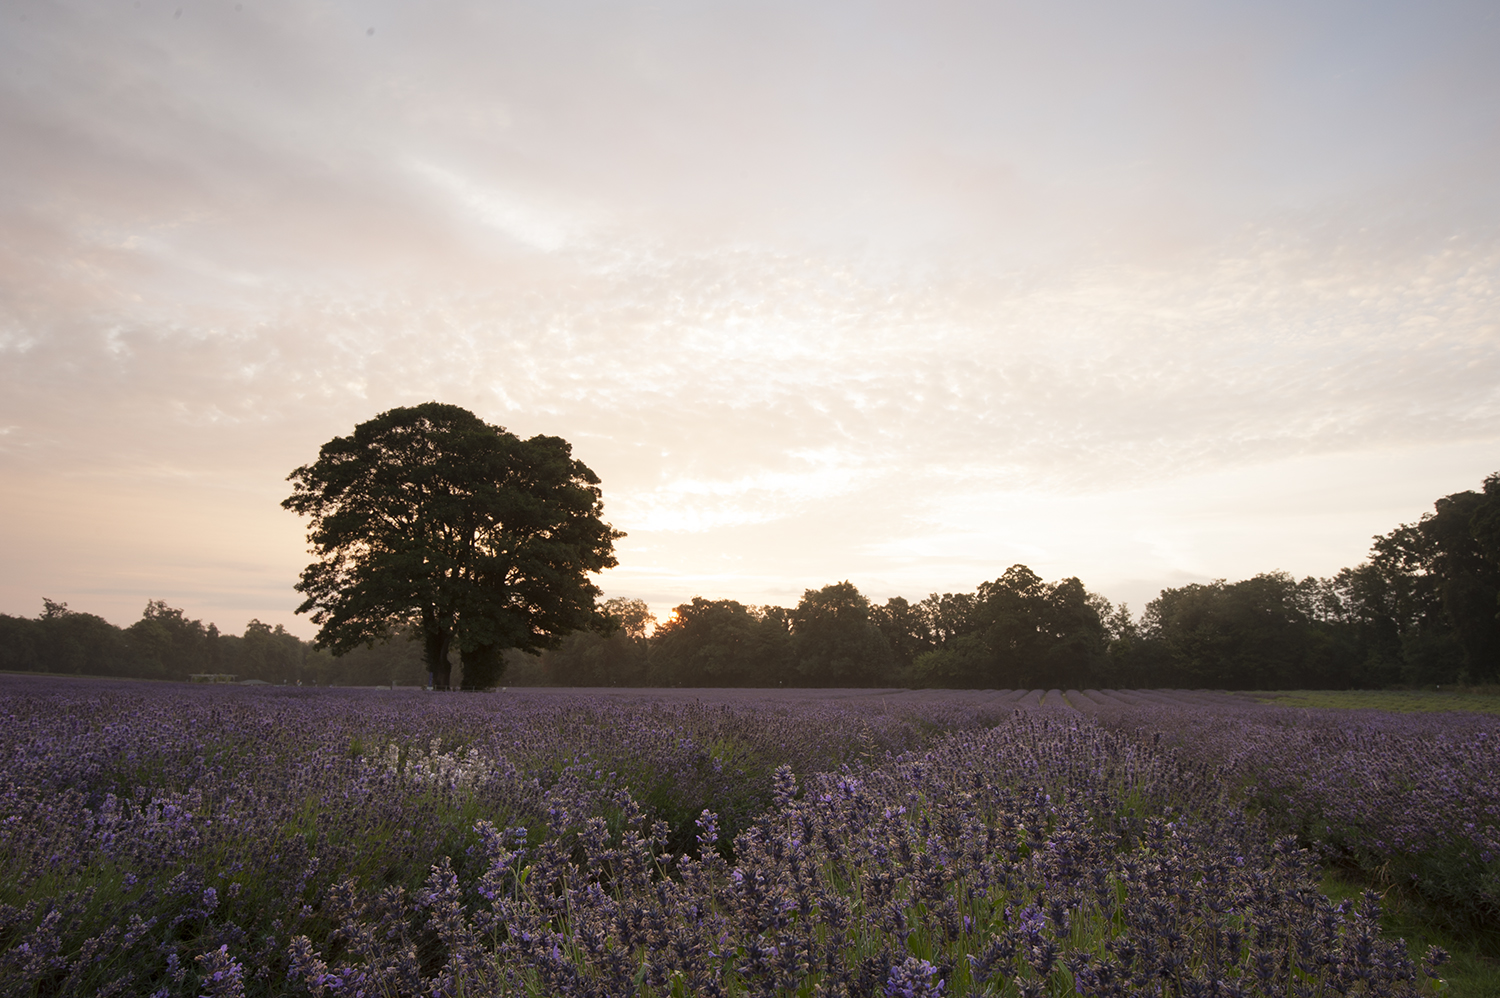
1. Colour balance
The Basic tab in ACR is where we can make a series of global adjustments to the look and feel of the image. Perhaps one of the biggest adjustments we can make is to the Colour Temperature (white balance) of the image. There are a host of presets to choose from or you can use the slider pick your own mix.
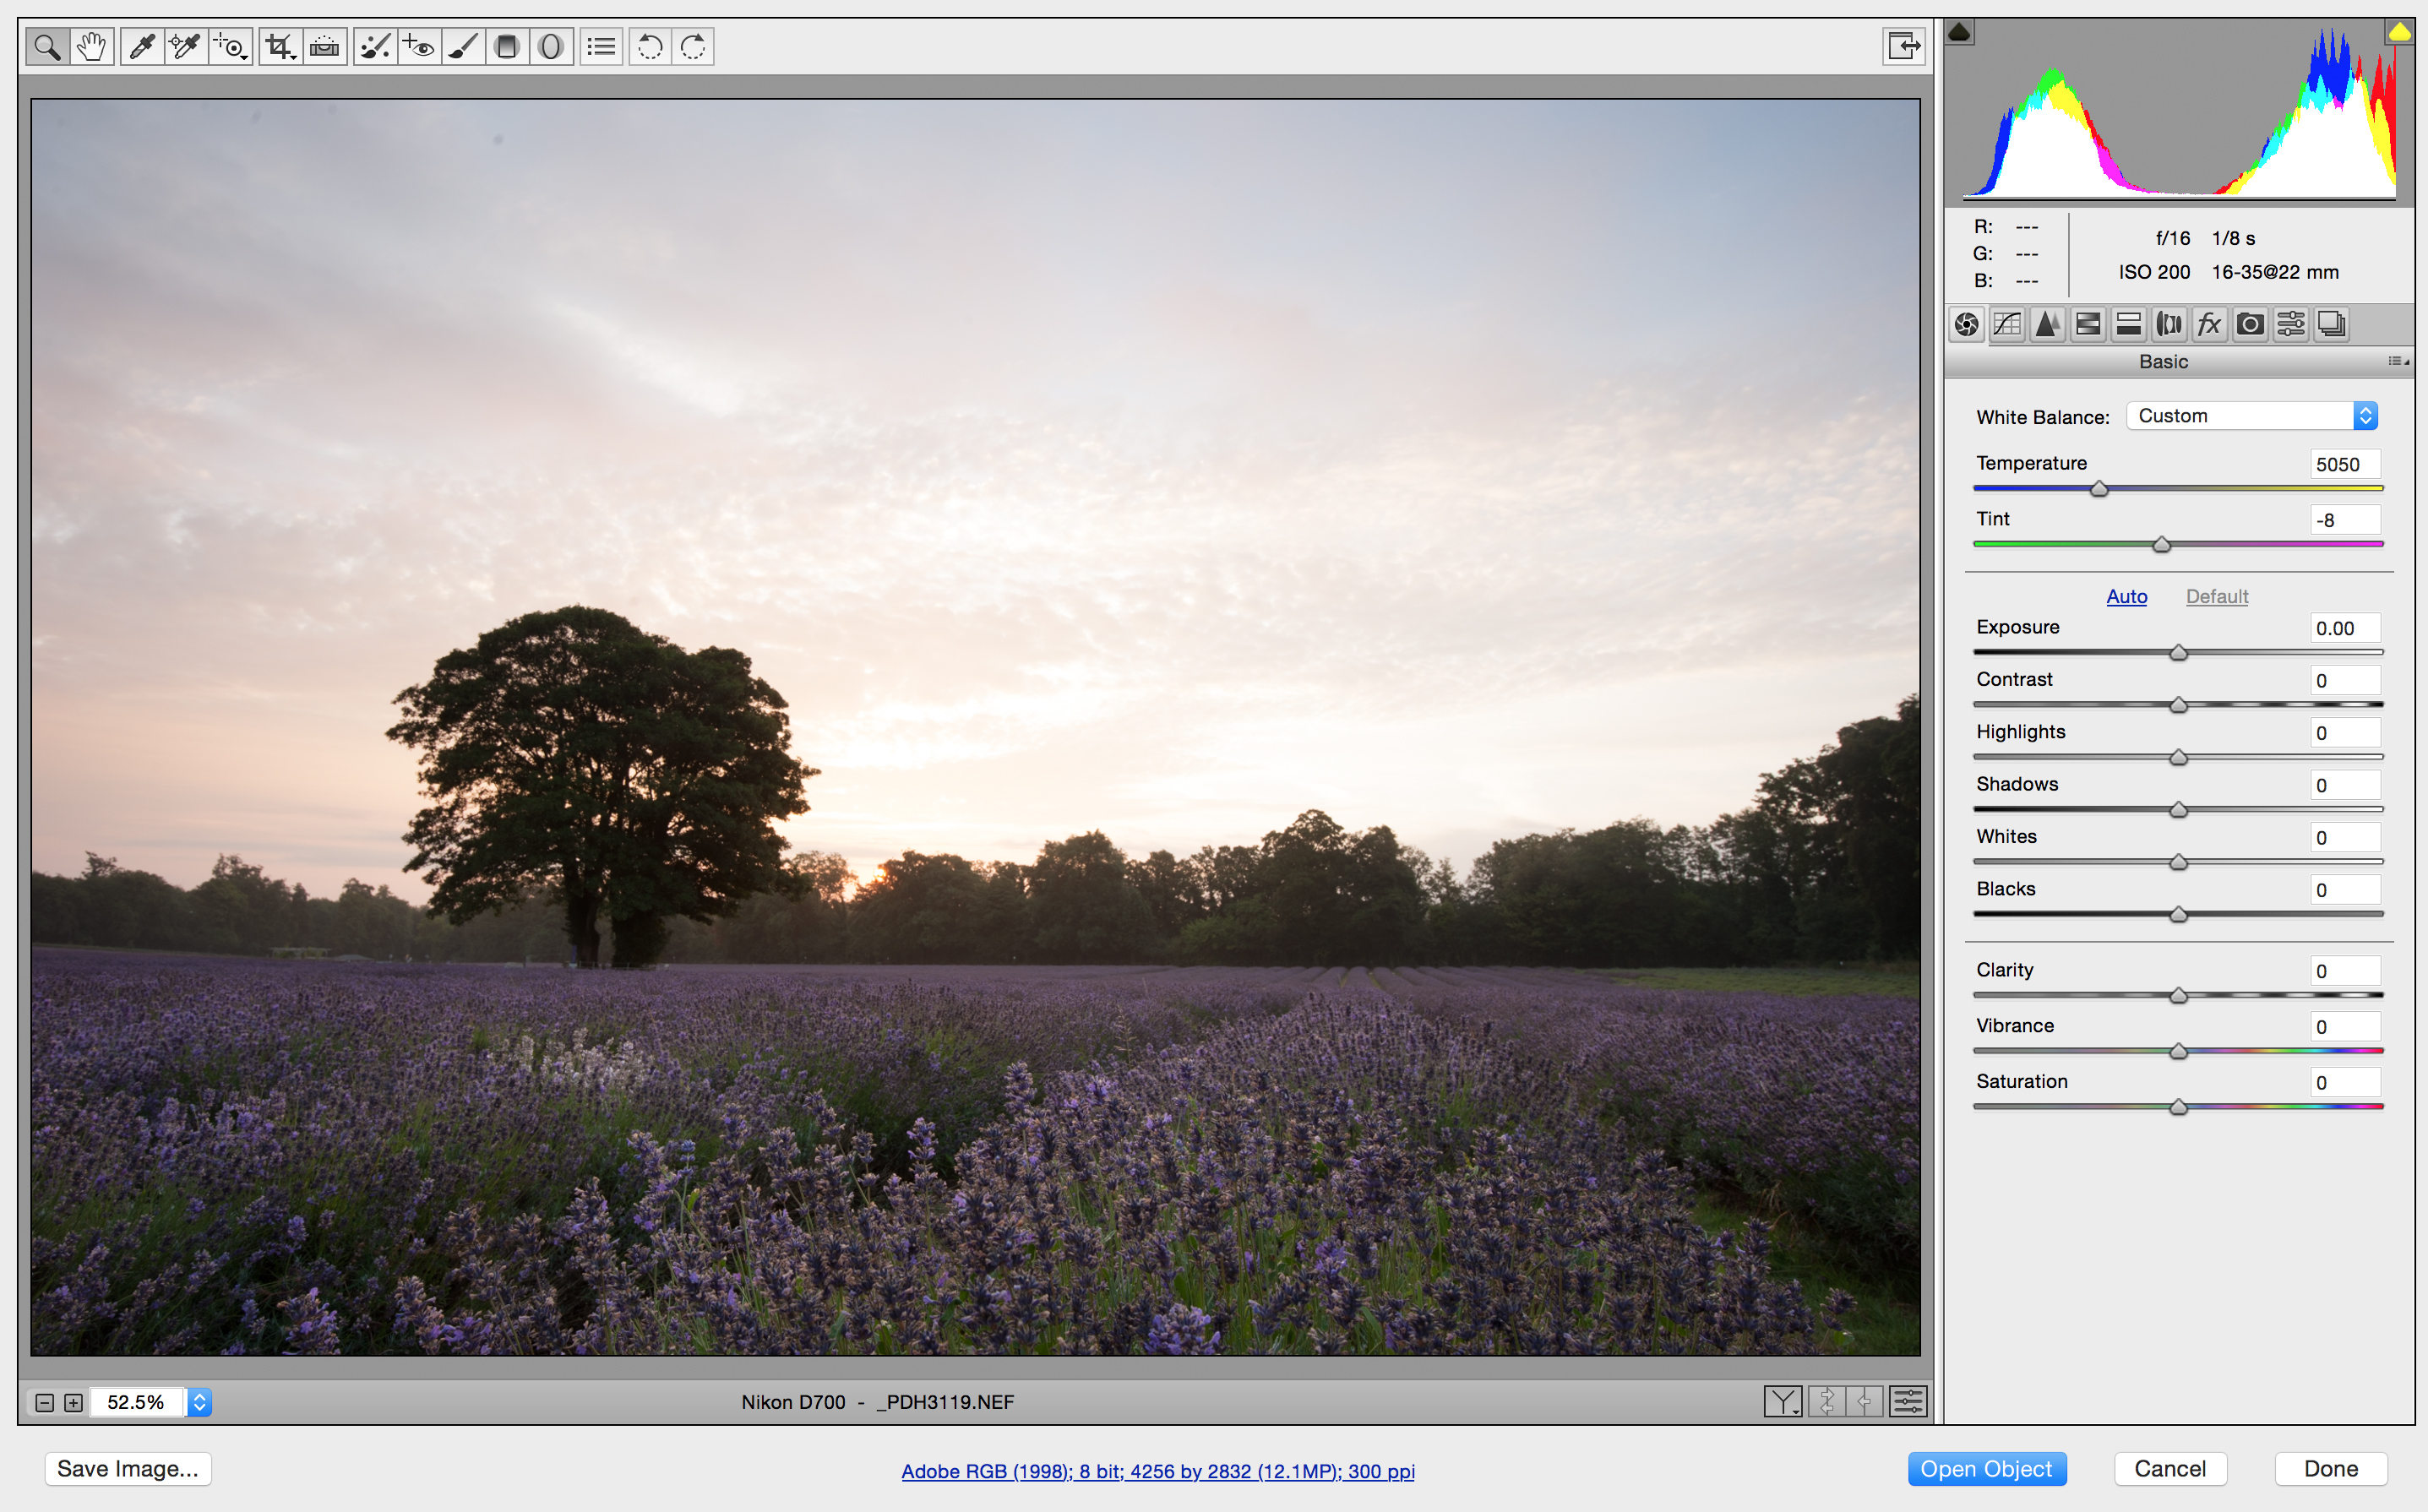
2. Basic adjustments
Below that, and we’ve got a host of adjustments that affect exposure and tone of the image. It’s obvious what some sliders do, but if you’ve never come across Highlights and Shadows, this can have a real impact on your image – it’s possible to recover lost highlight and shadow detail here to end up with an image with a broader dynamic range. Be careful not to cover cook it though.
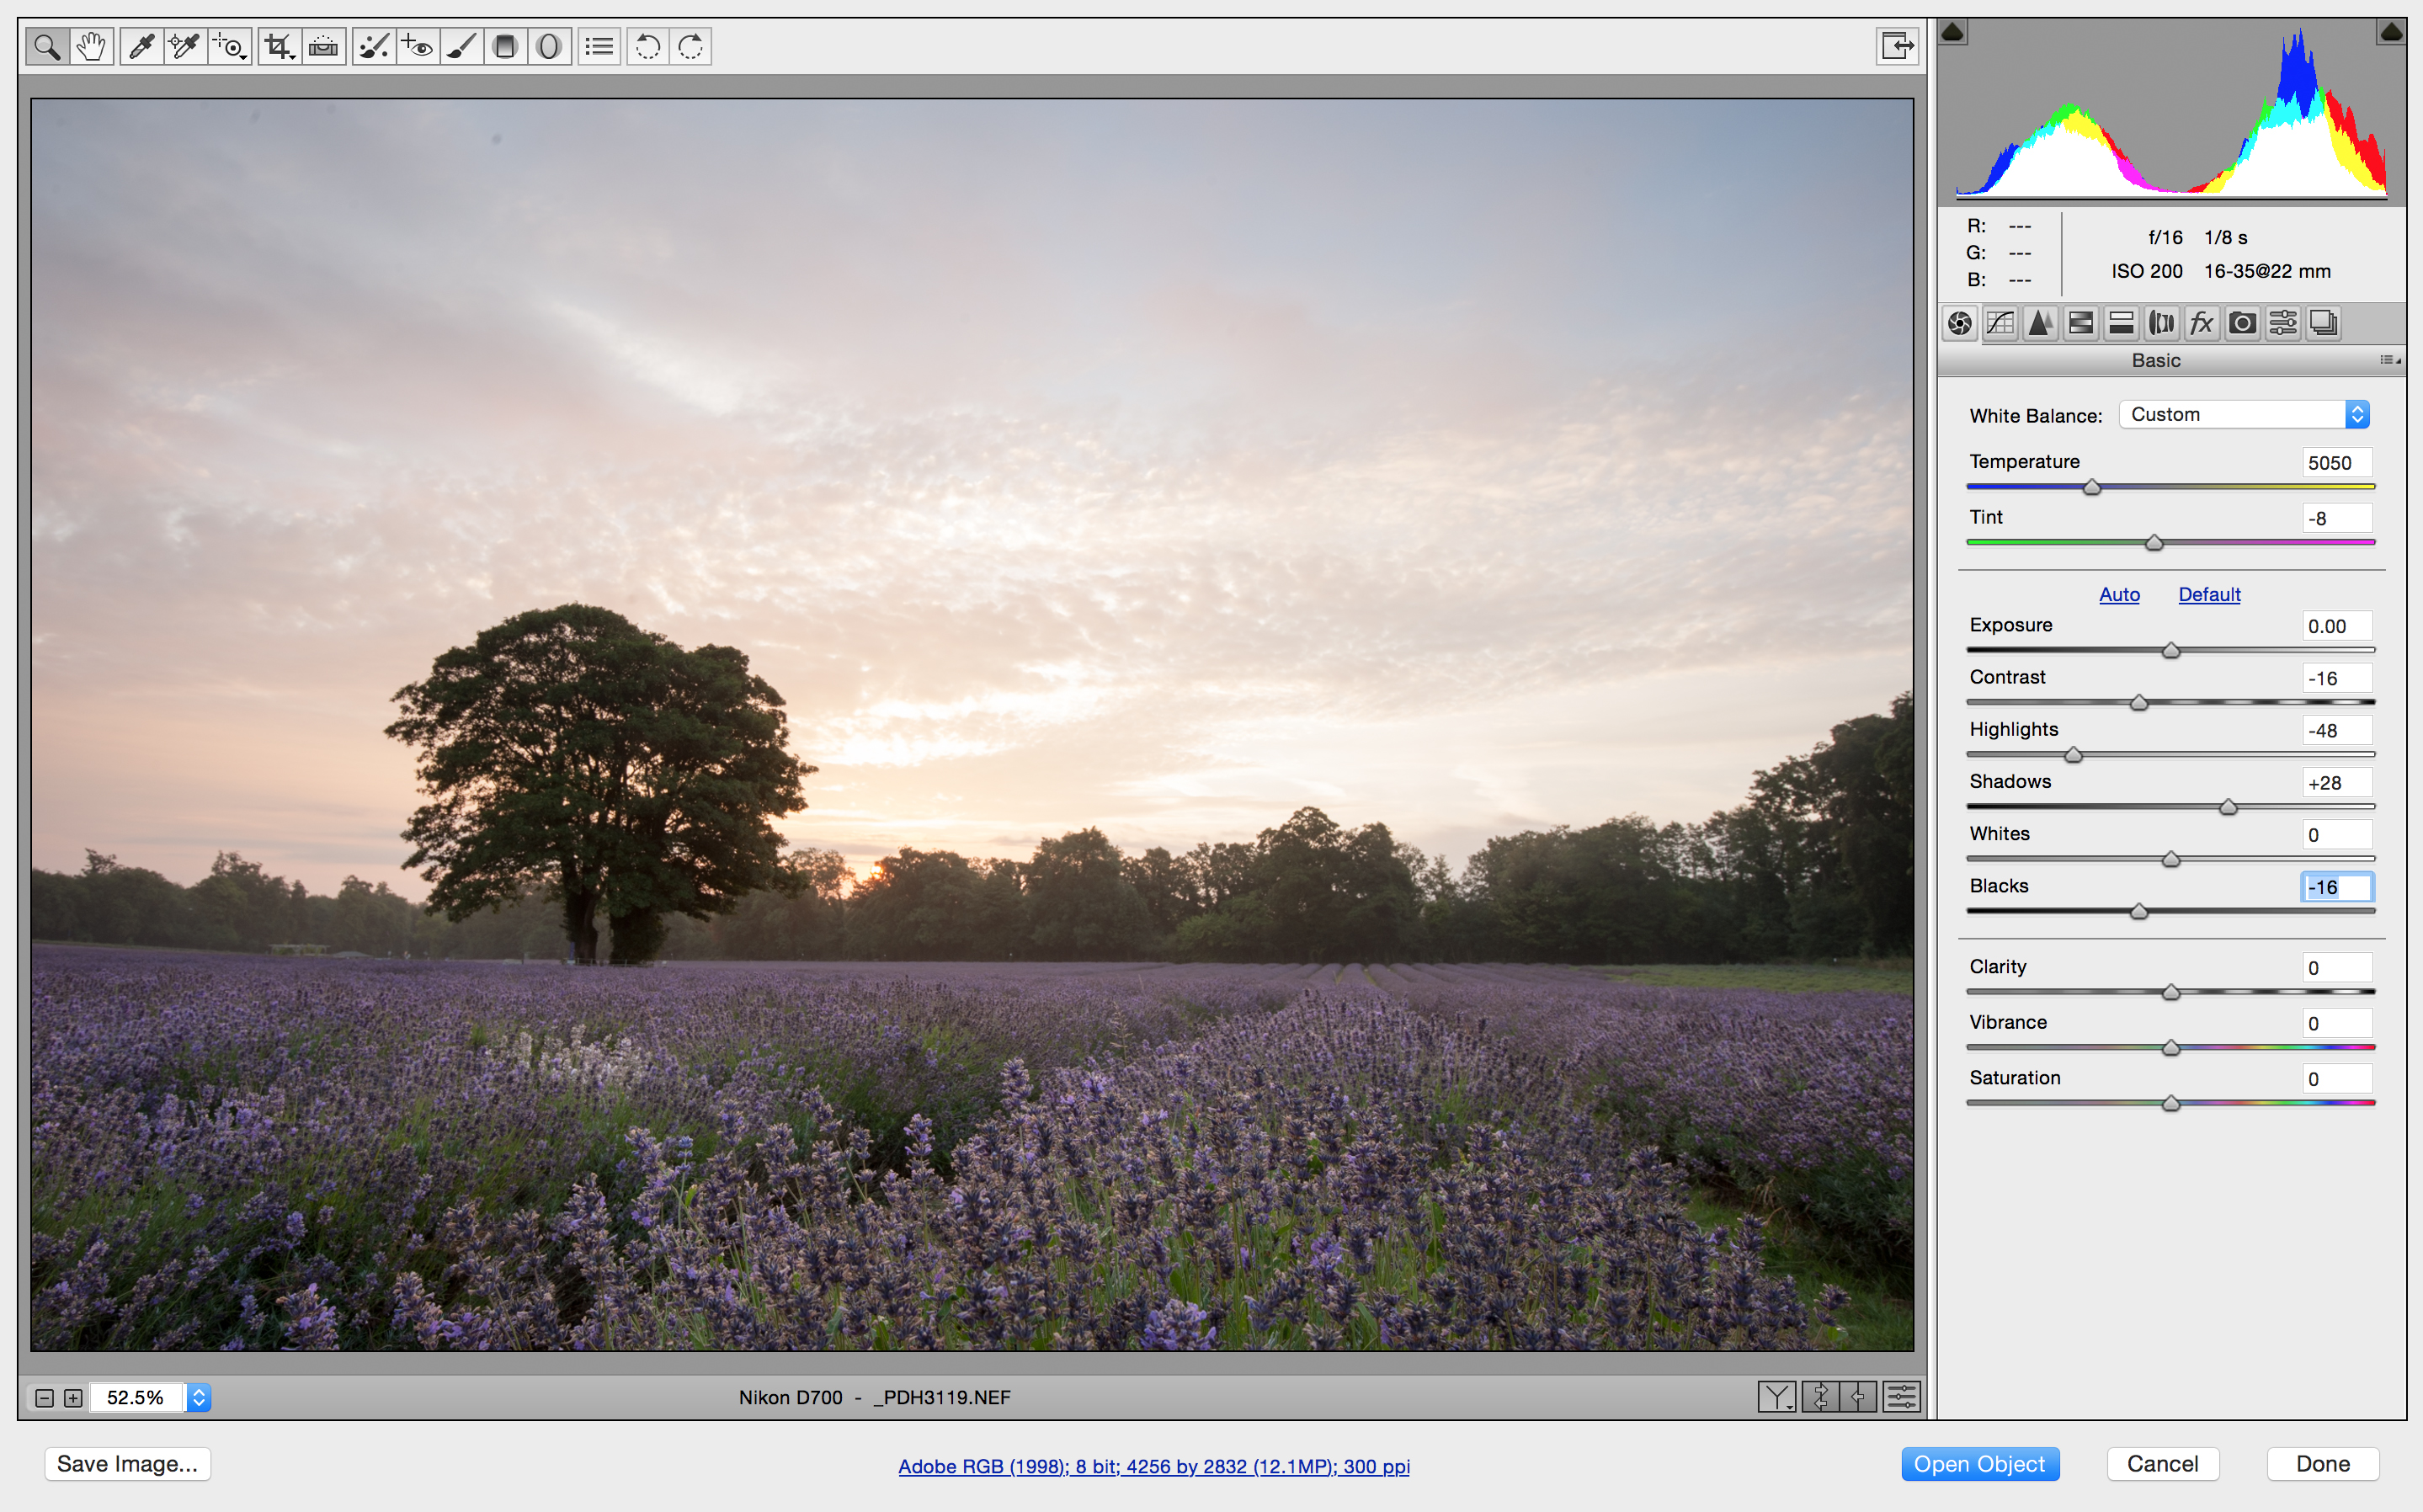
3. Boost colour
Clarity, vibrance and saturation all play their part on boosting the colours in the shot. Clarity is great for giving your images extra punch, while vibrance is a bit like a clever saturation slider, boosting the least saturated parts of the image – you may want to be quite conservative with the saturation slider.
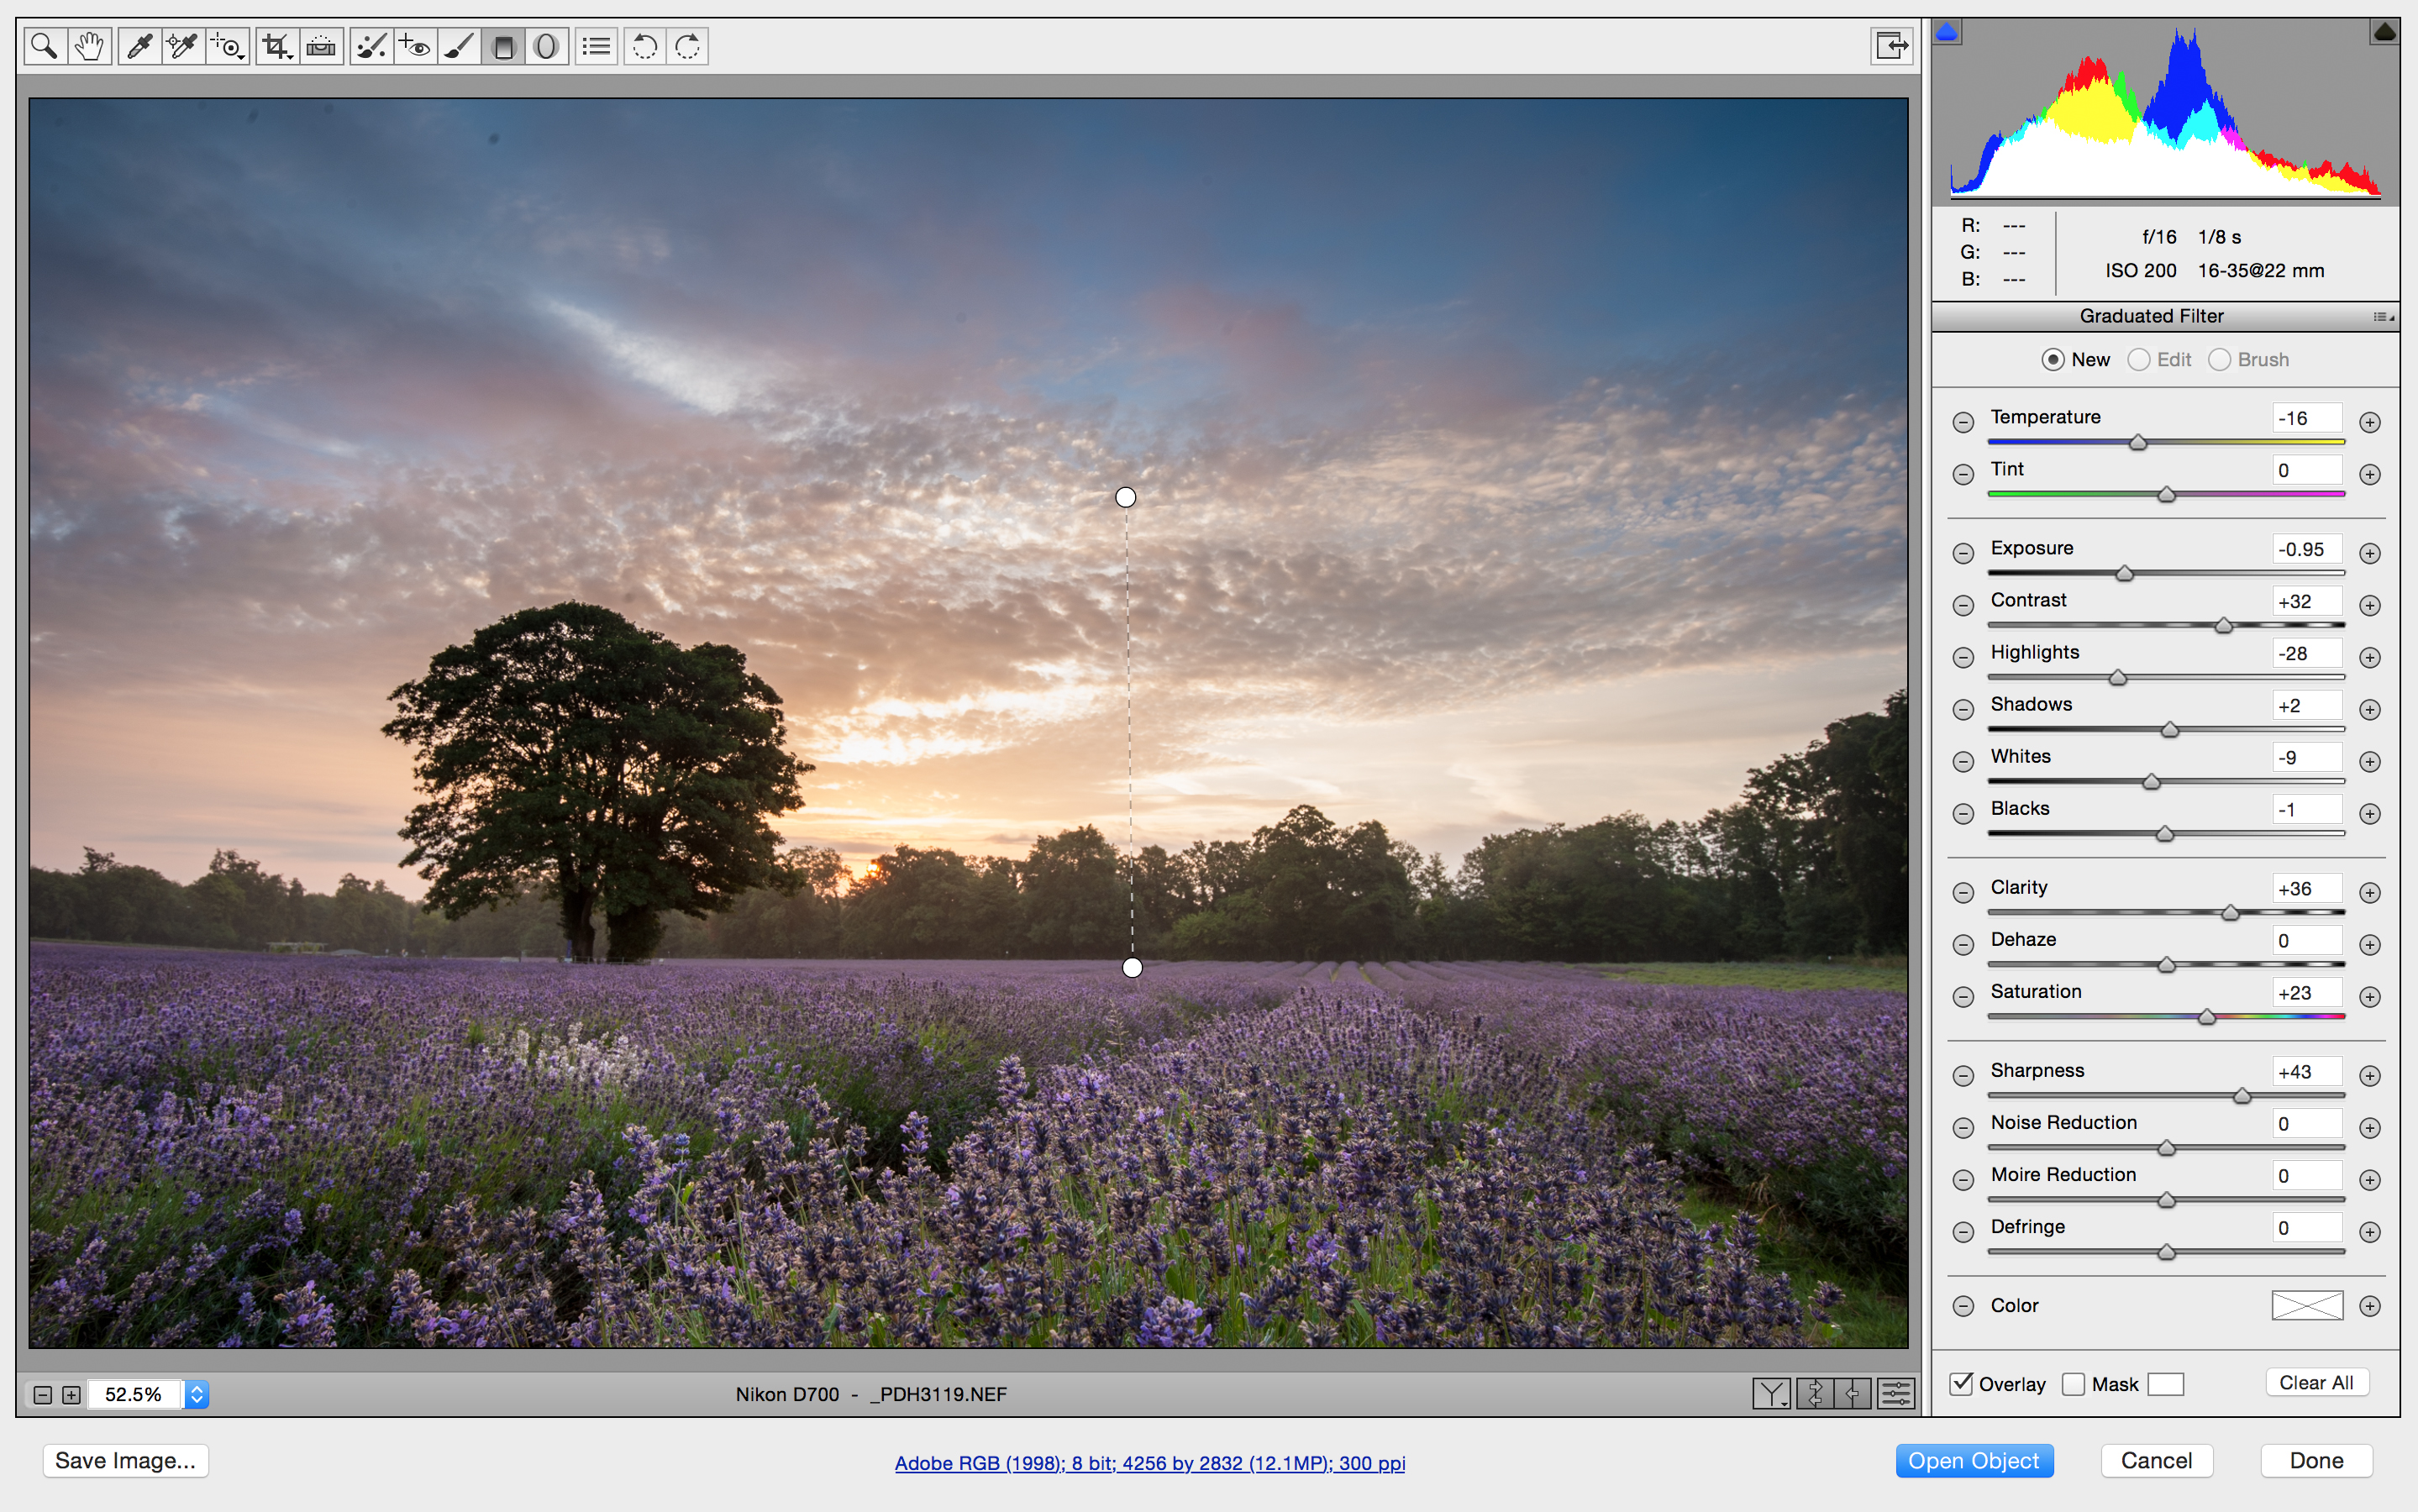
4. Graduated filter
Sitting along the top left of the interface is the Graduated Filter tool and this is a great way to balance exposure in the sky, as well as enhance the atmosphere of the shot. Simply drag it down from top to bottom and use the sliders on the right hand side to make the adjustments, exposure being the key one here.
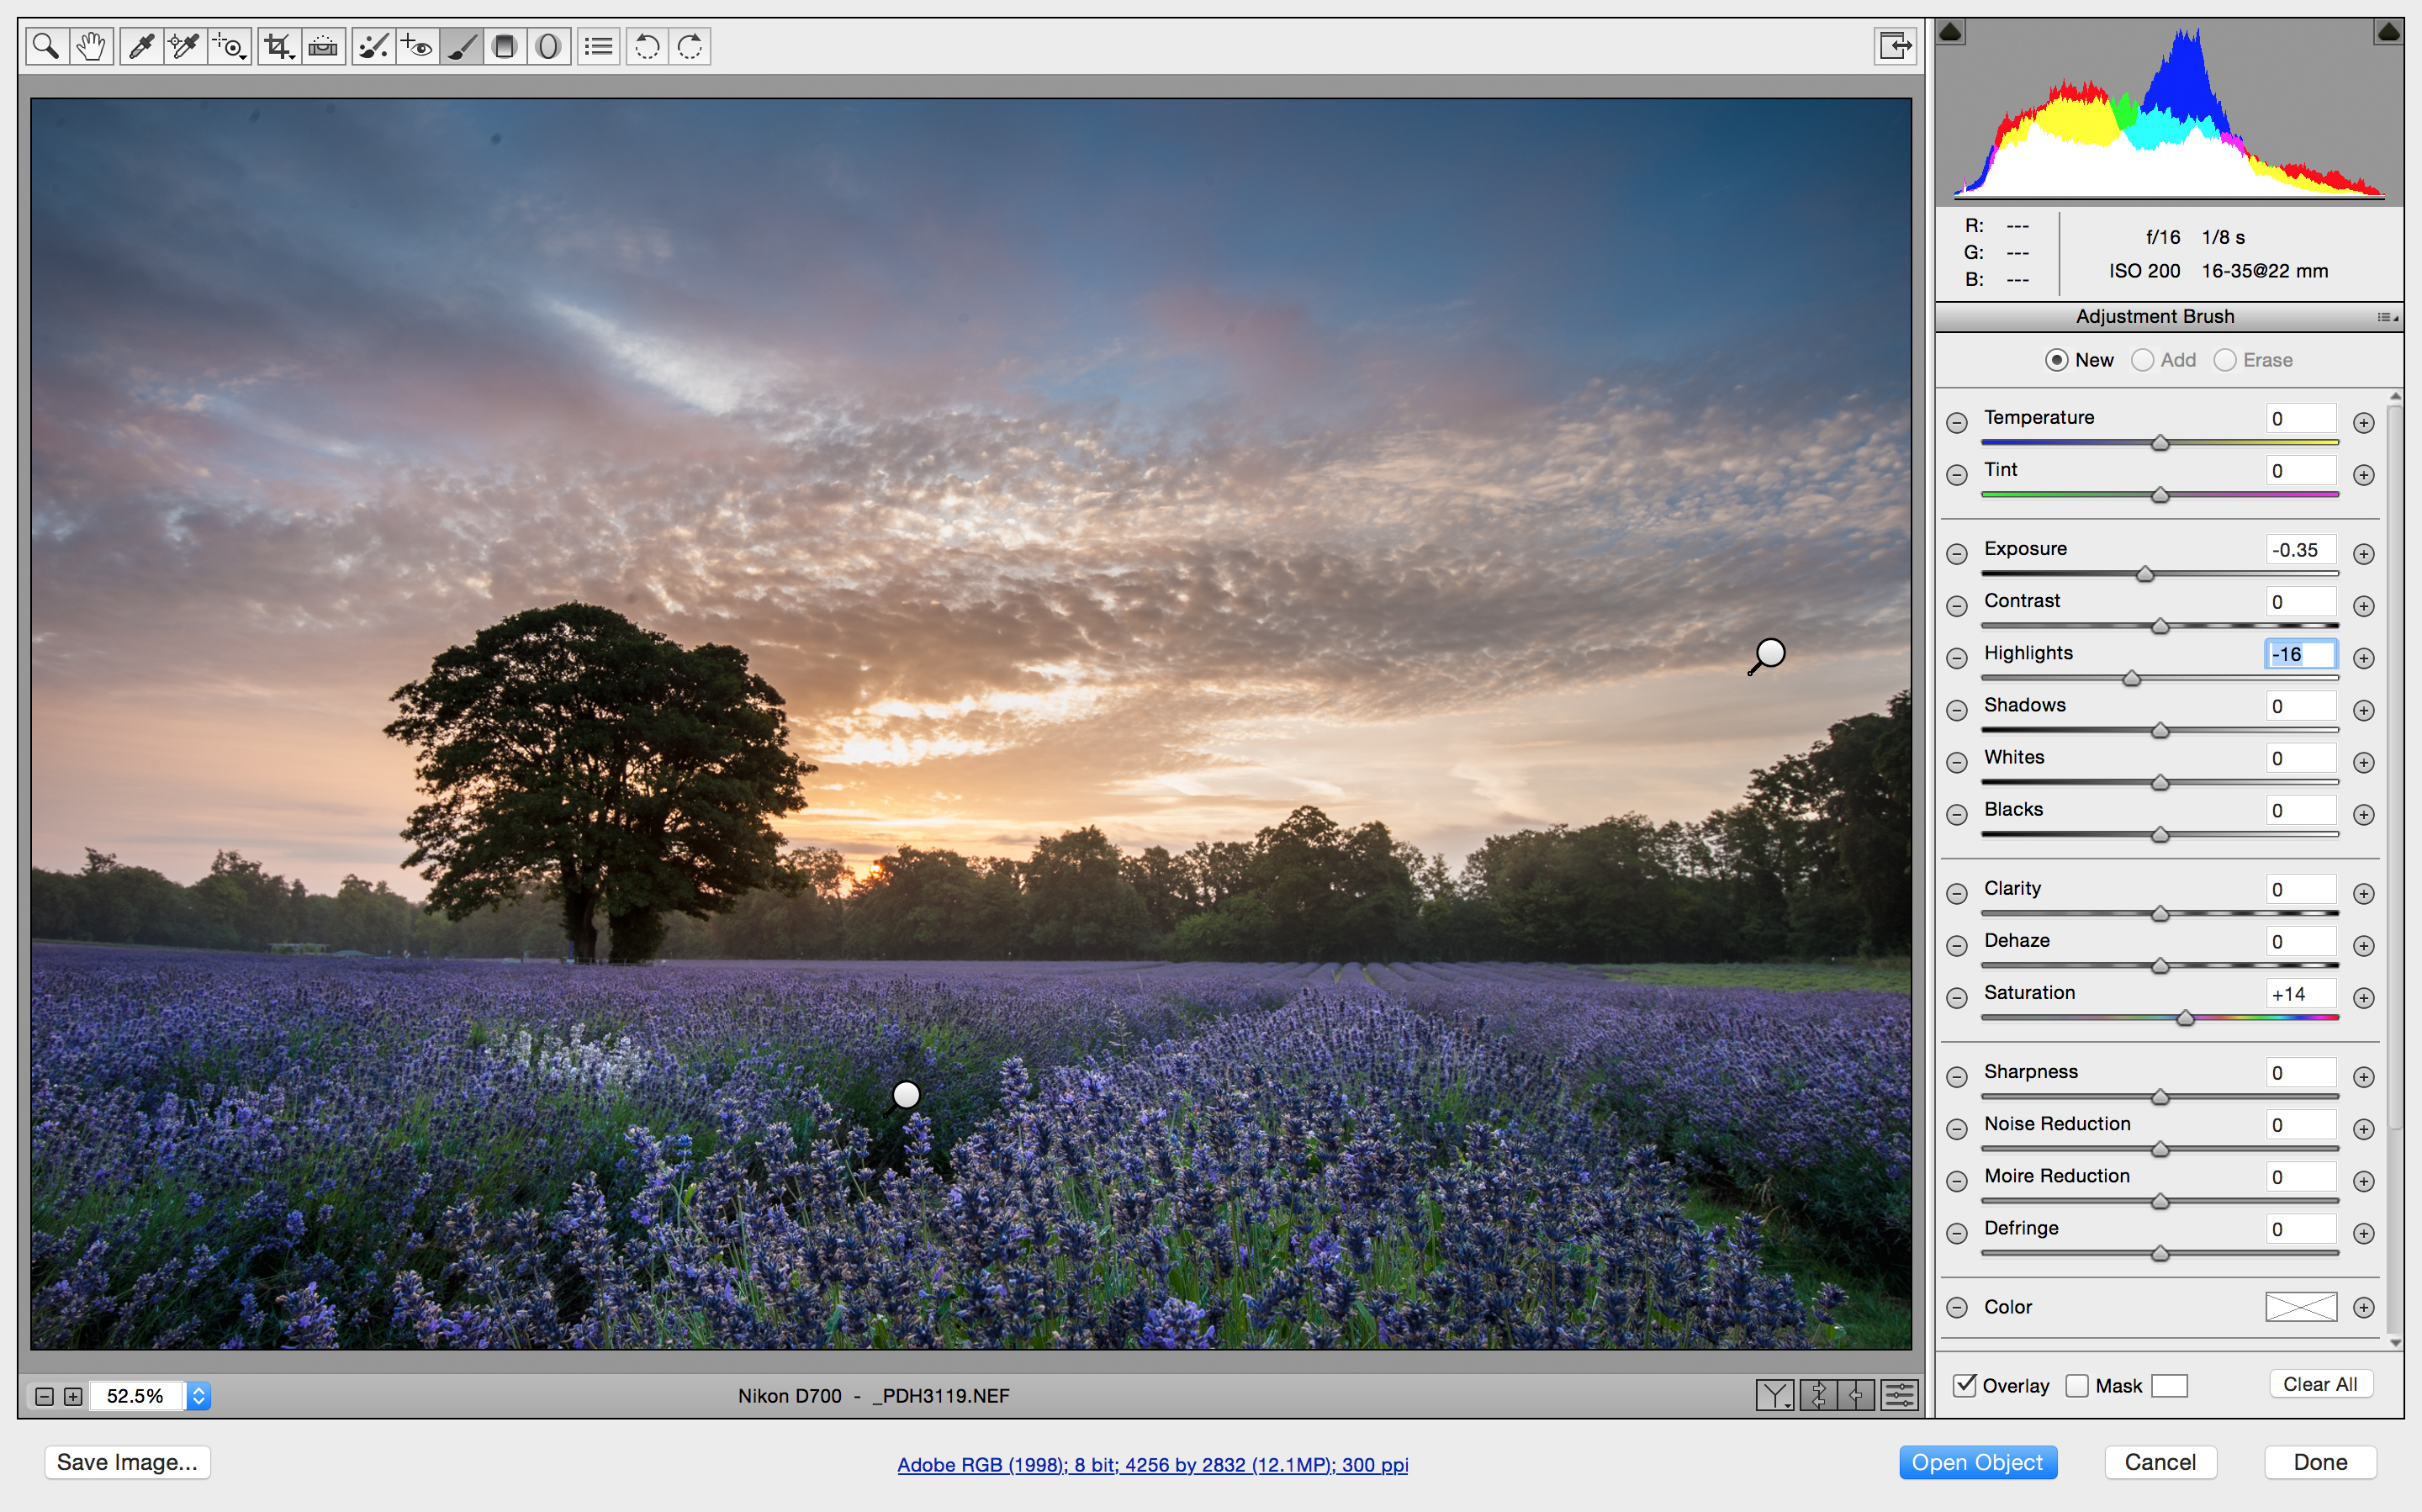
5. Localised adjustments
Sometimes you want to be more precise with your adjustments, which is where the Adjustment Brush comes in, allowing you to enhance specific areas of your choosing – here we’ve fine-tuned the lavender in the foreground as well as the cloud cover just above the tree to give it more punch.
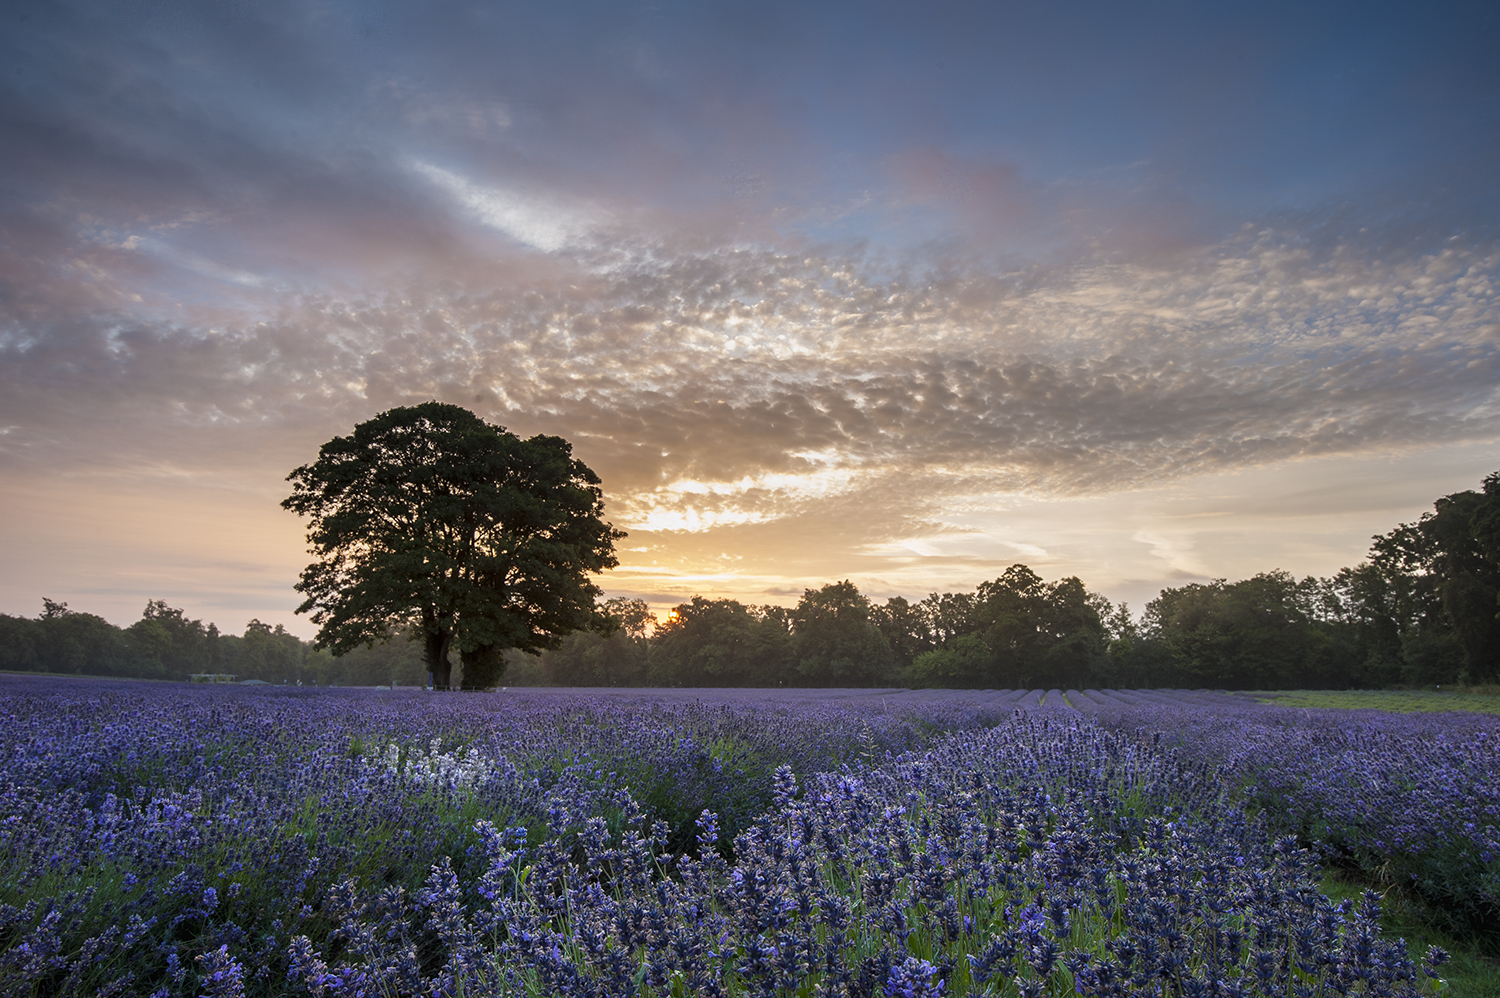
It’s then up to you what further steps you do – you can correct distortion, apply lens correction, add a vignette or simply crop your image. Once you’re happy, you can open your image in Photoshop and make any further changes – for most images this should be minimal as you’ve done the key changes already, but you may find tidying up sensor dust marks or removing unwanted elements in the frame easier to do here. Or if you don’t need to make any further changes, simply hit Save As and you can output a JPEG or TIFF to the size you desire.
- By Andi Thomas
- 28 Apr 2016


