


5 tips for photographing frost and snow in 2019
5 tips for photographing frost and snow in 2019
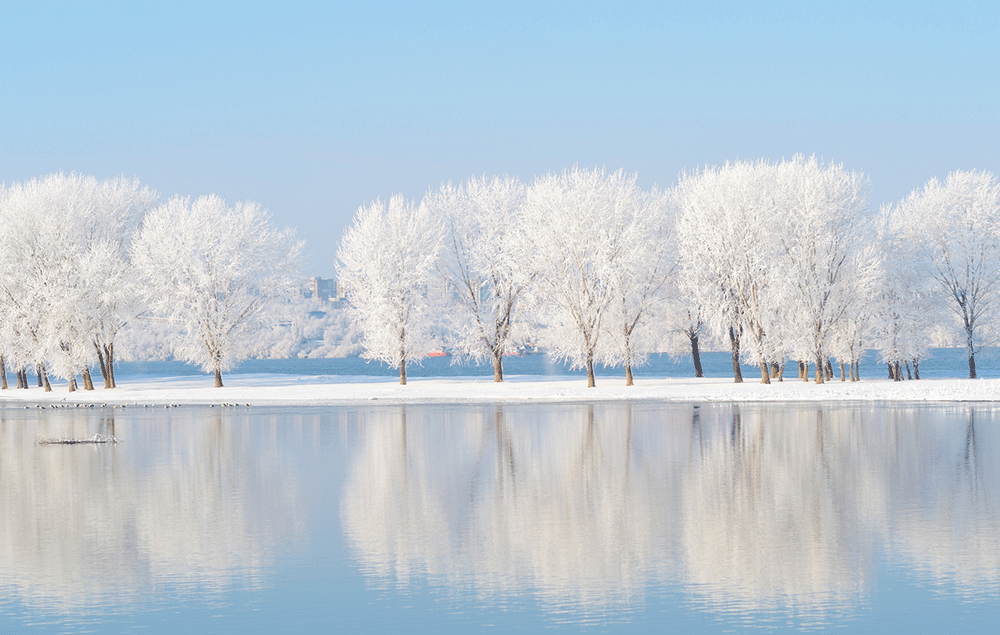
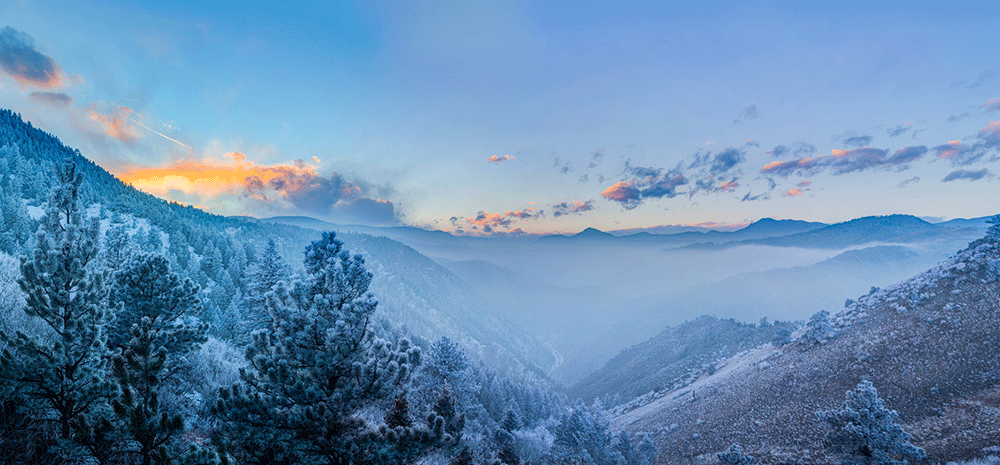
Oh, the weather outside is frightful… As cold and unwelcoming as winter weather can be, it can also be very photogenic so we’ve put together five tips to help you get the best from it.
The fire may be cosy but few photographers can ignore the magical view through the window for very long when there’s a heavy frost or fresh snowfall. Our tips will help you get great photos to make wrapping up in a warm ski jacket and heading outside worthwhile.
1. Check the forecast and get out early
Even though it can stay very cold throughout the day during winter, frost doesn’t usually hang around for very long. Consequently, our first tip for photographing frost and snow is to get out early. Even if the snow is set to hang around for several days, it’s usually worth heading out as early as you can to photograph it before it’s covered with footprints and tyre tracks.
The best way to ensure you don’t miss a good frosty photo opportunity is to keep an eye on the weather forecast. If frost or snow is forecast, get your kit sorted in advance, set your alarm early and head out before sunrise or shortly after.
2. Keep your camera battery warm
When batteries get cold the chemical reactions that are needed to provide power slowly, and they die very quickly. If you’ve got a long walk between shots, put your camera away in a bag to protect it from the worst of the weather. Also, carry a spare battery or two and keep them nestled in a warm inner pocket. You could even slip in a hand warmer to keep them (and you) toasty until they’re required.
3. Use aperture priority or manual exposure mode
If you’re shooting landscapes or detail shots, depth of field is usually the most important consideration, so we recommend shooting in aperture priority or manual exposure mode. If you’re aiming to capture lots of sharp detail and you’re using a small aperture, a tripod is advisable to enable you to keep the sensitivity (ISO) setting low - you may be surprised by how low the light levels are during the depths of winter.
4. Increase the exposure
Snow and frost reflect a lot of light and that can confuse your camera into underexposing the scene. Keep an eye on your camera’s histogram setting and if necessary, dial in a little positive exposure compensation to brighten things up. You want the frost and snow to look white, but you also want to retain any tonal gradations so keep a careful watch on the highlights and don’t let large areas burn out.

5. Use the Daylight white balance setting
While your camera’s automatic white balance setting may be able to cope, the Daylight option is usually a better choice when you’re shooting outside - even if the weather is overcast. Even though snow may look white to us, under a clear sky your camera may record it with a blue tone in shaded areas. Shooting raw files gives you the maximum amount of colour data to work with post-capture, giving you the best chance of getting everything looking just as you want it.
- By Matthew Ward
- 6 Jan 2017


