


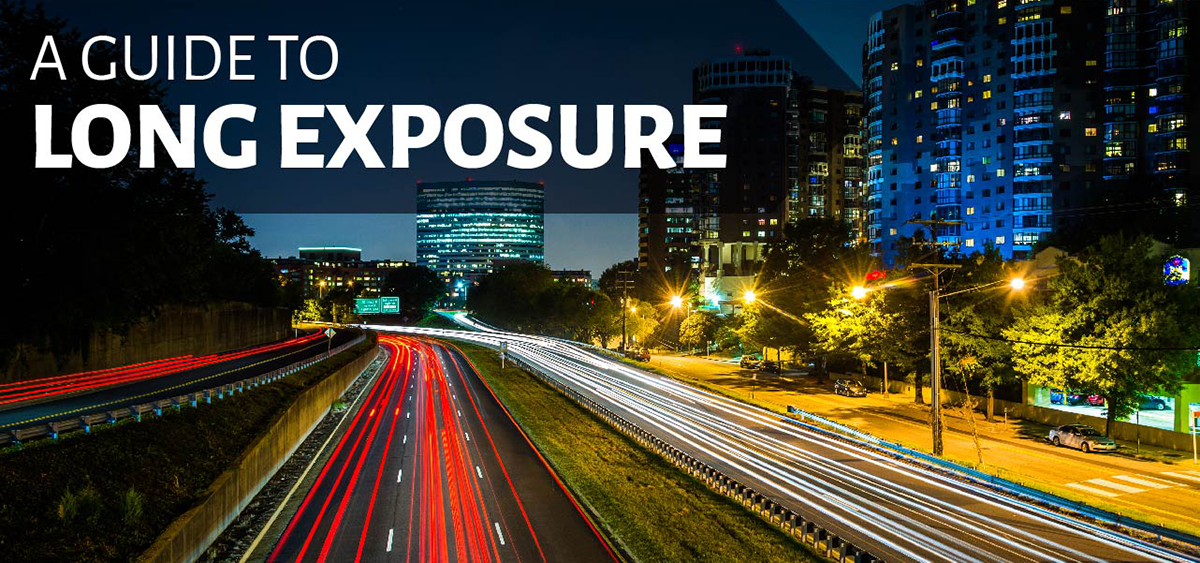
A Guide to Long Exposures
How to take long exposures
The technical aspects of long exposure photography are fairly simple. You’ll need a tripod, as working with a slower shutter speed means handshake will be a factor. For this reason, you should also set your camera to either a two-second timer or use a shutter release, as even the press of your finger on the shutter can cause vibration that will spoil a long exposure shot.
The settings are what makes a long exposure. You’ll need to set your shutter speed – so use either shutter priority or full manual mode. Then, you’ll have to take some test images to establish the correct speed.
Focus is harder to find when using ND filters or in darker settings, as the reduction in light means your autofocus will struggle – although shining a torch on your subject can help the camera find focus. You can use manual focus to avoid any AF mishaps – which also allows you to use live view to help frame shots in darker conditions. Take some test shots to establish the correct focus, then tape the focus ring in place with duct tape to ensure it doesn’t change.
If shooting in daylight, you’ll most likely need to use an ND filter. A neutral density filter blocks out light to allow your shutter to open up for longer. Each ‘stop’ of a filter reduces the amount of light entering a camera by a factor of 2:
1 stop = 21 = 2 = ND2
2 stops = 22 = 2 x 2 = 4 = ND4
3 stops = 23 = 2 x 2 x 2 = 8 = ND8
4 stops = 24 = 2 x 2 x 2 x 2 = 16 = ND16
10 stops = 210 = 2 x 2 x 2 x 2 x 2 x 2 x 2 x 2 x 2 x 2 = 1024 = ND1024
Using ND filters helps you reduce the amount of light, with ND10 reducing light by 1024x. Using one helps – but you’ll need to adapt your shots to cope for the reduced lighting. You should also consider taping the viewfinder of your camera shut, as light can enter it (take note though that some cameras have a small shutter that closes the viewfinder).
To actually shoot the photograph, you’ll need to test what sort of exposure you require. A simple rule of thumb is as follows:

Daylight exposures – Shutter speed dictated by ND filter. If your unfiltered exposure is 1/15 sec, a 10 stop ND exposure should be 1 minute. A 1/8 exposure should be 2 minutes, 1/4 exposure should be 4 minutes and a 1/2 should be 8 minutes. The aperture should be enough to allow the necessary depth of field if you’re taking landscape shots. ISO should be as low as possible, around 100 or 200 at most.
Night exposures – Shutter speed at least 10 seconds. Use an aperture of around f/5 to f/11, but this will vary depending on the scene. You don’t need the ND filter in the dark. ISO should be no higher than 500 or noise can spoil the effect.
o A note on bulb mode –Some cameras have a bulb mode, which allows you to keep the shutter open for as long as possible (some cameras only allow a 30-second exposure outside of bulb mode). This is useful when shooting water in the dark, as you need a long exposure to pick up any detail.
Once you’ve got a basic understanding of the factors that affect long exposures, it’s a matter of practice. As long as you’ve got your tripod and a basic understanding of manual focus and exposure, you’ll be able to go out and capture terrific images. For example…

Light trails – These are best taken at night in busy cities or on roads that lead through scenic settings such as valleys and hills. Set your shutter speed to 10 to 15 seconds for outstanding trails.

Light paintings – Use a torch or laser pen to draw your own effects into a landscape. You’ll need a longer exposure to make the most of this, but it’s great to play with. Alternatively, you can light up a subject such as a statue with a torch to make it stand out from the background.

Coastal landscapes – Head to a seaside setting to capture amazing images of the sea. Best taken at sunrise or sunset to make the most of the colour in the sky.
- By Matthew Ward
- 10 Mar 2017


