


Essential editing techniques for winter photography
Editing a shot is an art in itself that could be written about endlessly – but when you’re shooting in poor lighting, in a hurry or you want to make the most of your images, a working knowledge of the best techniques is essential. When you first start shooting, edits will be key to saving your best images. When you’re an advanced photographer, editing will be an everyday process aimed at maximising the final look of your images.
With that in mind, here are the rules and techniques you should follow in order to bring any poor winter images back to life.
The importance of RAW
The RAW file format, available in DSLRs, CSCs and some smartphones, is the superior way to edit images. When a photo is shot in RAW, the image data is not subject to any compression and so is stored in a ‘lossless’ manner.
A photo in RAW records ALL the data that is read by the camera’s sensor. For winter photography, it’s vital as RAW records a higher level of brightness. You can edit a RAW file with more control over brightness and exposure.
Cropping – a basic guide
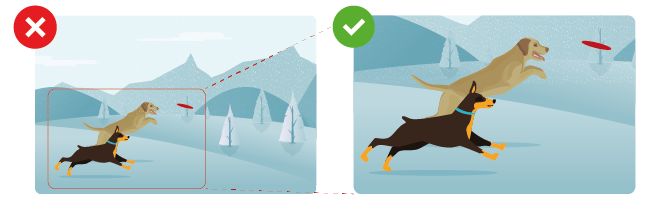
Cropping is one of the simplest edits a photographer can make, but proper use of the crop tool can completely transform an image. In the winter, both portrait shots and landscapes become popular formats and both can take advantage of good cropping.
The first rule is to avoid cropping in camera unless you’re an expert. Once you’ve done that you’ll never get the chance to change your mind. Instead, export the image to an editing suite and save two copies.
Once you’re ready to crop, the general rules to follow are:
- Crop to create interest, focusing on the details of the ‘story’ the image is telling.
- Crop to cut out unnecessary details
- Crop at eye level, keeping the subject’s eyes below the top third of the photograph.
- When shooting portraits, avoid cropping too much space away from where the subject is looking.
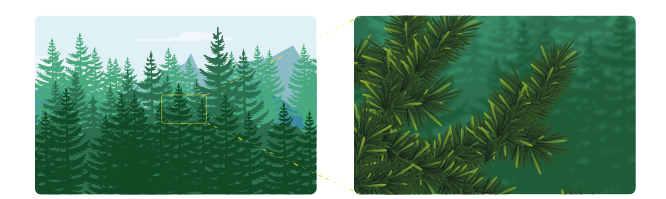
- If shooting ice, snowflakes or other macro winter it can be tough to pick out detail. Take the best photo you can, then crop in close and use sharpen tools to bring out the ice.
- Don’t crop limbs at the joint. This can create awkward visual effects that look more like your subject has been chopped in half rather than framed.
- For landscapes, especially wintry ones, never crop out the horizon line. It makes the image look too claustrophobic and loses depth.
- The closer you crop, the more dramatic the image becomes. The eyes are the windows to the soul, after all, and any photograph that focuses on the eyes will stand out.
Ultimately, your cropping efforts should be as conservative as they can be in order to create interest without losing anything. The phrase ‘a little off the top’ works well here, as less is often more with cropping.
Exposure adjustments
Once you’ve cropped the image, you’ll need to try and make the most of your exposure levels. If you find your photos are too dark, RAW will allow you to tweak exposure levels and brighten images back up.
‘Flat’ images
One of the most common issues a photographer runs into during the winter are ‘flat’ images. Clouds, fog, rain, snow and hazy weather all affect an image and can lead to flatter photos that lack contrast – so be ready to open up a levels adjustment tool.
Through this, you can edit images to increase the lighter parts of a photo and darken the darker portions. Your midtones will usually need to be brightened up too, but you’ll have to tweak this and assess the image as you go. Ultimately, you’re aiming for a more even image with points of interest.
Fixing blue snow
Another common error when shooting in winter comes from colours being thrown askew thanks to underexposure and white balance. It’s most noticeable in snowy scenery, where the snow looks blue rather than white. Thankfully it’s also an easy fix. Brighten the photo first – which may fix it. If not, use an editing tool such as Adobe Photoshop and remove the ‘Colour cast.’

Edit in background blur
Because you’re working in sub-optimal lighting, it can be tough to get the right ‘bokeh’ on your images. Once you’ve got the lighting levels edited back up to standard, don’t be afraid to edit in some background blur to help pull your subject out of the sometimes ‘flat’ image.
Experiment with Vignettes
Winter photography, thanks to the blacks and whites on offer in snow and icy conditions, can benefit greatly from a vignette. Often reserved for social media style posts and avoided by serious photographers, a vignette is a darkening or lightening around the ‘frame’ of the photo. Contrary to many photographers’ opinions, a vignette can actually draw a viewer into the scene if done properly.
Like most rules in photography, avoiding vignettes is entirely subjective. While many professional photographers will tell you to lose them, and lenses are built to specifically avoid creating them, they have their place – and it just so happens winter is a terrific time to try them out.
Ultimately, with a bit of creative cropping and changing your light levels in post-production, you’ll be able to create either light, crisp winter imagery or dark, moody photos. Thanks to RAW captures, you’ll be able to continually tweak and change the final result until you get the image you want.
- By Matthew Ward
- 19 Jan 2017


