


Focus Stacking Explained | How to Stack Focus
A Step by Step Guide on How to Stack Focus
One of the first things that you learn about photography is that you get more depth of field at smaller apertures than you do when the aperture is wide open. Also, as you get closer to your subject, the depth of field (the size of the sharp zone around the focus point) gets narrower.
This means that you get a very shallow depth of field with macro subjects. The natural temptation is to close the aperture right down, however, if you do this you’ll start to see the effects of diffraction and your images won’t be as sharp as you’d like.
Focus stacking is a clever way around the problem. It allows you to get lots of depth of field while using your lens’s optimum aperture - the one that captures the sharpest details. And it’s not just useful to macro photographers, it can also be of use for landscape photography.
Some cameras from Panasonic and Olympus have a focus-stacking mode built-in that can actually do the whole job for you. Other cameras like the Nikon D850 and Z 7 have a mode that automates the image capture stage, but you have to merge the images using Photoshop or a similar software package. However, even if your camera doesn’t have a focus stacking mode, you can create focus-stacked images by following these step-by-step instructions.
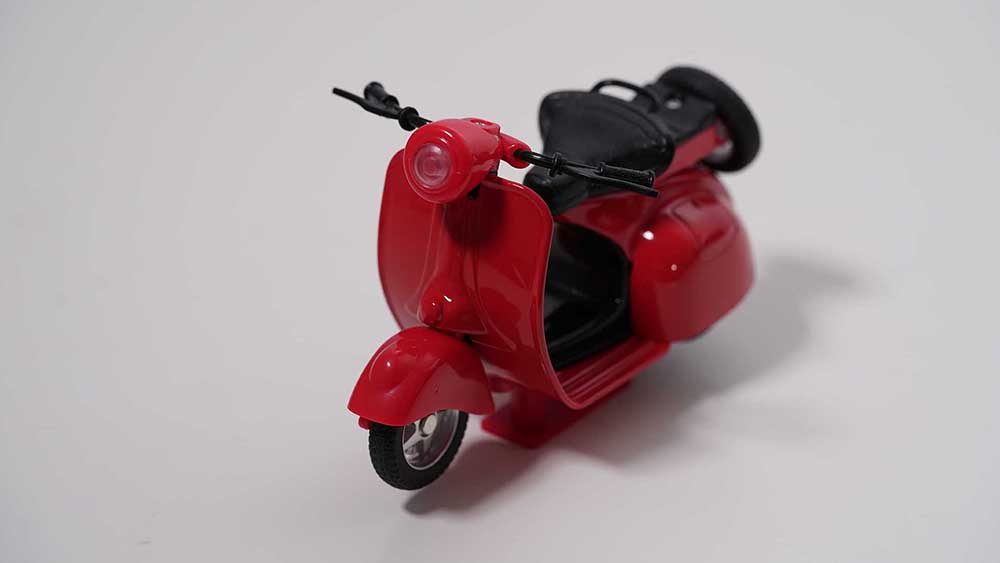 The first image of the sequence, note the back of the scooter is defocused.
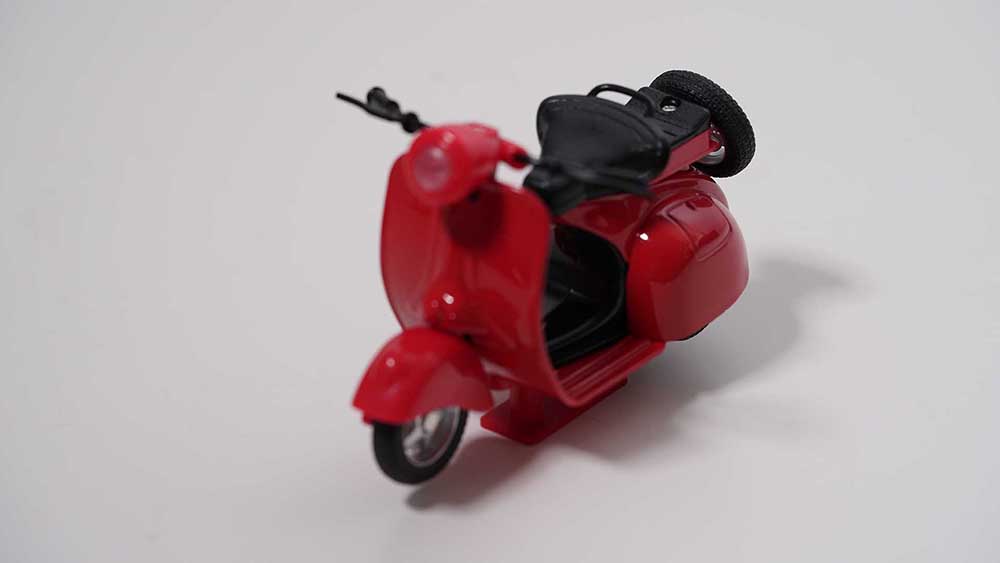 The second image in the sequence, Note the front of the image is defocused
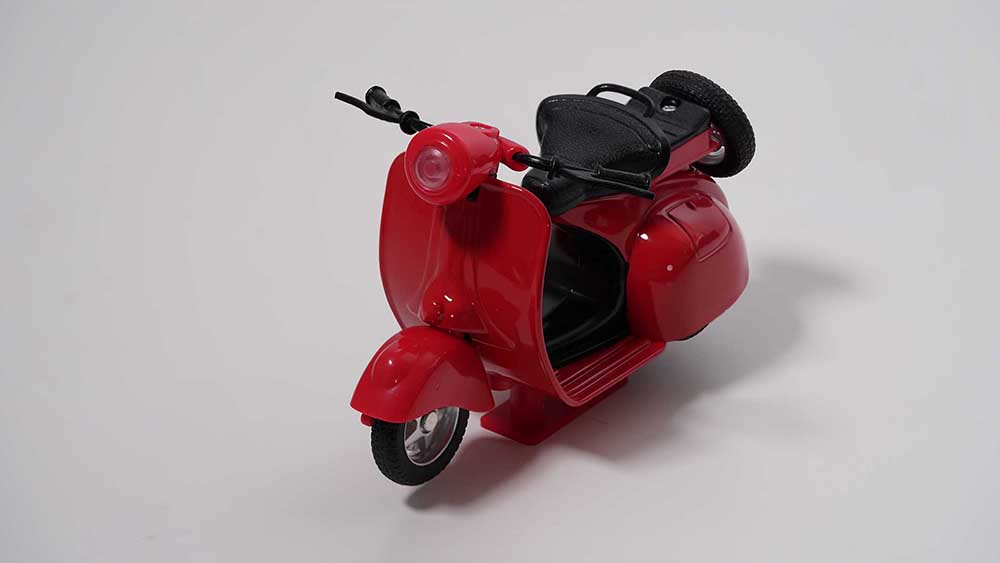 Final composite of the red scooter using the first and second images.
1. Set-up your camera on a tripod and compose the image.
2. Set the camera to manual exposure and manual focus mode. This is important to prevent any unwanted changes in exposure or shifts in focusing.
3. Select your lens’s optimum aperture, this is often around f/5.6, but f/8 will usually give high-quality results as well.
4. Focus the lens on the point nearest to the camera that you want to be sharp and take a photograph.
5. Without moving the camera or changing the composition or exposure, refocus the lens a little further into the scene and take another shot.
6. Again, refocus the lens a little further away from the camera and take another shot. Repeat this step until you have sharp images of every element in the scene. With a landscape, you usually only need three or four images, one with the foreground in focus, another of the mid-ground in focus and a final one of the background in focus. You’ll need more shots with macro subjects because the depth of field is so shallow in each frame.
7. Next, transfer your images to your computer or hard drive and open Photoshop before selecting File > Scripts > Load Files into Stack.
8. Click Browse and locate your images.
9. Make sure that you put a tick in the box next to Attempt to Automatically Align Source Images then click OK.
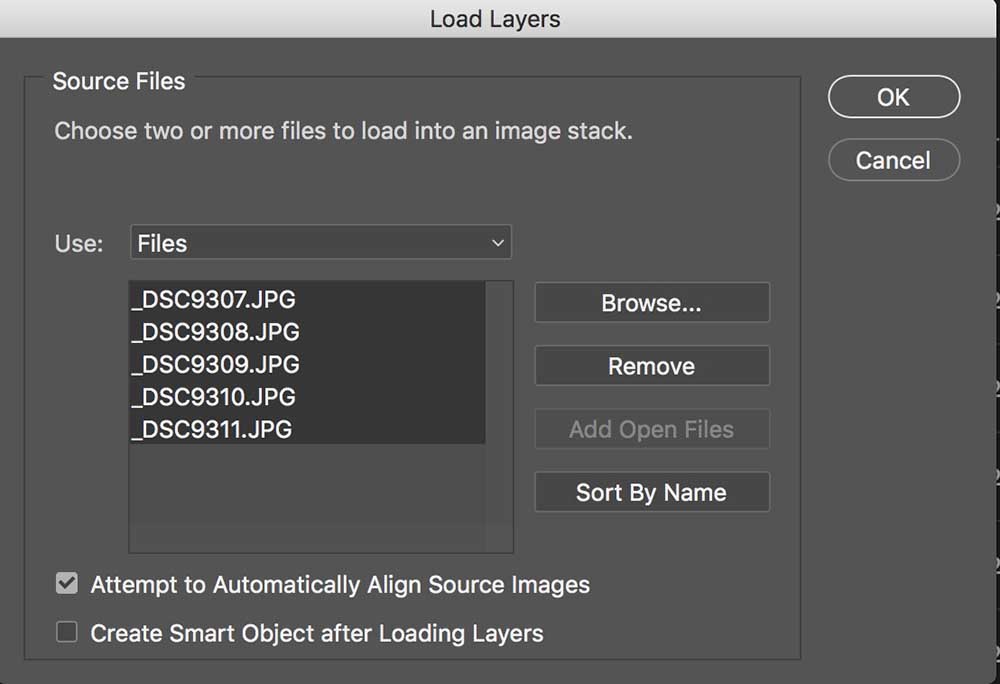
Steps 8 & 9
10. Next, click on Select > All Layers.
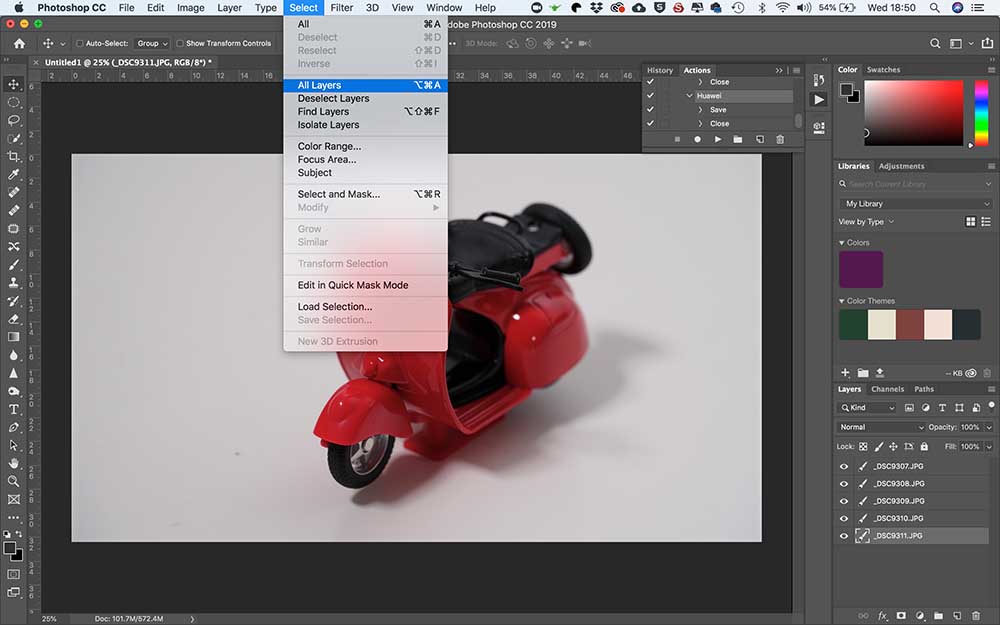
Step 10
11. Now select Edit > Auto-Blend Layers and in the box that appears, make sure that the boxes Stack Images and Seamless Tones and Colours are both ticked before clicking on OK.
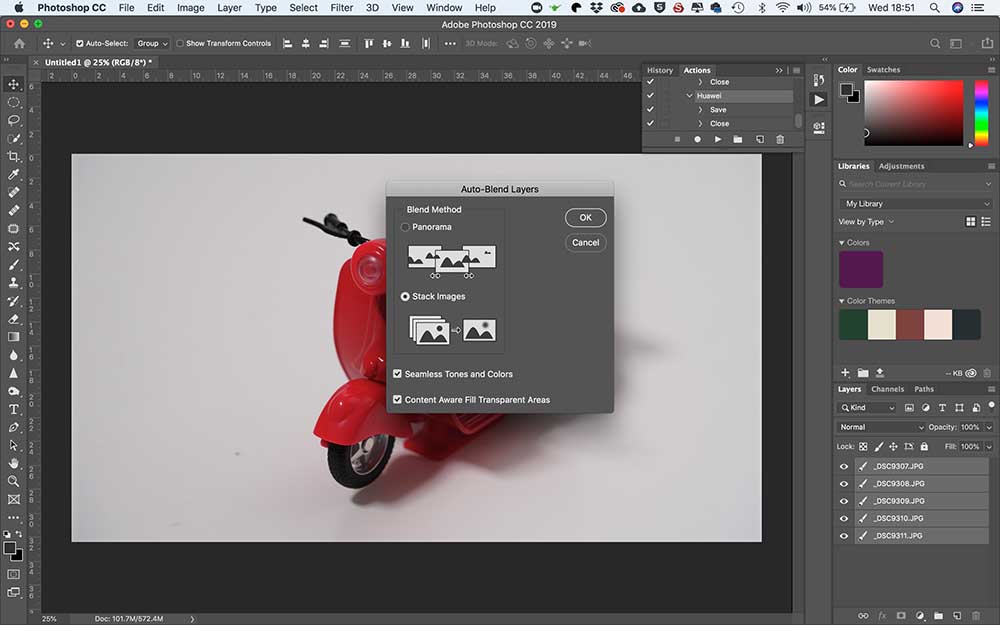
Step 11
12. Photoshop will now merge the images making the sharpest part of each image visible. The last step is to select Layer > Flatten Layers and then save the image.
Final Composite Image:
Share your results by posting them to our Facebook page here: https://www.facebook.com/CliftonCamerasUK/
- 19 Oct 2018


