


Golden Hour Photography - The best time of day to shoot
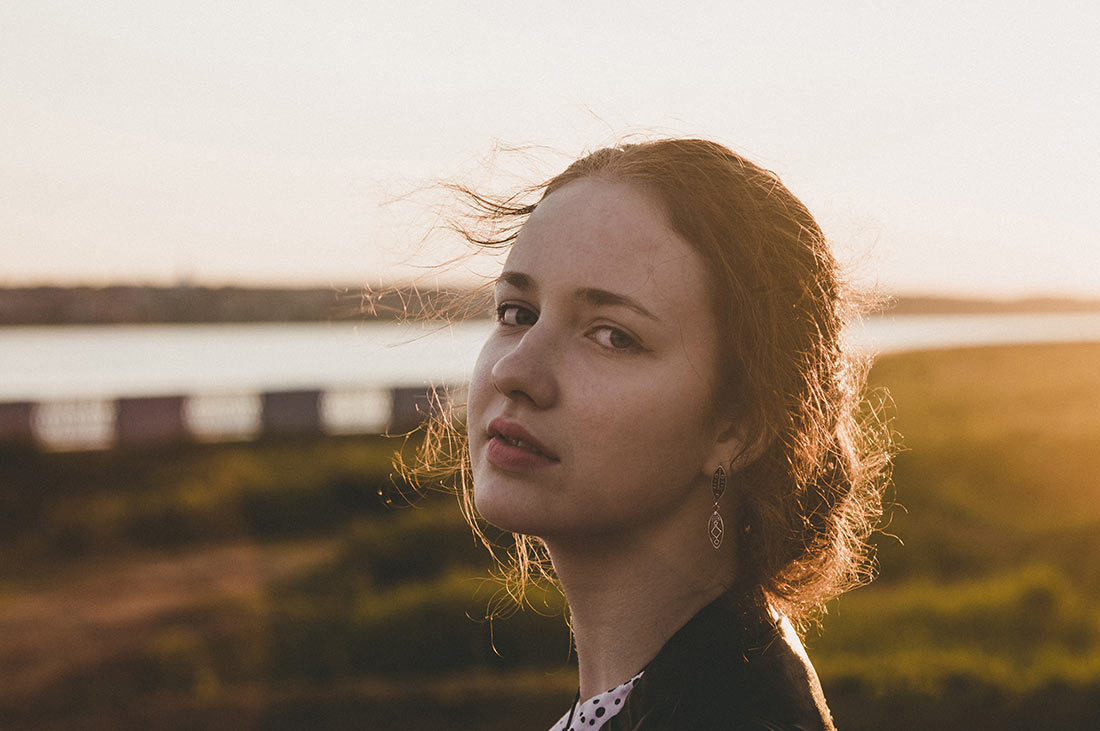
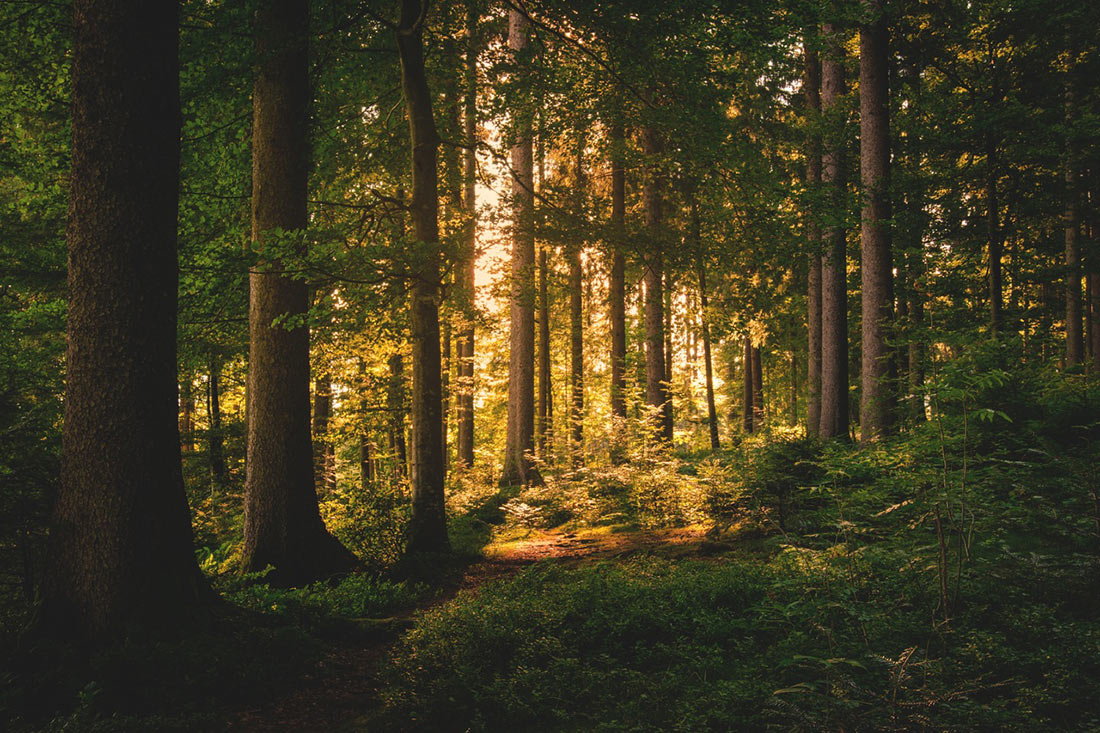
The hour immediately after sunrise and before sunset is often called the golden hour because the low sun casts beautiful warm light giving the landscape a honeyed glow. But as its name suggests, it doesn’t last for long and it’s important to make the most of it. These tips should help.
Shoot Early
Don’t turn up at your proposed landscape location during the golden hour, get there good and early. In the morning that will mean turning up in the dark, so you need to do your location scouting earlier in the week during ‘normal’ daylight hours.
Check online or use an app such as Photographer’s Ephemeris to find out when the sun will rise and set so you can sure that you arrive in plenty of time.
Use a tripod
Better noise control and image stabilisation systems mean that a tripod isn’t considered quite the essential tool it once was, but the fact remains that if you want to get the very best results from your camera you should use a low sensitivity (ISO) setting and in the low light conditions around dawn and sunset, that means using a slow shutter speed. Using a tripod will ensure that you get the sharpest results possible.
Use the Daylight White Balance
If you use its automatic white balance setting your camera is likely to neutralise the warmth of the light and produce a dull image. Instead, use the Daylight setting, or even the Cloudy or Shade setting, as this will accentuate the warm tones of the light.
Use a Graduated ND Filter
Although the difference in exposure between the sky and the land is likely to be less than in the middle of the day, it can still be quite marked. If the sky looks too bright in your shots, a graduated neutral density filter can come to your rescue by darkening in future images.
Simply position the filter in the holder on the end of your lens with the dark portion covering the sky, and the light/dark graduation falling along the horizon and then shoot as normal.
Try HDR
High Dynamic Range (HDR) photography is a useful technique that allows you to capture detail the highlights and shadows of a scene and consequently it can be useful for sunrise and sunset photography. Many cameras have an HDR option built-in, but you can also combine images shot at different exposures using Merge to HDR in Lightroom or Photoshop, or a dedicated HDR software package such as Aurora HDR. Shooting and merging images manually gives you more control over the final look of the image.
Shoot Raw
Raw files contain more data than jpegs which means that they are a far better choice if you need to make any adjustments - particularly to colour. This means you’ll be better able to tweak the white balance to makes sure colours look just as you want them and if you need to brighten the shadows, or bring down some of the brighter areas, there’s less chance of introducing noise or banding.
- 13 Apr 2018


