


How to Use Film Simulation and Picture Style Modes
While many photographers like to process RAW files, an increasing number of experienced shooters are seeing the benefit of using in-camera settings that tailor the colour and contrast of JPEG files to their own taste – cutting out the need to process files post-capture.
If you take a look at your camera’s menu you’ll find an option called Film Simulation (Fujifilm), Picture Style (Canon), Picture Control (Nikon), Picture Mode (Olympus), Creative Style (Sony) or Photo Style (Panasonic). Within these are options usually called things like ‘Standard’, ‘Landscape’, ‘Vivid’ and ‘Monochrome’. Each of these is designed to give your JPEG files a particular appearance, adjusting the colour saturation, balance (in some cases), sharpening and contrast. You just need to select the one you want.
It’s also often possible to select an option and then adjust these aspects yourself, so you get exactly what you’re looking for. Your camera will indicate the button to press to access the options.
...you’ll have a better idea of whether you’re getting what you want.
Why bother?
The beauty of investigating your camera’s Picture Style options is that you’ll find one or two that you like and that suit your images. This can save you lots of time processing images later. Also, if you like using your camera’s built-in Wi-Fi system to share images straight after capture, it means that you’ll be sharing images that are closer to what you really want the world to see.
Even if you enjoy processing RAW files post-capture, it’s worth using the Picture Styles because you’ll have a better idea of whether you’re getting what you want. This is especially true when shooting monochrome images. If you shoot RAW and JPEG files simultaneously in Monochrome mode you’ll see a black and white image in the viewfinder of a compact system camera before you take the shot. This gives you a much clearer idea of how you’re image will turn out than looking at a colour version.
With a DSLR you can preview the black and white image in Live View mode or see the captured result when you review the image.
Whichever type of camera you use, if you shoot RAW and JPEG files simultaneously, the RAW file will have all the colour information so you can make a bespoke black and white conversion using your favourite editing software, while the JPEG will be monochrome. The best of both worlds.
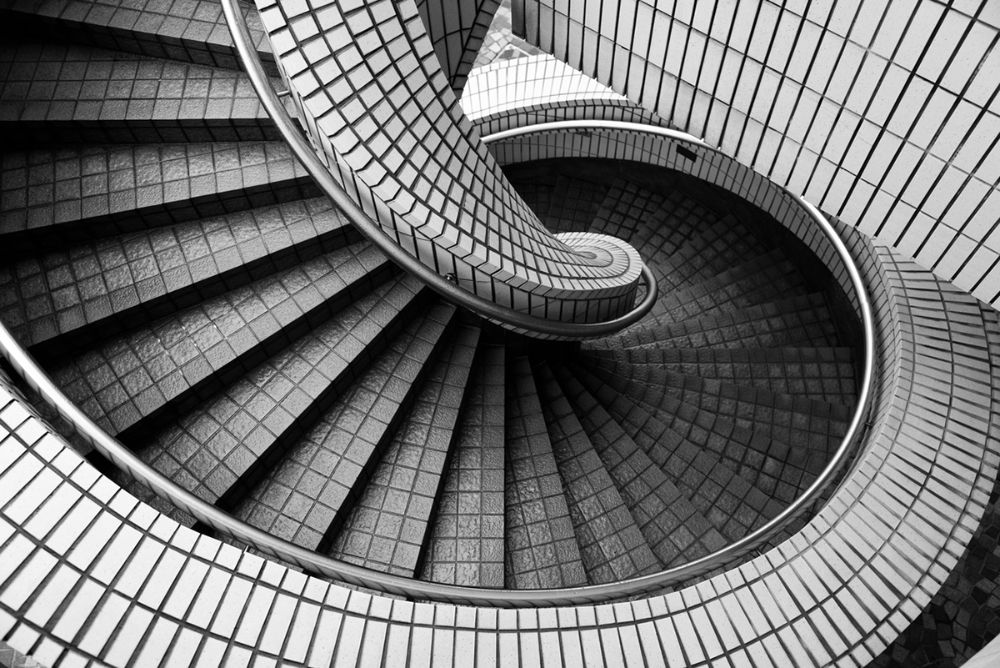
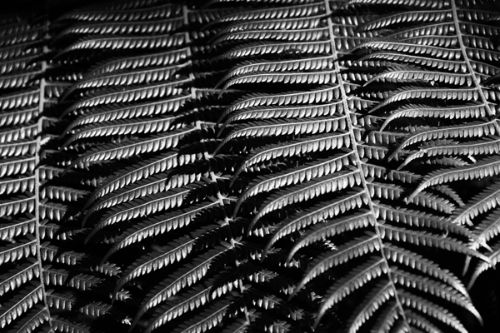 Even if you want to convert a raw file, it’s worth shooting in Monochrome mode so you can see if the scene works well in black and white.
 Landscape mode usually boosts the saturation of green and blue to enhance a landscape scene.
- By Matthew Ward
- 28 Mar 2017


