


Metering Part 2: How to use a handheld light meter
In part 1 of our guide to exposure metering we explained how a camera’s metering system works and how it can sometimes be tricked into under or over exposing images if the subject is very bright or dark respectively. This happens because a camera’s light meter measures the amount of light reflected from a scene and it’s calibrated to make the subject a mid-tone. A handheld light meter avoids this problem because it can measure the incident light - that’s the light hitting the object so it doesn’t matter how light, dark or reflective the subject is, the reading will be the same provided the light itself doesn’t change.

Using a light meter
Most light meters can measure incident or reflected light but its their ability to measure incident light that makes them especially useful. To do this you need to ensure that the domed lumisphere (essentially a white diffuser) is in the correct position over the light sensitive part of the meter.
Next you need to set the sensitivity value (ISO) you want to use and select the measurement mode. Just like your camera, some light meters allow you to select shutter priority or aperture priority mode while others use a scale that lets you read off a range of shutter speeds and aperture settings that are suitable for the lighting conditions. If you opt for shutter or aperture priority mode you need to dial in the shutter speed or aperture setting that you want to use.
The next step is to measure the exposure. The most important thing here is the location and angle of the light meter. Ideally you should position it immediately in front of your subject and pointing back towards the camera. With a portrait you want to hold it in front of the person’s face as the aim is to ensure that the meter is in the same light as them.
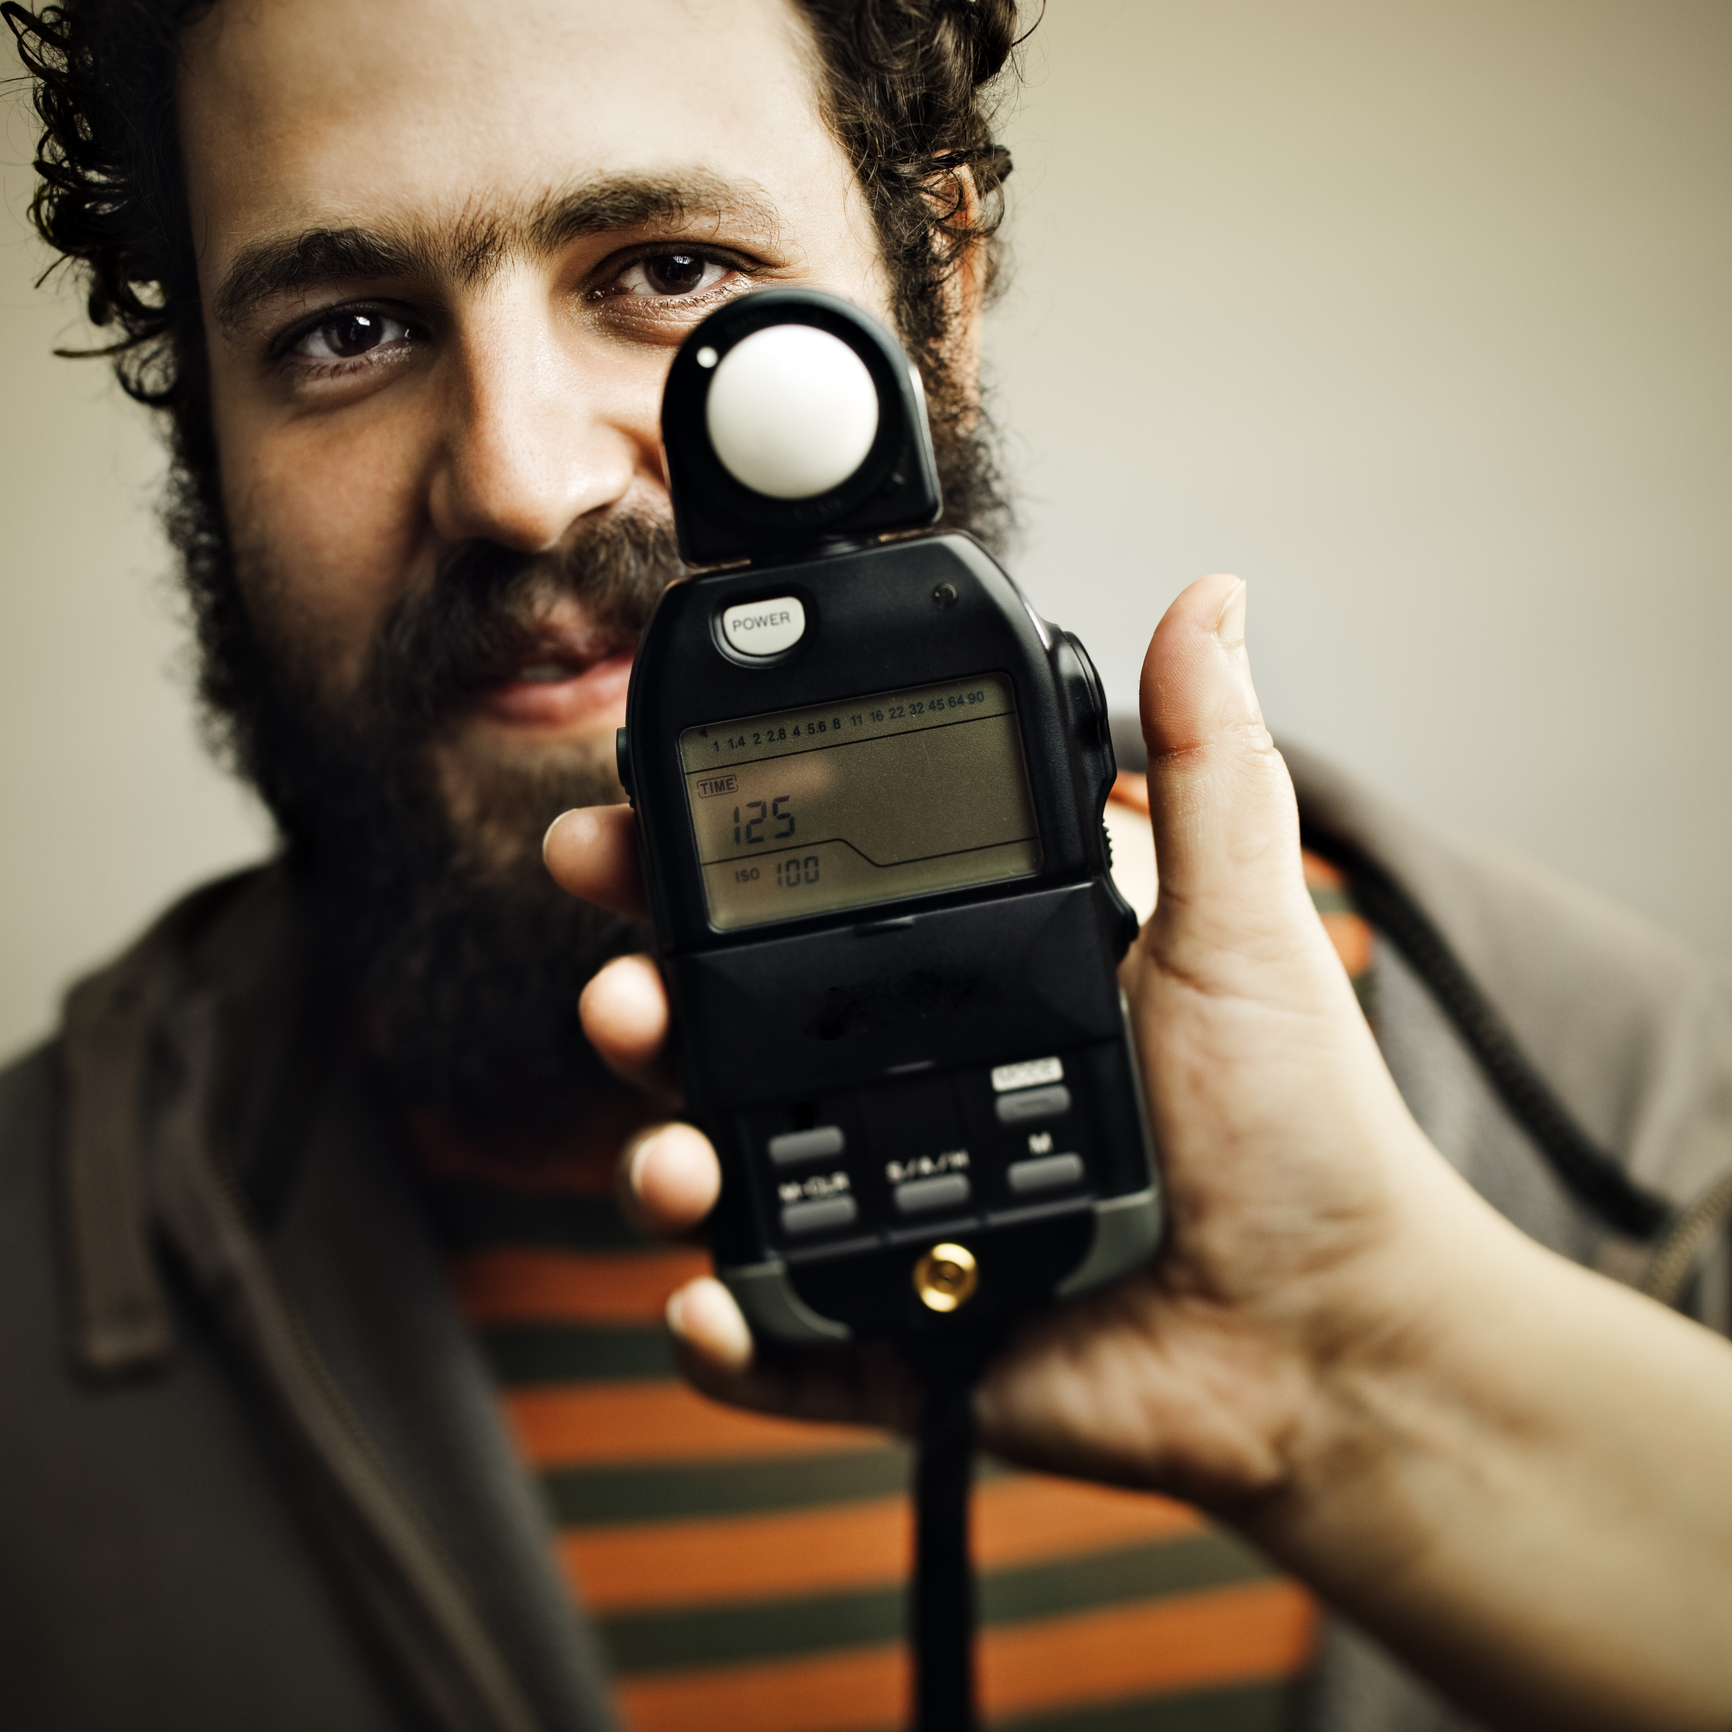
It’s also important to make sure that you’re not casting a shadow or blocking the light. Once you’ve correctly located the meter, press the button to take a measurement and then read off the values before. With your camera set to manual exposure mode you should now set the shutter speed and aperture values recommended by the light meter. When you look in the viewfinder the camera’s exposure meter may disagree with the selected settings, but there’s no need to worry, when you take a shot you should find your subject is perfectly exposed.
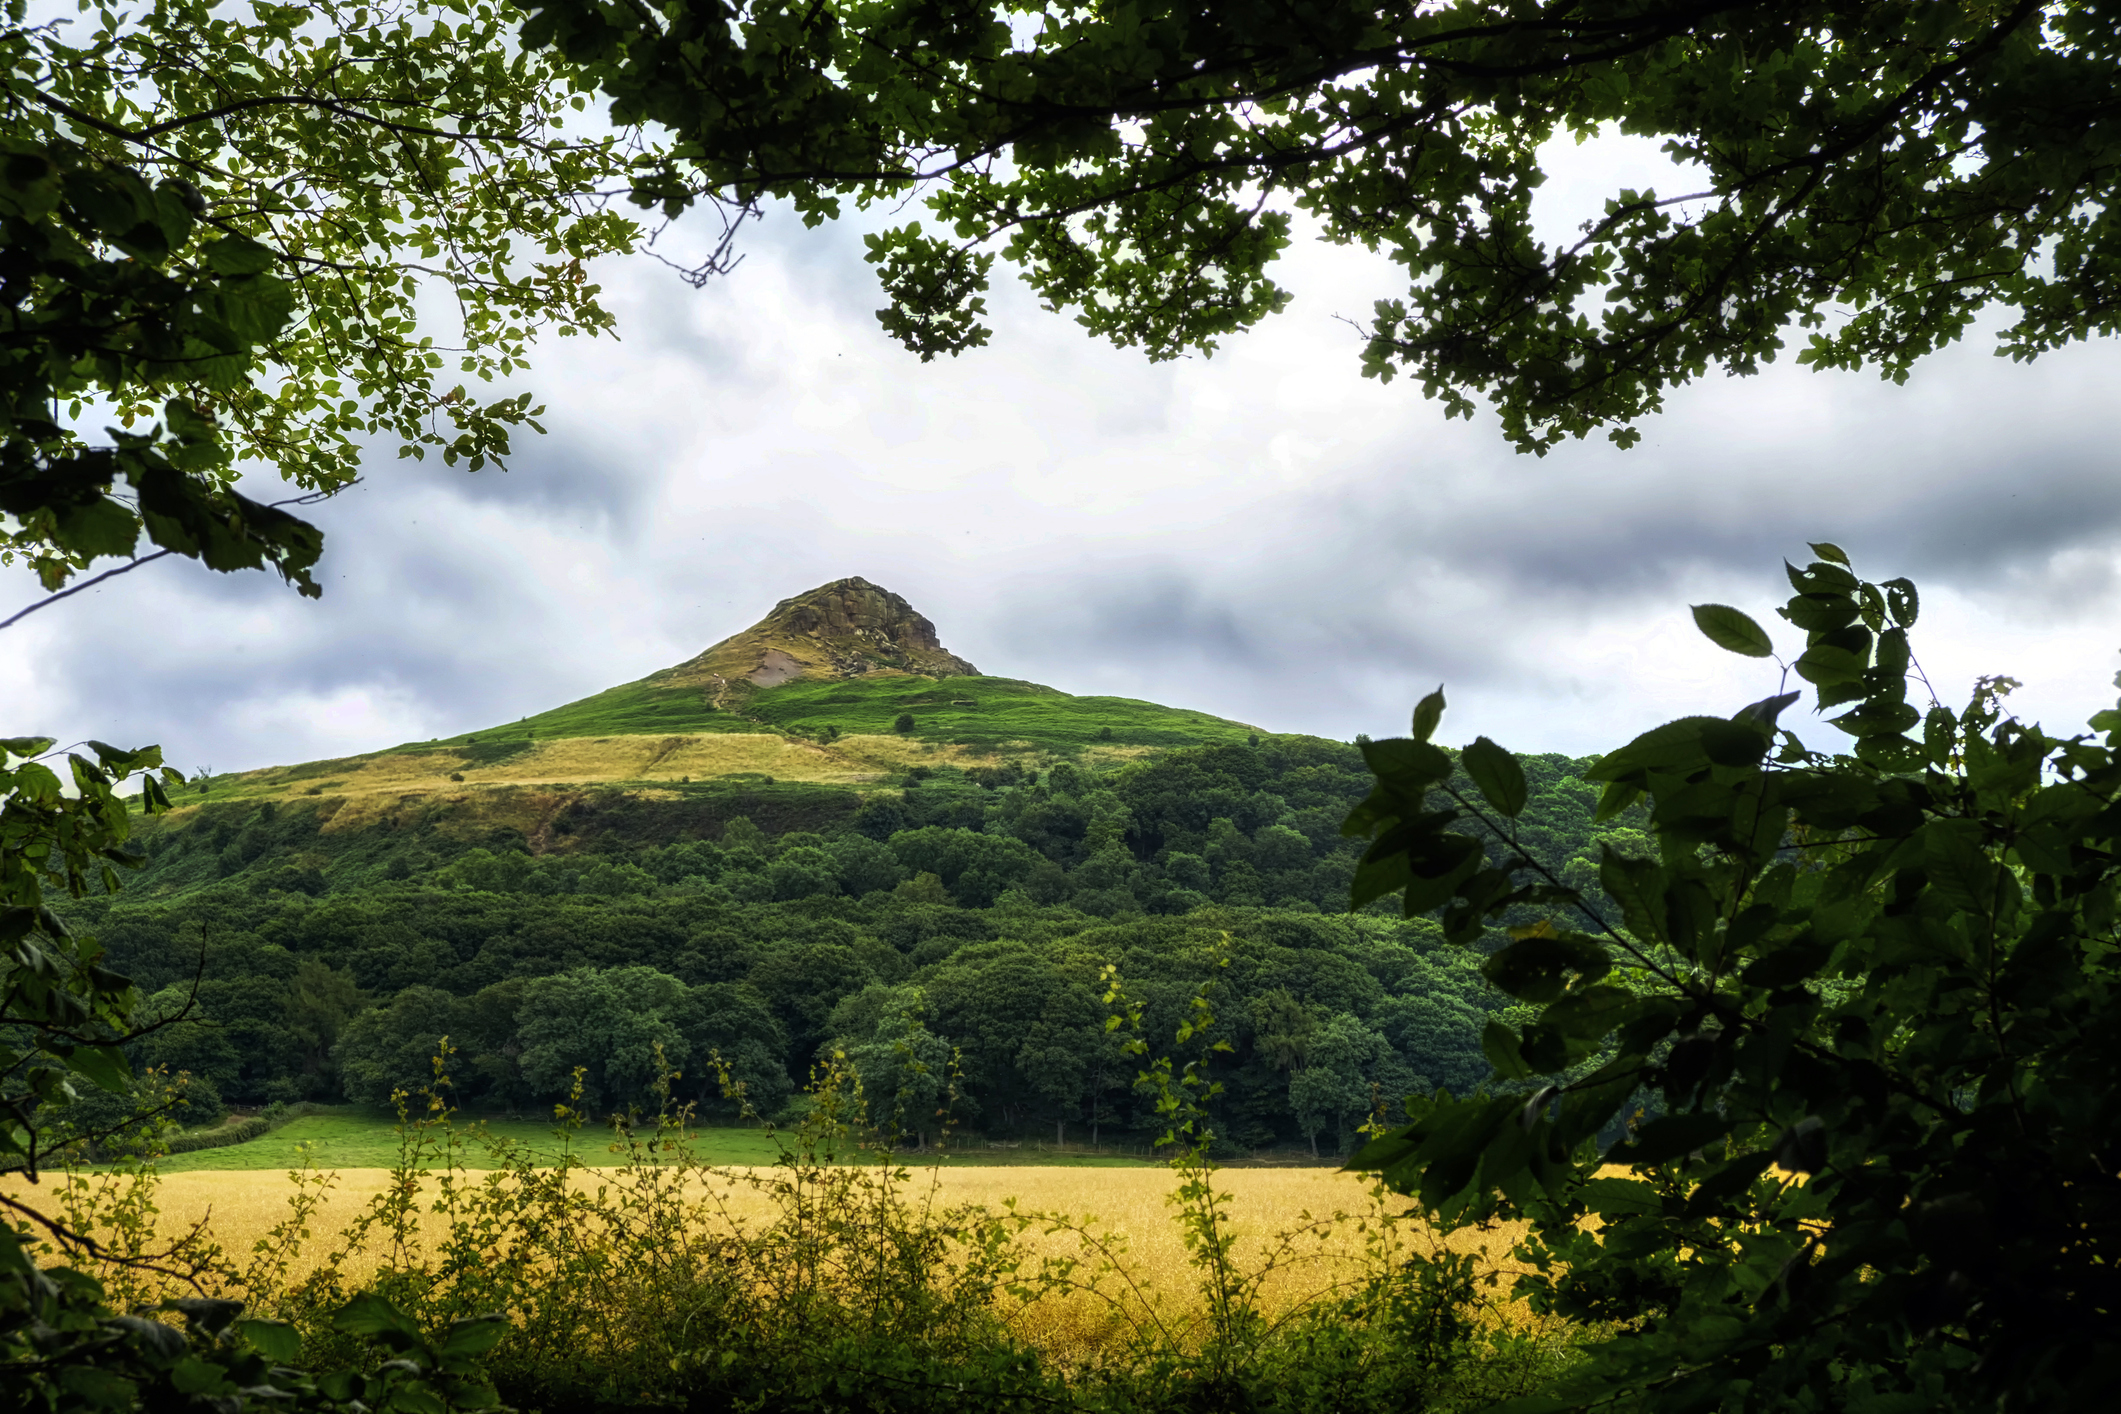
Using an exposure meter for landscapes
Even if you’re photographing a distant view you can use a handheld light meter to set your camera’s exposure values, you just need to take care with where you make the measurement. If you’re standing under the shade of a tree to make use of the foliage for framing, for example, you’ll need to walk out into the sunshine and point the light meter’s lumisphere back towards the camera to take a reading.
- By Matthew Ward
- 22 Aug 2017


