


Oh I do like to be beside the seaside!
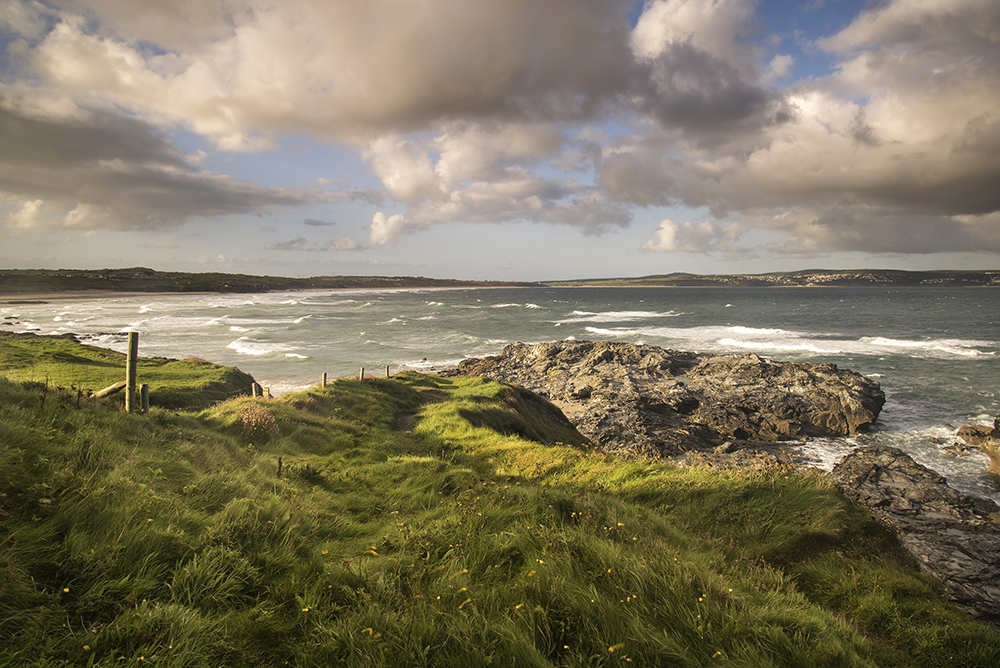
- One of the most amazing things about the seaside in the UK is the tidal nature of the sea – twice a day, every day, the tide comes in and washes the beach clean of footprints and sandcastles. It’s something that is really worth paying attention to if you’re planning on taking photographs. If you want to capture the seaside at its most natural and un-spoilt, the best time to visit is as the tide goes out, revealing the pristine beach.
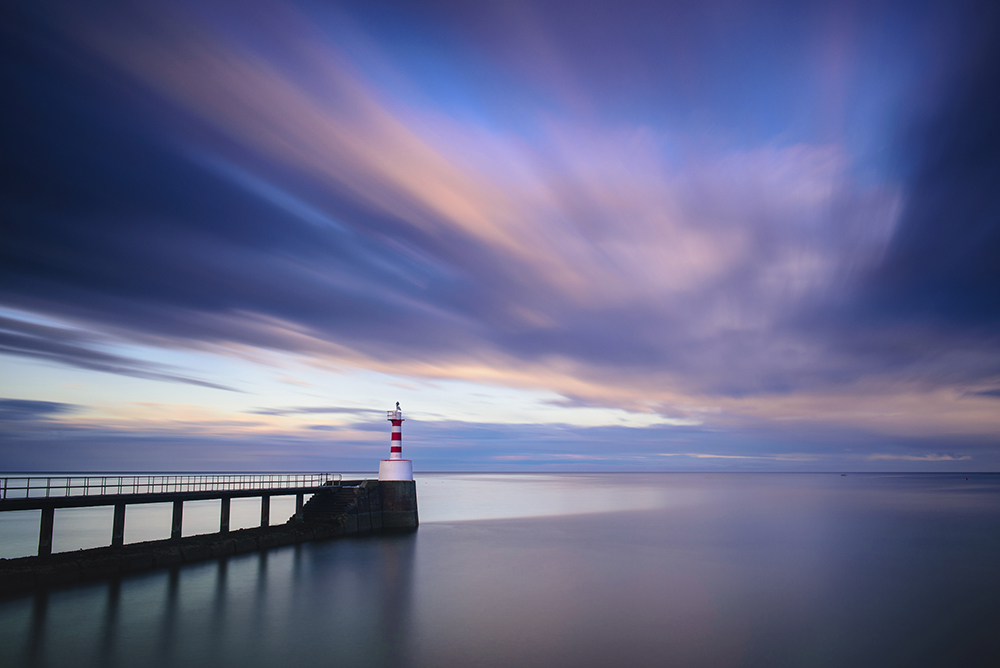
- However, if you want this to coincide with the golden hour around sunrise and sunset you’ll need to consult the tide timetable (online at http://www.tidetimes.co.uk/ or use a smartphone app such as My Tide Times) to work out which date and time to make your move. Sunrise is usually the best bet, because you’ll be there before any other beachgoers.
Long exposures
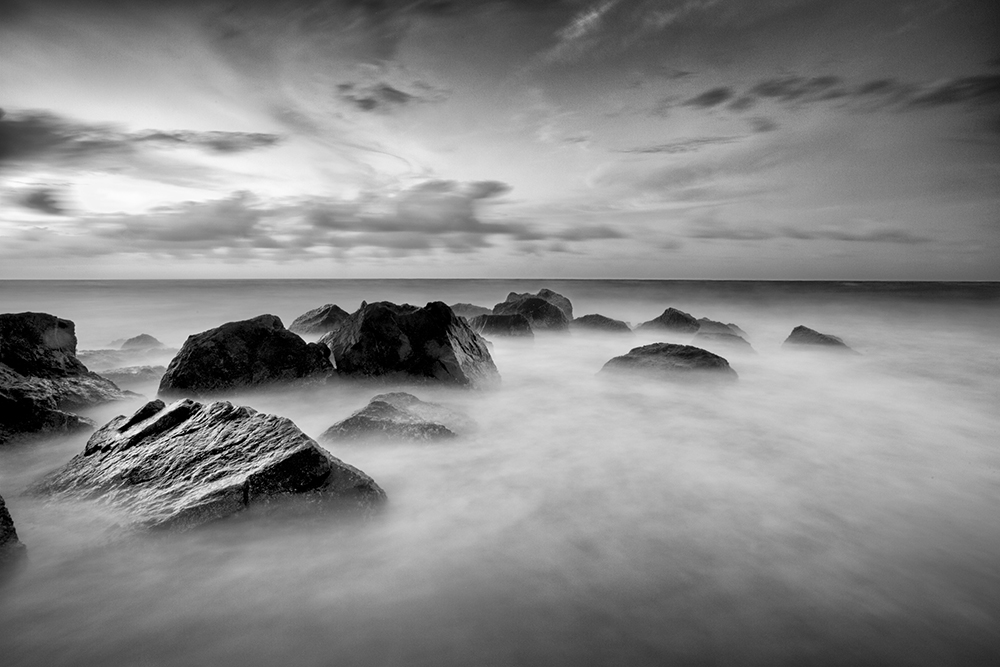
The movement of the ocean can make for very attractive long exposure images, and a sturdy tripod along with a ‘strong’ neutral density filter like the ones from B+W, Kenko, Leica and Syrup make worthwhile additions to your kit. Once fixed on the end of your lens, a neutral density filter lets you shoot long exposures in daylight.
Shoot with a small aperture such f/16 to give plenty of depth of field (a wide sharp zone around the focus point) and use a low sensitivity setting to ensure minimum noise and high image quality.
The length of the exposure required to blur the water depends upon the size of the waves and degree of blur that you want. In some cases a second or two may do it, but in others you may need several minutes. A little experimentation is required to find what you like.
If you’re making exposures that are measured in minutes, you won’t want to mess about guessing how long they should be. Use a smartphone app such as Long Time or Triggertrap to help you calculate the correct exposure based upon a test exposure without the filter. You simply dial in the exposure without the filter, along with the filter strength, and the app tells you how long you need to make the exposure with the filter.
Because strong neutral density filters cut out a lot of light you need to compose the image and focus the lens before attaching the filter. Once the lens is focused, switch to manual focus mode to prevent the focus from shifting when you depress the shutter release - if you use back-button focusing that’s not an issue.
Keep it steady…
- Obviously when you’re shooting long exposures or in low light you need to use a sturdy tripod, but there are a few extra precautions that are worth taking when you’re shooting at the seaside. First off, make sure you know which way the tide is going – and if it’s coming in, ensure you set-up in a location in which you and your camera will be safe for at least the duration of your exposure.
- Sand can be softer than you think, so your tripod may sink down very slowly during the exposure, causing the wrong type of blur. This is especially likely to happen when you’re shooting towards the edge of the sea as the tide comes in around you.
- Ideally, find a spot on some rocks to shoot from, but alternatively, you could take along three plastic plant pot saucers to place the tripod legs on and distribute the weight. Another option is to push the tripod legs hard into the sand so that any sinking is over and done with before you start shooting.
Composition
Guides such as the rule of thirds and leading lines that you use in landscape photography all apply to seascape photography, and it’s particularly important to ensure that the horizon is straight.
If you’re shooting a long exposure, include something solid in the scene that won’t move; rocks, groynes and jetties are all ideal. They help you make sense of the swirling water, giving context and form.
Wide empty beaches can look rather dull and featureless so try to find some form of foreground interest. This could be a piece of seaweed, a few rocks or footprints leading along the shoreline.
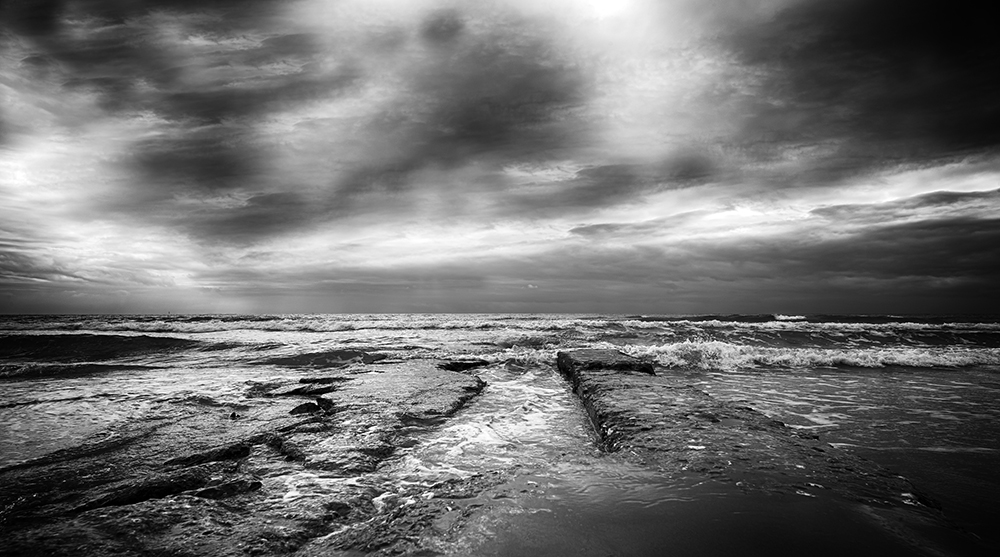
Whatever the weather
While our natural inclination might be to head to the coast when the weather forecast is good, you’ll often find you can get more interesting results in less popular weather. The muted tones of the sea, sand and rocks seem to come alive and threatening clouds add drama - plus there will be fewer people to contend with. Plus, stormy seaside conditions look especially good in black and white.
- By Matthew Ward
- 26 Sep 2016


