


Painting with Light
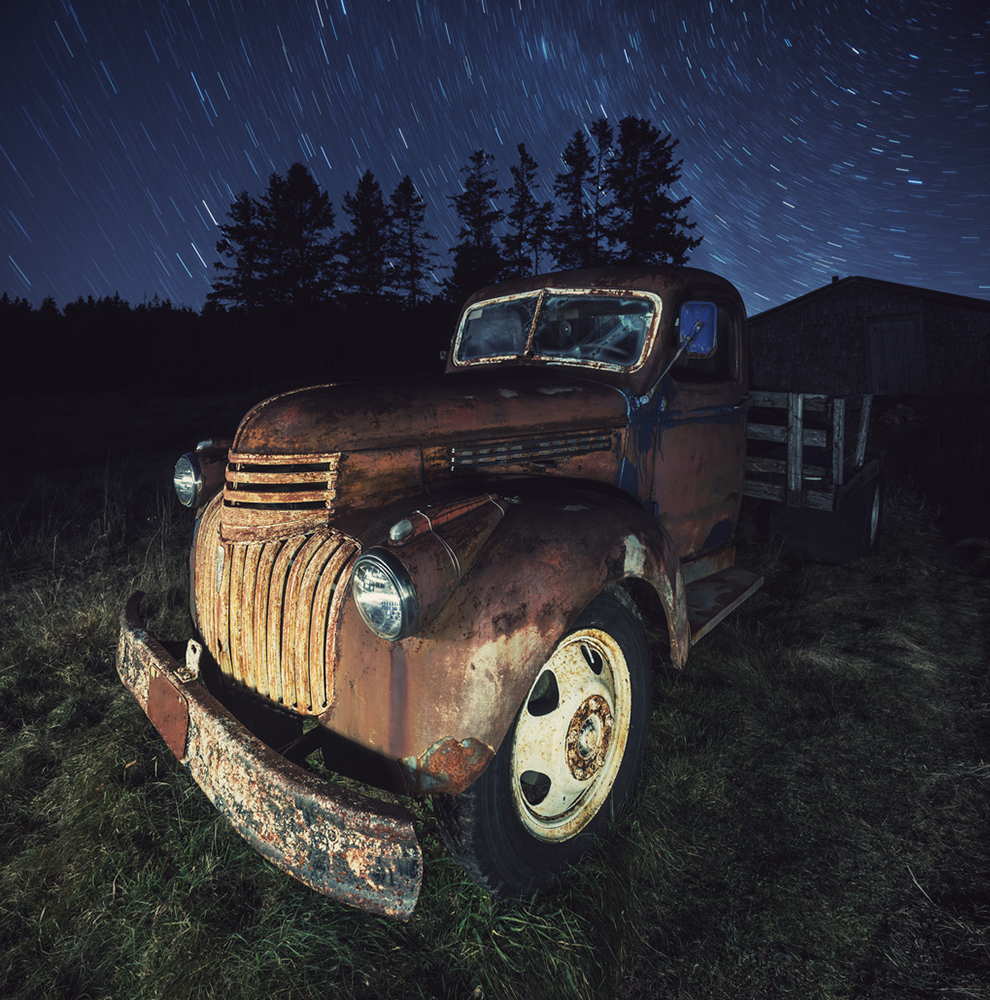
Painting with light is ideal for winter and spring because it requires dark conditions and a long exposure, making long dark evenings perfect. The technique get’s its name from the fact that light from a torch is used to ‘paint’ over a subject. Alternatively, shapes can be created in the air using a torch to ‘draw’. It’s also a technique that can be applied to a huge range of subjects, from a small still life to an expansive landscape.
Kit list for painting with light
- Any camera that allows bulb exposures
- Tripod
- Remote release
- Torch or another light source
- A second pair of hands can be useful
Getting started
Once you’ve identified a suitable subject and shooting location, the first step in painting with light is to set up your camera on a tripod. Then connect your remote control and set the camera to Bulb mode.
Next, set a low sensitivity (ISO) setting to keep image noise to a minimum, and select a suitable aperture to allow both the depth of field that you need and a long exposure - between 30 seconds and 4 minutes or so will normally be ideal.
Focusing can be tricky in the dark, but it’s often possible to get a camera’s autofocus system to do the job if you shine a bright torch on your subject and then focus on it. Once focus has been achieved, switch the camera to manual focus mode so that it won’t alter when you take a shot.
Now you’re ready to make your first image! Press and lock the shutter release on the remote controller. Then, start using your torch to illuminate the subject. Move the torch across the subject in even, steady movements, being methodical so that everywhere is covered. Once you’ve finished covering the areas you want to pick out, return to the camera and close the shutter.
Check the image on the screen on back of the camera. If the image is too dark, you’ll need to extend the exposure time and move the light more slowly across the subject, or pass repeatedly over the same area. You can also move the torch a little closer to the subject so the light is more intense – or consider opening the aperture, or raising the sensitivity settings.
Conversely, if the image is too bright, shorten the exposure, paint the light faster, move further away or close the aperture a little.
Getting more creative
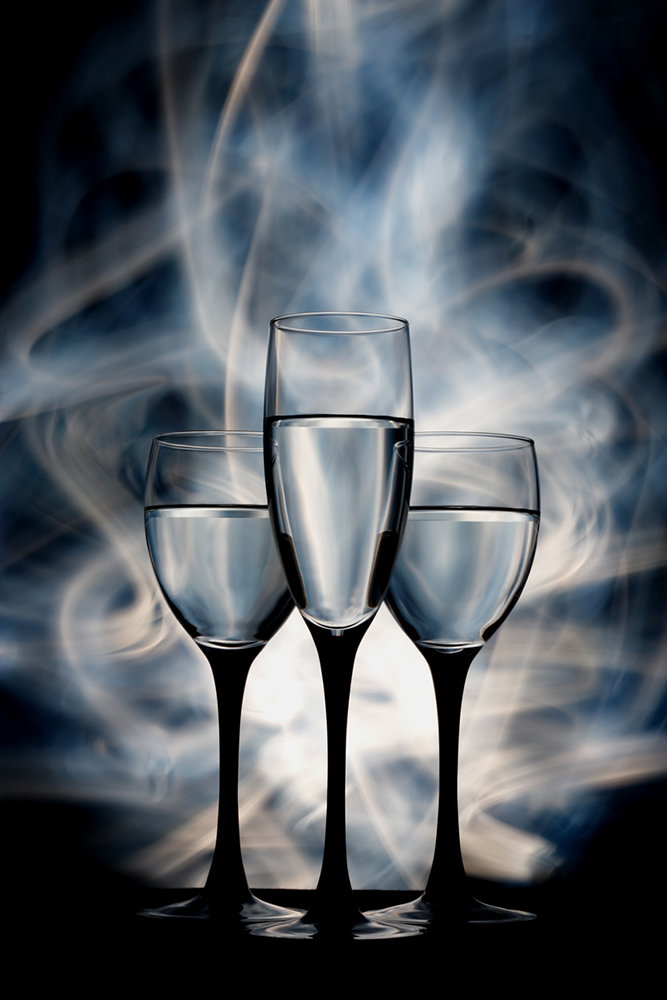
Once you’ve mastered simple white light, you can expand your palette by using gels, coloured plastic bags or sweet wrappers over the torch to created coloured illumination. Also, as well as using the light to illuminate a subject, you can try directing it back towards the camera and drawing shapes in the air. This is usually best done with a less powerful or diffuse light source – small LEDs and sparklers are ideal.
- By Matthew Ward
- 31 Jan 2017


