


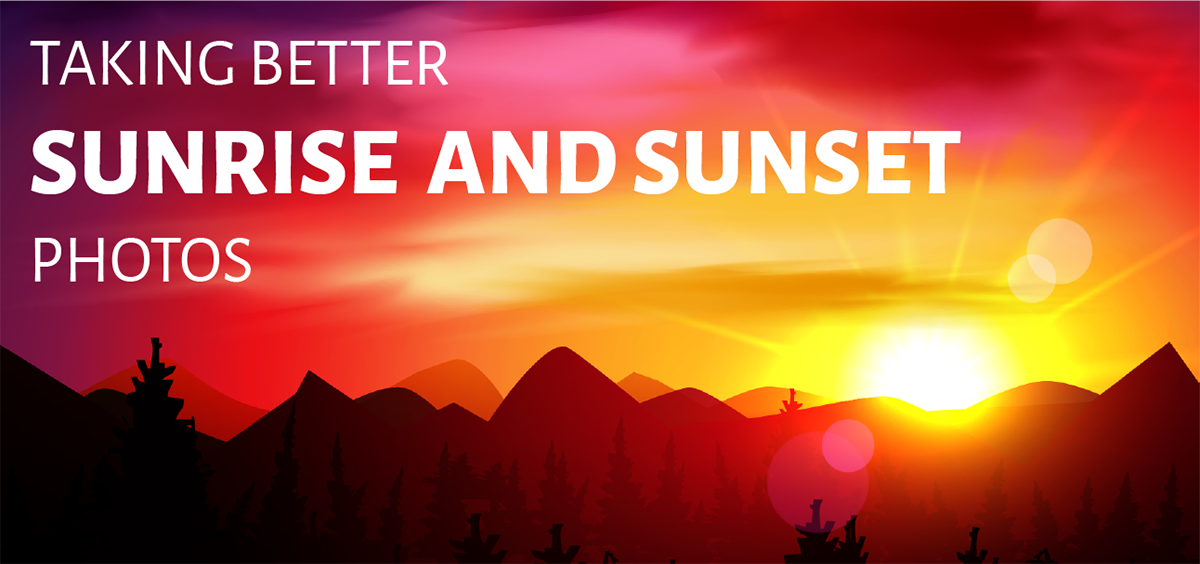
Taking Better Sunrise and Sunset Photos
Often referred to as the ‘golden hour’, the period following a sunrise or before a sunset is a magical time for photography, where the daylight becomes a redder, softer hue that casts incredible patterns across the sky.
Considering there’s a short window to take advantage of, knowing how to make the most of these periods is key. Despite the ‘golden hour’ term, you’ll probably get around 30-45 minutes to play with if you’re lucky, so make sure you’re prepared.
Preparation
You can either stumble across a sunset on a day out shooting, or you can prepare in advance. Use the weather forecast or an app on your phone to find out the sunrise and sunset times for any day you want to go out shooting, then set your alarm to remind you. For sunrise photography, you want to be on location just after the sun rises, as you’ll have around an hour to take advantage of the light. For sunsets, you’ll need to be there around an hour before.
Next, you’ll want to scout out a shooting location. Landscape photographs get lots of benefits from sunset and sunrise – but the incredible lighting also makes for interesting portraiture. Choosing a coastal location is useful, as you’ll have access to good water effects thanks to the sun rising or setting on the horizon, depending on which side of the country you’re in.
If you’re travelling to an unfamiliar area abroad, feel free to ask local photographers where the best sunset locations are.
In terms of kit, you should bring a choice of lenses and a tripod – as the stability will help with exposure settings. Lens-wise, you’ll likely want a fixed focal length wide-angle lens such as a 24mm and a telephoto lens. This will vary depending on what you want to shoot, though a 24mm-70mm or 70-200mm are safe bets. Pack an ND filter too.
Choosing Settings
The most impressive sunrise and sunset shots are taken with longer exposures, letting the light tell a story in the image. To take your own, you’ll need creative shutter speeds that require a tripod to avoid camera shake. It’s also wise to shoot in RAW, as you can rescue subpar shots with editing.
To achieve a slower shutter speed, most photographers set a small aperture such as f/16, f/18 and f/22 using aperture priority mode. Because you’re usually shooting INTO the sun in a sunrise or sunset photo, manual mode would require adjustments too often to make it viable. Once the sun actually sets, however, manual mode comes into its own. Keep ISO as low as possible.
Don’t use automatic white balance as it typically doesn’t anticipate the warmer colours of sunrises and sunsets. Instead, try using direct sunlight, daylight or cloudy settings and experiment with each.
Metering: Your camera’s metering mode aims to balance the light in an image by assessing the frame and determining exposure settings. However, different metering modes have different effects – and for sunset and sunrise photography this is important.
- Matrix/Evaluative metering divides a frame into multiple zones that assess individual areas of light and dark to try and give the best overall exposure. For sunrise and sunset, however, the varying levels of light can be flattened by this metering.
- Spot/partial metering can be useful for focusing on silhouettes.
- Centre-weighted metering is influenced by bright areas, but that’s a good thing for sunsets.
Exposure is vital when you’re shooting into the sun, as the bright light throws settings out of sync and leads to darkened subjects. Using exposure compensation is therefore vital in restoring the proper balance – typically settings between -2/3 to -2 work well when shooting bright scenes.
However, if you’re using evaluative (or Matrix) metering on your camera it can be hard to use exposure compensation as the metering mode might have already compensated for the light. Instead, use spot or partial metering.
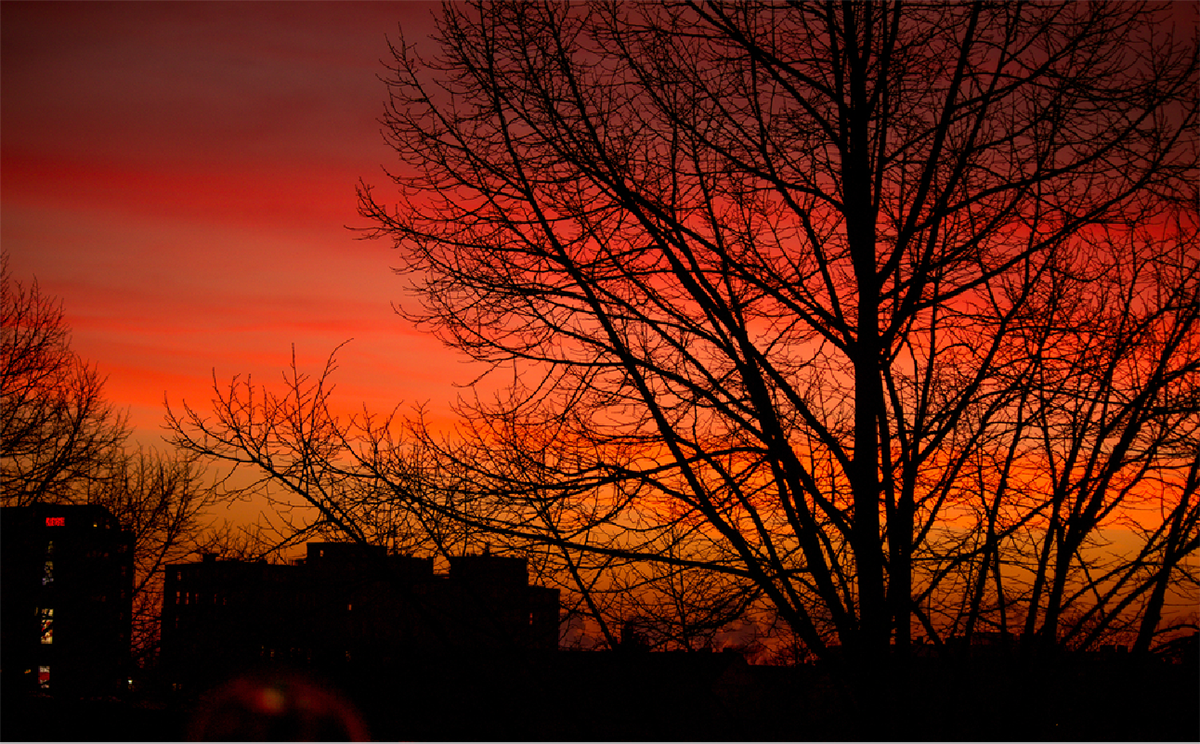
When trying to silhouette the foreground and capture detail in the sky, you’ll often look at your RGB histogram and see that red is overexposed and the blue and green channels are underexposed. You’ll have to take more than one photo – one for the red channel and then one for blue and green. You can then combine these shots in editing to get deep silhouettes but colourful skies.
Framing
We’ve made reference to shooting into the sun in the sections above, but really some of the best shots involve turning away from the sun. Don’t be afraid to turn your back on the sunlight to capture better scenes.
The foreground is the best way to capture good sunset or sunrise photographs, as it gives the image something to focus on and an object of interest. A strong foreground adds depth to a scene. Place the horizon line in the bottom third of the image if it’s a good sunset or sunrise, or in the top third if the sunset isn’t as strong.
As we mentioned earlier, water in a sunrise or sunset image creates amazing reflections, as the light will bathe the water. If you’ve got your tripod with you, taking a long exposure involving water can create a ton of interest.
Bracketing
HDR doesn’t always mean overly processed images. Instead, it’s a useful way to bring out colour in difficult lighting. Using exposure bracketing, which involves taking multiple shots at different exposures of the same image and mapping them on top of each other, you can create terrific images with more even lighting.
To bracket for sunrise and sunset, shoot a few images – one underexposed, one over and one mid-range. Use your histogram to make sure you have one shot that’s dark enough to have no white areas, and one that’s light enough to have no black areas. Bracket images two stops apart at least to ensure you get the right range, and don’t change the aperture setting between pictures as this will change the focus and ruin it.

From here, you’ll want to run the bracketed images through a HDR tone mapping software of your choosing. Don’t over-process, as this will produce exactly the kind of HDR images frowned upon by the community.
- By Matthew Ward
- 24 Mar 2017


