


The basics of black and white photography
There was a time when black and white photography was the only option available to you, but today you can shoot in colour and convert images to black and white whenever you like.
Theoretically, you don’t even need a computer: most modern digital cameras can help by creating monochrome images in-camera. In some cases, these are very good – but the best results are usually created by converting a Raw file post-capture.
Nevertheless, if your camera allows it, we highly recommend setting your camera to its black and white mode and shooting Raw and JPEG files simultaneously. The advantage of approaching it this way is that you get the best of both worlds: a monochrome image that you can check quickly on the camera’s screen, and a Raw file with all the colour data to convert later.
If you have a compact system camera (CSC) or use a DSLR in live view mode, you’ll even be able to preview the scene in black and white. If it has one, the CSC will also display a black and white view of the world in the viewfinder – this makes it much easier to select suitable subjects and ensure the exposure is spot on.
Great subjects
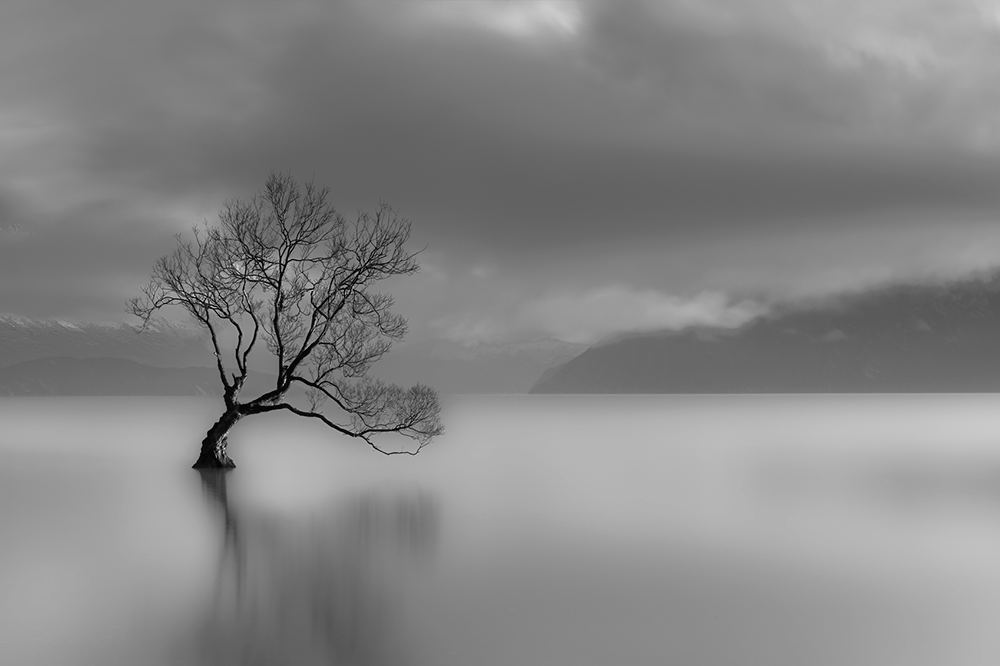
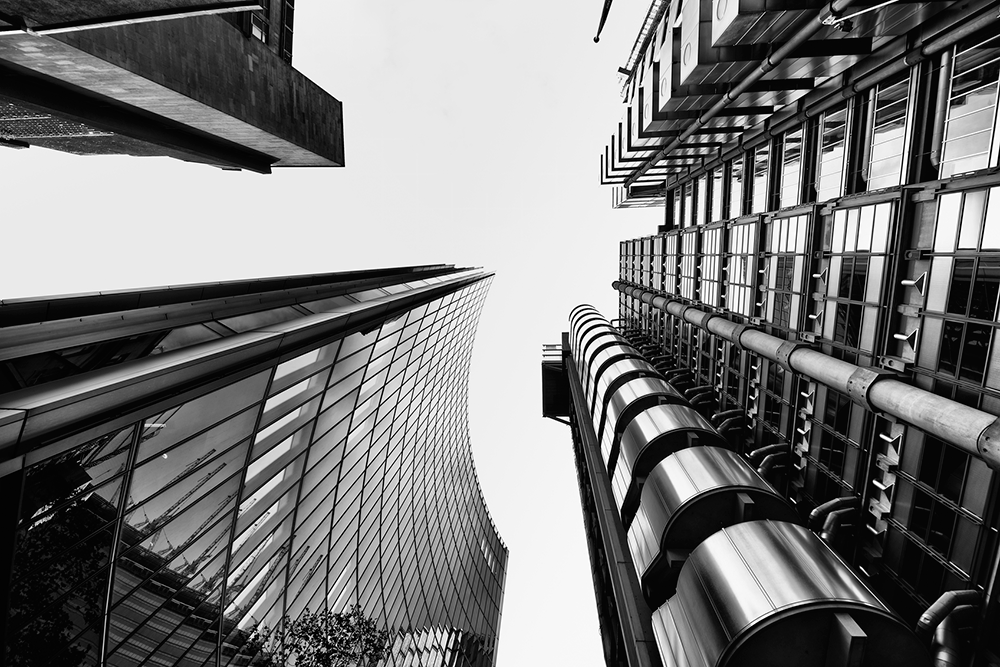
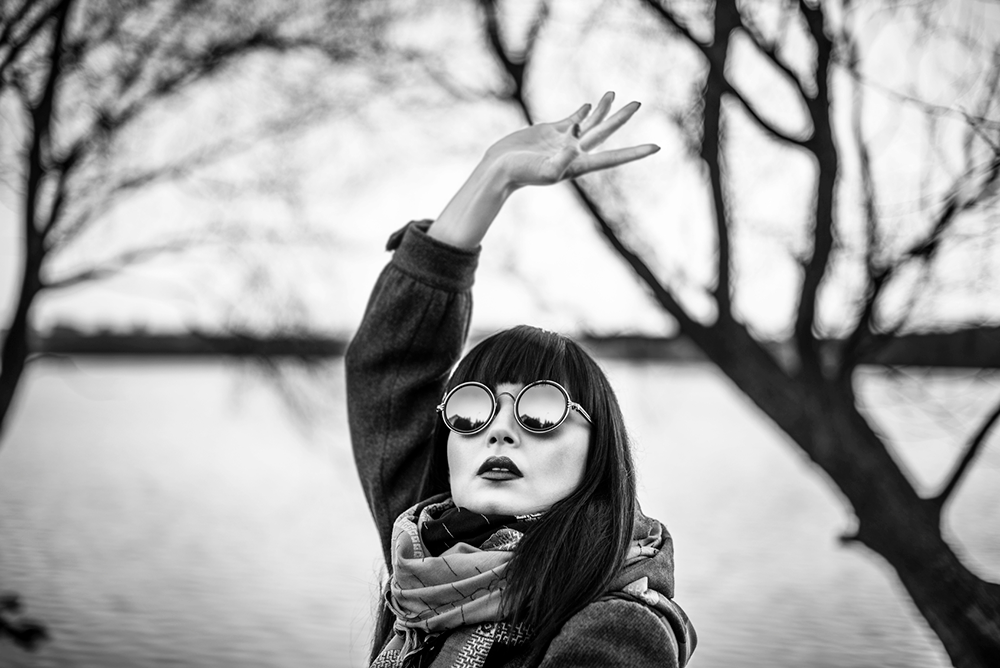
Black and white is a popular choice for documentary and reportage photography because removing the distraction of colour helps you focus on the story in the image. Subjects with interesting textures, or shapes - perhaps brought out by the light - also make a great choice for monochrome photography.
You can shoot black and white images in any weather conditions, but monochrome photography can be a great option for landscapes on overcast or stormy days when colours lack any zing. Removing the colour and injecting contrast can really boost the drama.
Get it right
Some cameras offer more than one black and white mode, and it’s worth experimenting with the options to find the one that produces the images you like best. Also try the adjustment options: some of the in-camera monochrome effects look better when the contrast is turned up, for example.
Many cameras have black and white filter effects that mimic the use of coloured filters over the lens. These brighten objects that are of the same colour, while darkening those of opposite colour. An orange filter or filter effect, for example, will darken a blue sky and help bring out any white clouds.
The closer you can get the in-camera image to match what you want to produce by Raw file conversion, the better you’ll able to assess your images at the shooting stage.
Raw file conversion
Adobe Lightroom and Photoshop both have controls that enable you to convert Raw files to monochrome and then tweak the image by adjusting the brightness of the colours in the original file using sliding controls. Google’s Silver Efex Pro now available for free as part of the Nik Collection is a very powerful and popular choice – many photographers also like to use On1 Perfect B&W, Topaz B&W Effects and MacPhun Tonality Pro (Mac only). Experiment until you find one that matches your style.
- By Matthew Ward
- 4 Oct 2016


