


White Balance Explained
Although they look broadly similar to our eyes, different light sources actually give off different colours – or temperatures – of light. Our eyes and brains do a great job of taking out the colourcast and interpreting colours correctly – and in a camera this job is done by the white balance system.
The vast majority of images are taken using a camera’s automatic white balance (AWB) setting. When this is selected, the camera looks at the scene, particularly the highlights, and tries to adjust the settings until any white areas appear white. In many situations it will do a great job, and AWB systems are getting more sophisticated all the time, but it’s not infallible and it won’t always deliver the result you want.
During sunset, for example, the sunlight is very warm and highlights will often have a warm glow. While many AWB systems are better at interpreting this than they used to be, there’s a tendency for them to take out the colour and make the image more neutral than the scene. Similarly, if you’re photographing a subject with one predominant colour or without any whites, an AWB system can get things a little wrong.
Automatic white balance systems also often struggle in shaded conditions, producing images that look a little cooler than reality - or a little cooler than makes for an attractive photo.
Using the presets
If you press the button to access your camera’s white balance settings, or take a look at the relevant section of the menu, you’ll see that in addition to the Auto option there are settings with names like ‘Daylight’, ‘Shade’, ‘Cloudy’ and ‘Incandescent’. These settings are designed for use in the lighting conditions that they are named after, and are calibrated to produce natural colours in those situations. That said, many camera’s ‘Shade’ settings tend to warm up scenes a little too much, and as a rule the ‘Daylight’ setting is usually the best choice in any natural lighting situation.
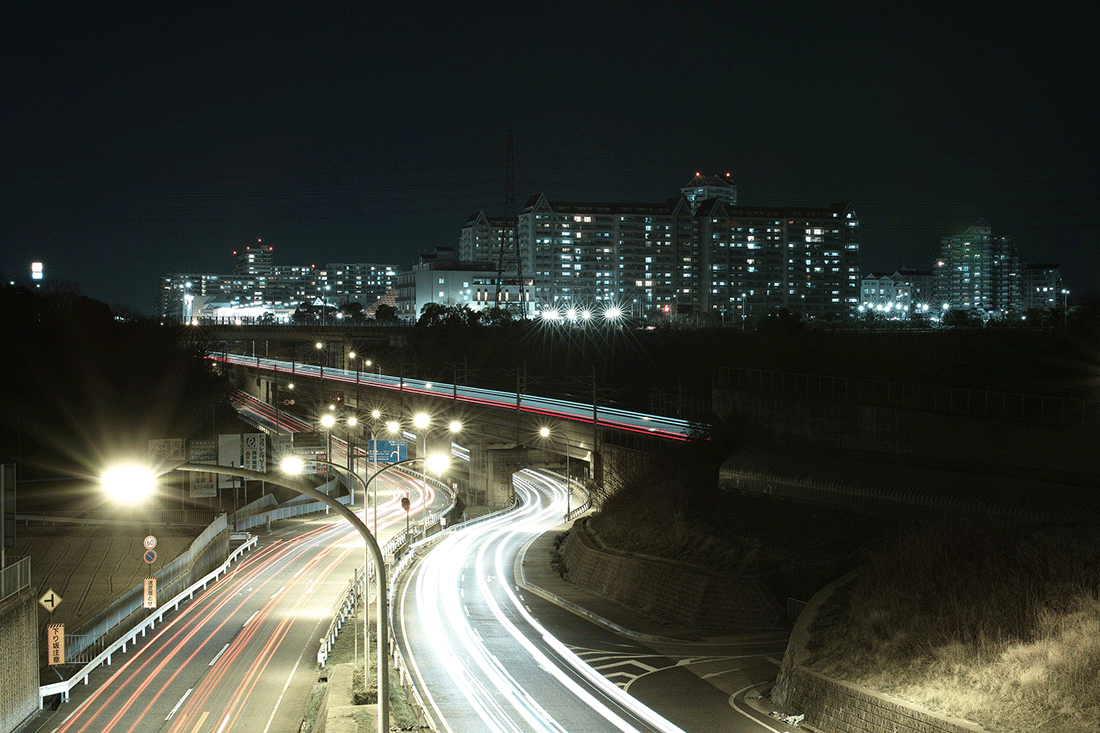
The 'Incandescent' White Balance setting - Photo Credit: halfrain
Going Manual
In mixed lighting conditions, or if you find that your camera isn’t dealing with a colourcast well, the best option is often to use your camera’s custom or manual white balance setting. This enables you to calibrate the white balance to the lighting conditions.
You’ll need to consult your camera’s manual to find out exactly how to do it, as the process differs a little from camera to camera. However, it’s not as complicated as it may sound.
The first step is usually to select Manual white balance in the menu and find the option that lets you change the value (the method is often indicated on screen). Then you need to photograph a piece of white or neutral grey card or paper in the same light as your subject. Your camera will usually confirm if the white balance has been set successfully, but you’ll also be able to tell because any colourcast should have gone from the images you shoot subsequently.
You can use the same white balance setting for as long as the lighting stays the same. If you use a new type of lighting, you’ll need to set the custom white balance again.
Getting creative with white balance
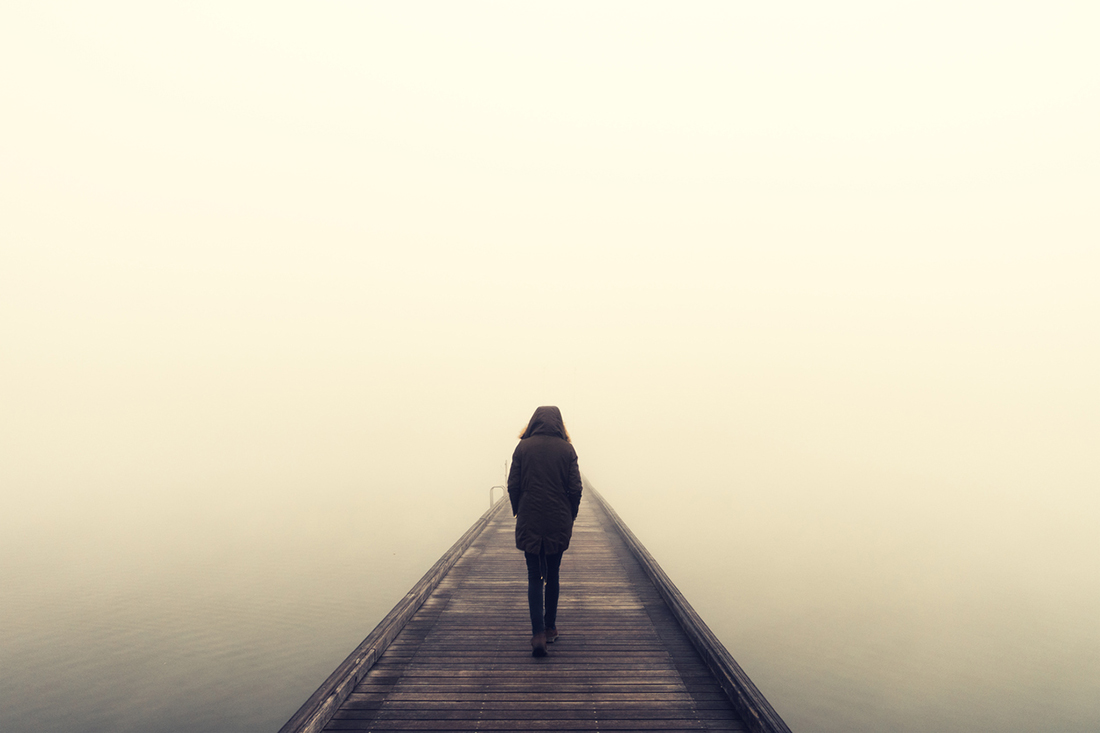
While a camera’s white balance controls are designed to enable you to produce neutral images, they can also be used to inject colour into photographs. Using the ‘Cloudy’ or ‘Shade’ setting, for example, gives a nice warm tone that can boost sunsets or summer evening scenes. It can give a sense of sun burning through mist and fog.
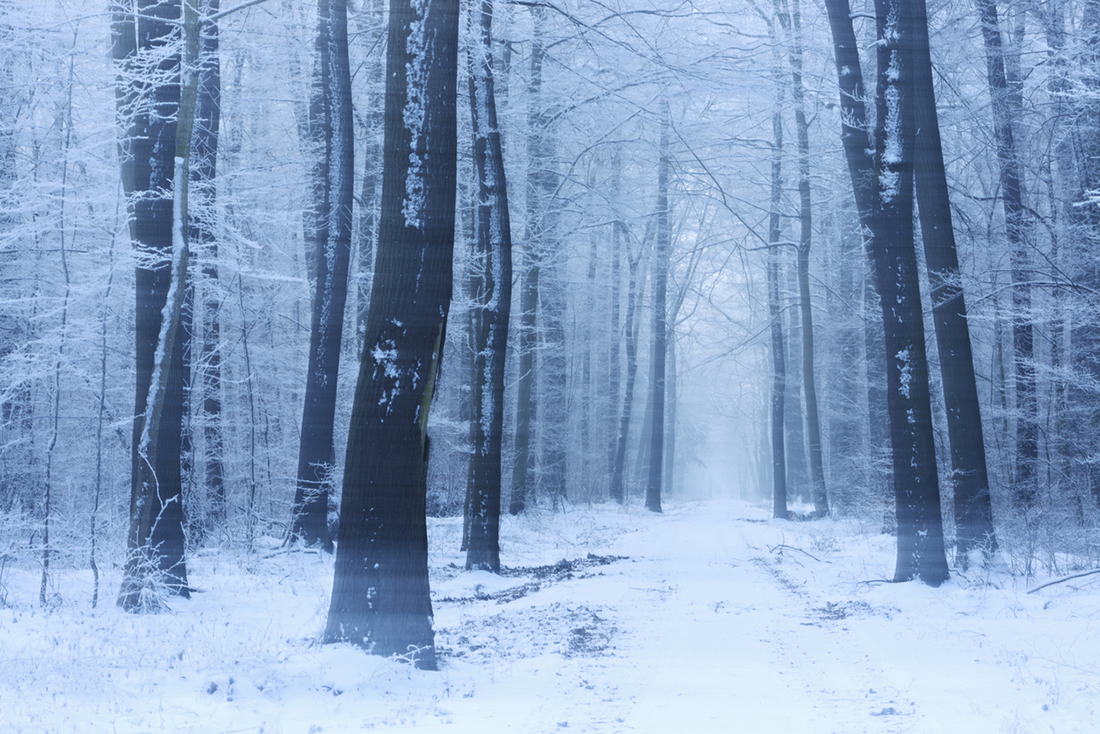
Meanwhile in normal daylight, the ‘Tungsten’ or ‘Incandescent’ setting produces a blue cast that can work very well with cold foggy scenes.
You can even used subtly-coloured cards to set a creative white balance manually, or adjust the Kelvin values in the white balance options to produce an attractive result.
- By Matthew Ward
- 27 Jan 2017


