


How To: Digital Pinhole Photography
Digital Pinhole Photography will give your images a dreamy quality, here's how to do it!
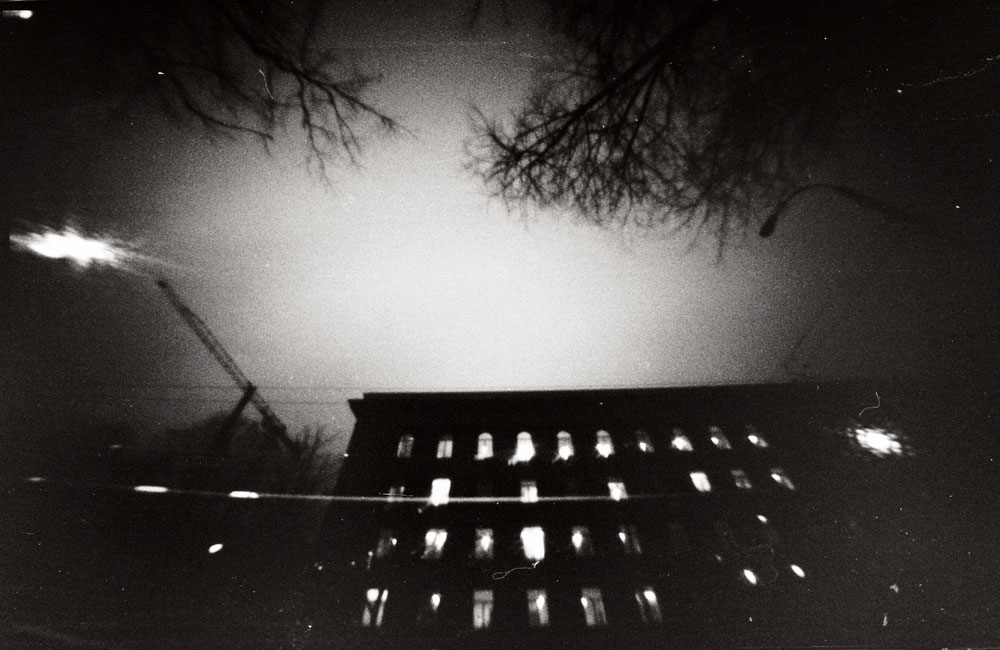
Pinhole photography gets its name from the fact that the photographs are taken through a tiny aperture that’s the size of a pinhole. Using such a small aperture means that there’s lots of depth of field but diffraction also has a significant impact so images have a soft, dreamy quality.
If you’ve never tried pinhole photography, it’s easy to get started using a few household tools and it costs next to nothing as the only thing you’ll have to buy is a body cap for your camera - assuming that you don’t want to drill a hole in your existing one.
Digital Pinhole Photography - Here’s what you need:
- Camera body cap
- A drill and small bit
- Pencil and paper
- A rule
- A square of aluminium foil
- A fine needle
- Black tape


1. Drilling a hole in your DSLR body cap
Even if you have a very fine drill bit, the hole you make with your drill is too large to be the pinhole but you need to create a hole for the pinhole to see through. It’s vital that this hole is at the very centre of your body cap.
The easiest way to find the centre of your cap is to draw two sides of a square on a piece of paper. Then put the lens cap on the paper so that it just touches the two lines. Now draw around the lens cap and use a ruler to complete the square with your pencil so that all four side just touch the circle you’ve drawn.
Next, draw two diagonal lines from the corners of the square, where they cross is the centre of the lens cap. Now cut out the square of paper and tape it to the lens cap. Use your drill to create a small hole at the centre of the cap.
2. Creating the pinhole
Cut a small square of aluminium foil and with it resting on a pad of paper, make a tiny hole with a very fine needle. Keep the needle perpendicular to the foil and make the hole as small and round as possible.
Next, use black tape to cover as much of the reflective foil as possible and tape the square to the inside of the lens cap. Try to make the pinhole as central to the cap as you can.

3. Start shooting pinhole photographs
Pinhole photography requires very long exposures and/or high sensitivity settings, so a tripod is essential.
If it’s a bright day and you’re using a mirrorless camera, or a DSLR in Live View Mode, you’ll probably be able to compose the image and assess exposure on the camera’s screen. If not, the easiest thing to do is to take a few test shots.
Set your camera to manual exposure mode with the sensitivity (ISO) at a mid-to-high value and the shutter speed set to 1 second. Then take a shot and check it on the camera screen. If the image is too dark, extend the exposure time, if it’s too bright, drop the sensitivity value.
Remember, pinhole photography is more about atmosphere than detail, so have some fun with it.
Try digital pinhole photography, buy a camera body cap HERE.
Read next
- 26 Jun 2018


