


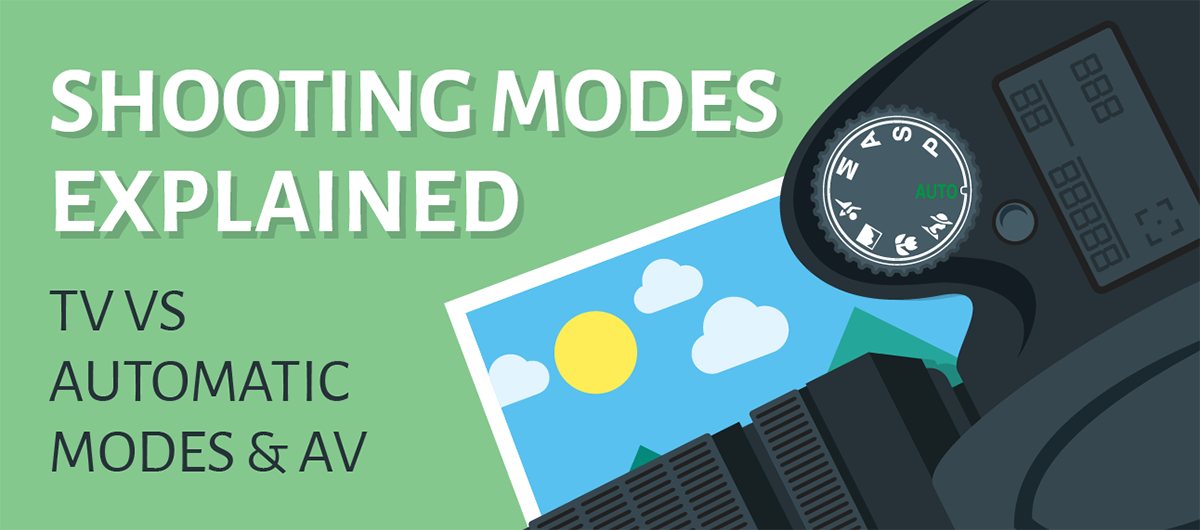
Shooting modes explained
When you look at the mode selection dial on your camera, the choices can seem overwhelming. What do you choose to ensure you capture the best picture? Even if you fully understand the exposure triangle and manual mode, there will be times that the other modes are more useful.
Luckily, we’ve got a full guide to each shooting mode and when you’ll use them. For a professional or hobbyist photographer, you’ll need to pay particular attention to the P, Tv and Av settings (or Programme, Shutter Priority and Aperture Priority.)
Each brand of camera has different settings – but many share similar settings or have equivalents:

Generally denoted by a green ‘auto’ sign, the fully automatic mode of a camera is the first setting you’re likely to try out as a beginner. It automatically sets the exposure values, including ISO. The camera’s on-board technology assesses the area you’re pointing it at, makes a calculated guess at what focus points need to be set and which exposure settings you’ll need and lets you capture at will.
Pros: Hassle-free shooting. Simply turn on automatic mode and start taking photographs.
Cons: You have virtually no control over the final look of the image. In a darker environment, this will result in blurry, unfocused images. Unless your camera has a non-flash automatic mode, it will also force fire the flash in darker scenarios.

Generally indicated by a running man icon, sport mode is automatic but prizes shutter speed over other settings. This can lead to an increase in ISO in order to freeze the action, which might lead to noisier images. Most cameras have an ISO cap you can set, which might be important for good sport photography.
Pros: In good lighting, this is a fairly simple way to capture fast action and freeze motion in place.
Cons: Due to the way this mode doesn’t let you control other settings such as aperture and ISO, the camera can produce sub-par performance.

All three of these settings are automatic, but cater to a specific purpose. Macro mode sees the camera prioritising closer subjects and setting focus accordingly – but an experienced photographer can easily achieve this with manual focus and manual shooting. Portrait mode sets a wider aperture to increase the depth of field effect. Landscape sets a narrower aperture in order to keep landscapes in crisp focus.
Pros: Each mode is essentially a quick-access tool to shooting different styles of photography.
Cons: Each setting limits your own learning and can struggle to compensate for different lighting without comprising on quality. As you can achieve the same effect with practice, it’s worth learning how to capture each.

Once you’ve taken a serious interest in photography, you’ll start to study the exposure triangle and learn how each setting on a camera works to produce the final image. Tweaking the aperture means you’ll have to consider the shutter speed. You’ll also need to consider ISO – but ultimately your efforts will result in a fully metered image that an automatic setting will never manage.
Sometimes, though, full manual mode can be time-consuming to set up. Take night landscape shots, for example, where you intend to have a long exposure at a low ISO on a tripod. You’ll need to set a long shutter speed, a suitable ISO and an aperture that has the whole scene in focus. Luckily, there are two semi-automatic modes that are incredibly useful for all levels of photographer.

Aperture is arguably the most important setting on a camera, as it directly controls the amount of light in the image. Depending on whether it is set narrow or wide, you’ll produce a totally different capture. By setting your aperture wide (with a low number), you’ll create depth of field and background blur. This makes it perfect for portraits.
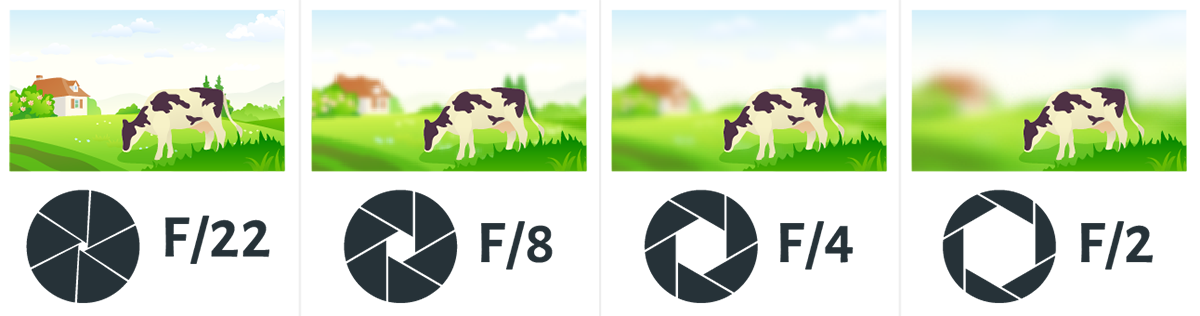
Aperture priority mode gives you full control over your aperture setting, but automatically sets a shutter speed to compensate for it. For example, if you set a narrow aperture (high number), the shutter speed will slow down to try and give the image as much light as possible.
You get the benefit of being able to set the ISO, white balance and exposure compensation as you would in any other camera. Most photographers use aperture priority as their main shooting mode.
Pros: Perfect for shooting in well-lit scenes, Av mode allows you to quickly set the depth of field you want and capture a good shot.
Cons: In lower light, aperture priority tends to select slow shutter speeds and therefore produces blurry images. You’ll need a tripod and remote release to compensate for this. Alternatively, you can set a high ISO, but as a result will need to manually remove noise.

Shutter priority mirrors the way Av works, in that it lets you control shutter speed but sets an automatic aperture. In effect, however, this shooting mood is rarely used, as the depth of field is so vital to a good image. For example: if you’re shooting a sports game and want to freeze the action, you could use shutter priority mode to set a high shutter speed – but the camera may pick an inappropriate depth of field that spoils the image.
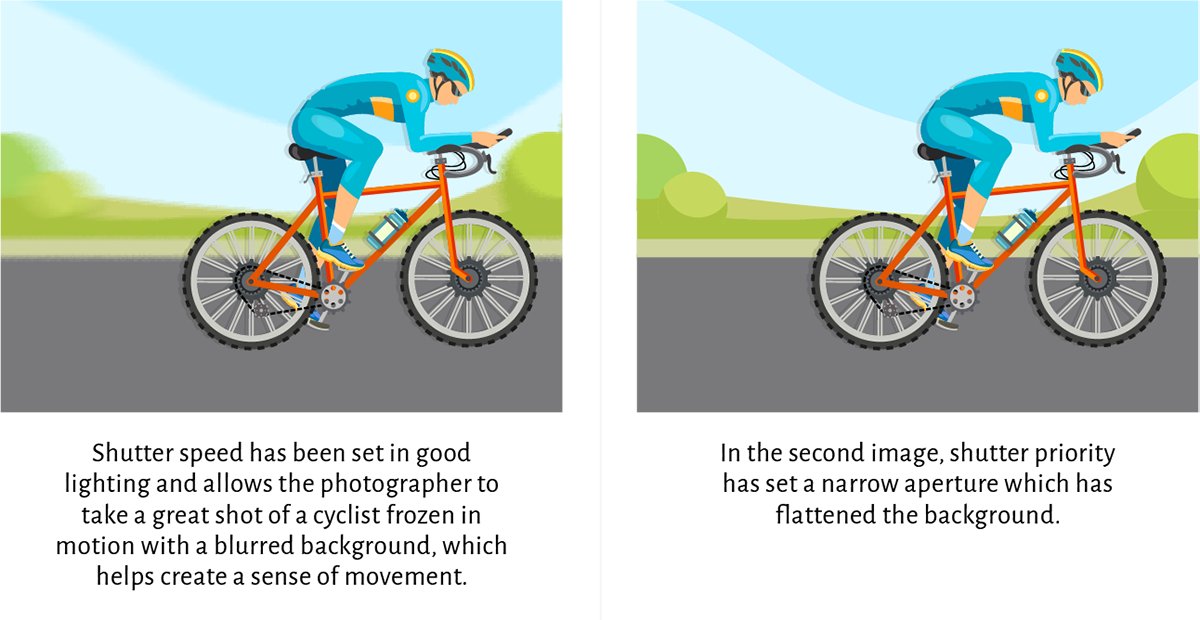
One clear benefit of shutter priority is that you can set a shutter speed far higher than the light allows – which can be edited in RAW. You’ll freeze the action but manually lighten the image in post-production. Due to its limitations, however, most photographers shooting sports simply pick aperture priority mode and set a higher ISO to ensure the automatically selected shutter speed is high enough to freeze the action.
Pros: Can select the highest shutter speed possible to capture fast-moving action. You still have full control of ISO, white balance and exposure compensation (but not aperture).
Cons: The lack of control over depth of field can seriously hamper the final look of your photos and can’t be properly edited in post-production.

Program mode is similar to automatic shooting in that it selects a shutter speed and aperture, but gives the user control over ISO, white balance and flash. Unfortunately, by selecting two of the most vital functions of a camera for you, this setting becomes fairly useless once you learn Av and Tv shooting.
Pros: Quickly establishes shutter speed and aperture but lets you fully control ISO, flash and white balance.
Cons: Generally outclassed by Av and Tv modes.

Manual mode is perfect for those trying to master their photography and dictate each and every aspect of the image. However, it’s often too time consuming to figure out settings for one shot, switch to the next and try to figure them out again. If you’d like to master manual shooting, we’ve already covered full manual mode shooting in our extensive guide to exposure.
Pros: Total control over your images.
Cons: Can be time consuming to get the correct settings. Often unnecessary once you’ve figured out Av and Tv shooting.

Ultimately, choosing your shooting mode is a question of your situation. Are you out at a social event and want to take quick snaps without distracting yourself too much? Turn on full automatic. Want to carefully plan a landscape shot? Use manual and take a few test captures.
Above everything else, don’t forget that a camera is a tool. Even serious photographers use automatic modes at times. However, thanks to its versatility and control over the most important exposure factors, aperture priority comes out as a clear winner.
- By Matthew Ward
- 17 Mar 2017


