


Celestron NexStar 8SE | Telescope Alignment
It’s been a while since my last musings on the Celestron Nexstar 8SE. The Christmas rush, inclement weather, family duties, convoluted vehicular shenanigans (some of which are detailed here: Raven & Skye A Tale of Two Campervans) and an unexpected autumn/winter glut of new optics to review before various deadlines all having played their part. A veritable whirlpool galaxy of events and general goings-on at times.
All was not lost, however. Oh no. Because in between all of the above there were still some nights when the stars and planets did brightly shine. Strictly speaking, planets don’t actually shine on their own accord - at least not by virtue of their own light – but I thought that line sounded good and wanted to clarify before I start getting letters!
I have to say that I really like winter stargazing. No matter how many times I see Orion, the sheer beauty of the constellation on a clear winter evening can, and often does still, stop me in my tracks. The celestial hunter also appears in close proximity to other personal favourites: Aldebaran, the red eye of the bull in Taurus and the famous twins of Gemini, Castor and Pollux, being notable amongst these.
Find out which Celestial Events are happening tonight >
Celestron NexStar 8SE Computerised Telescope
It’s towards these classic winter constellations that I often find myself turning Celestron’s signature orange tube. With the very pleasing results and impressive views that you would expect from a Schmidt-Cassegrain optic of this quality.
Before deploying a computerised telescope like this against anything, however, we have to first align the instrument correctly. Celestron’s SkyAlign technology offers several ways of doing this but the easiest ones to get to grips with are standard Sky Align (which can be thought of as Three-Star Align), Two-Star Align and…yep, you’ve guessed it…One-Star Align.
In this blog post I’d like to take a look at each of these in some detail because, ultimately, accurate alignment is what’s going to help you get the desired object in your eyepiece, so to speak.
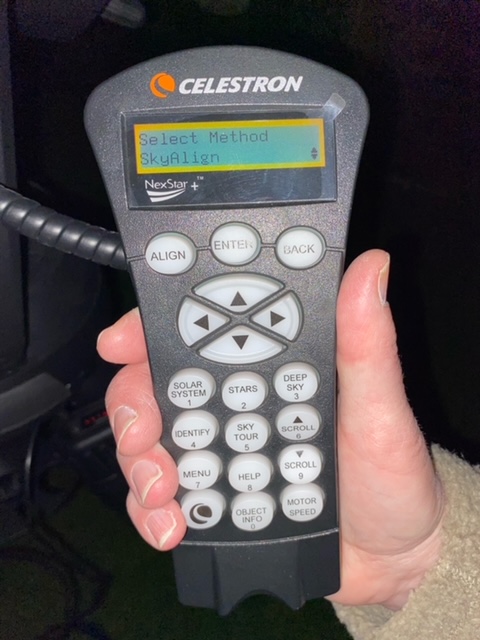
Let’s start with Sky Align
Sky Align is arguably the safest one to start with for a beginner as it doesn’t require any prior knowledge of the heavens. The principle behind the process is that the user aligns the telescope with three bright celestial objects of their own choosing. Typically, these would be stars, but planets and the Moon can be used too.
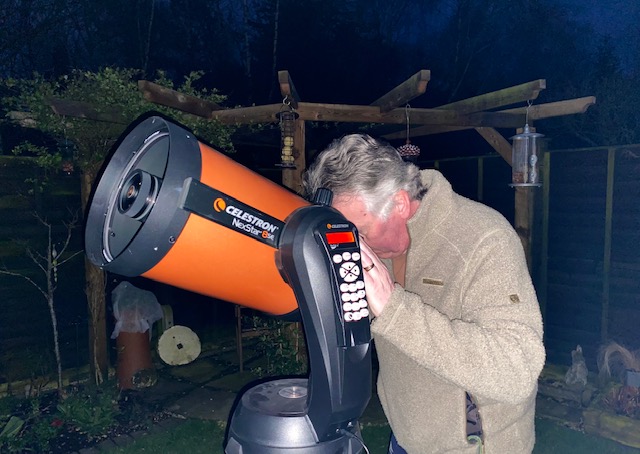
It’s then a matter of aligning each member of the aforementioned sparkly trio via a combination of eyepiece, finderscope, ENTER and ALIGN buttons, after first having completed all settings relating to the date, time, location etc. It is also worth noting that being an American company, the NexStar configures the date as Month/Day/Year.
Once alignment has been completed, the Nexstar’s computerised brain ‘knows where it is’ and is therefore primed and ready to locate and identify those heavenly bodies on view at that time and place. As opposed to ‘another time, another place’… sorry, couldn’t resist! For more info on the red dot finderscope and how it works, it might be worth having a look here:
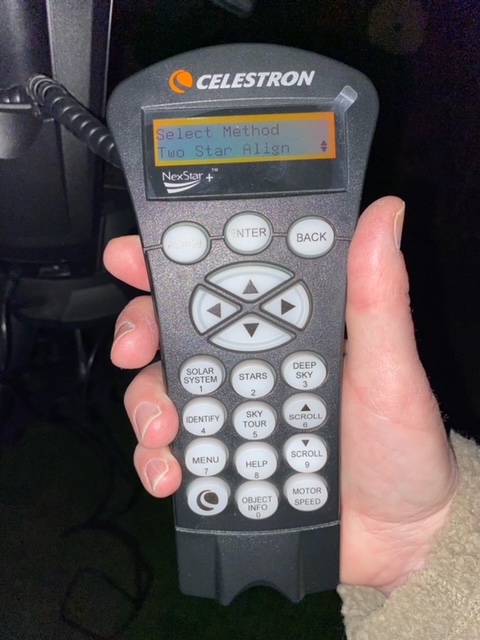
Next, Two-Star Align
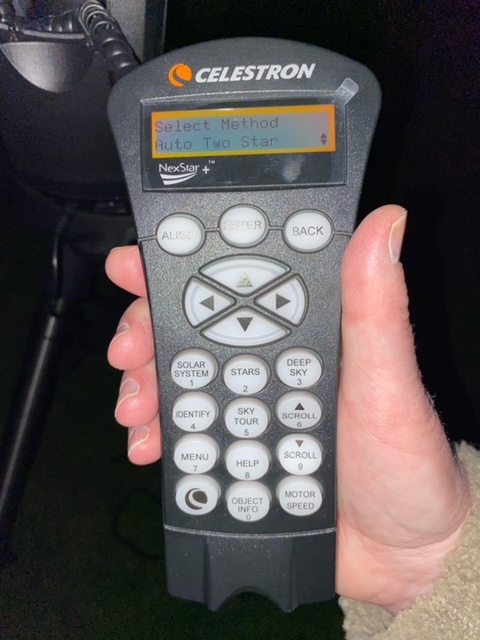
Two-Star Align can be split into two similar but slightly differing processes: Auto Two-Star Align and …er…Two-Star Align. These could be argued to be a slight step up from the previous method in that the user needs to know the location and the names of either one or two visible bright stars.
Regardless of which of the two options is chosen, the initial step is to set the time/location as before. With Auto Two-Star Align, you then select a bright star from a list that is displayed on the hand controller and slew the telescope to the star in question.
Once the star has been centred and aligned (via the same combination of finderscope, eyepiece and relevant buttons mentioned above) the Nexstar will suggest/display the most suitable second star to complete alignment.
If you’re happy with the choice (which, presumably you would be unless the star in question was hidden by an obstacle of some sort)* you can simply hit ENTER and have the telescope slew to the second star automatically. Once it’s there just centre the star in the finderscope, align in the eyepiece and you’re done.
*This happened to me the first time I tried Auto Two-Star Align. I selected Capella as my first star, got all nicely lined up on it and then discovered that the scope wanted to use Arcturus as the second star – which was great, apart from the fact that the roof of my house was in the way! Nil desperandum if this happens; you simply press UNDO and another star will duly be selected.
The non-auto version of Two-Star Align differs from the above only in that the user chooses both stars manually. In other words, the user needs to be able to identify two stars that are visible from their current location. Both stars are selected from the menu screen by the observer as opposed to the second one being suggested by the Nexstar. That aside, the two processes follow the same path.
It is worth noting that it’s important to select two stars that are some distance from each other in order to allow for accurate setup; other than that, another pretty straightforward process.
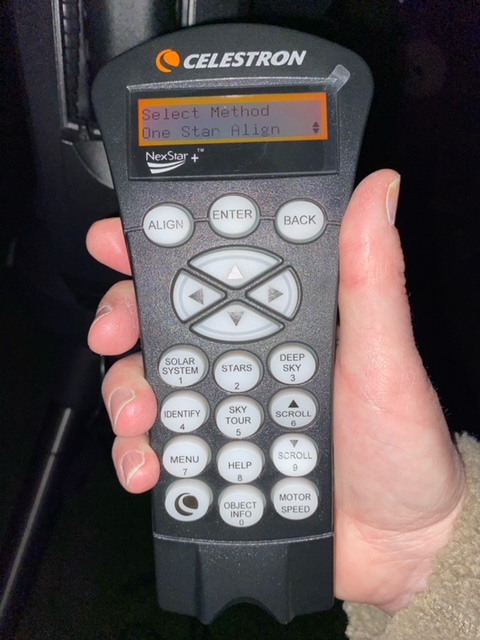
One-Star Align
So, finally we come to One-Star Align. Unsurprisingly, this one works exactly the same as its double and triple-starred brethren but requires selection and alignment of just one star. This is enough to allow the Nexstar to model the sky (remember that you still need to enter time/location details) and is designed to be accurate enough to slew to the coordinates of the Moon and planets, for example.
One-Star Alignment probably won’t be accurate enough to find deep-sky objects but for those occasions when you’ve gone out specifically to enjoy some planetary observation it might be just the ticket for a quick and easy setup.
Any more for any more?
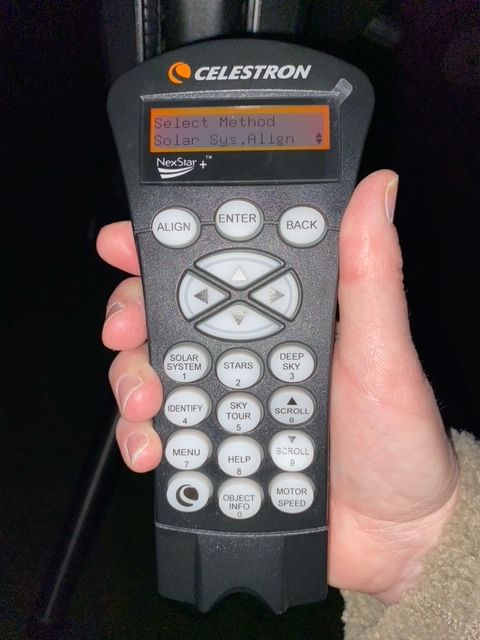
It's worth mentioning that the processes described here aren’t the only options available: Solar System Align, for example, can be useful as it allows you to use the Sun, Moon or any of the planets to align the telescope. This can be handy as a quick way of aligning in preparation for viewing the night sky or, alternatively, is ideal for viewing during the daytime when some celestial objects may indeed be visible.
I should add that Celestron doesn’t include the Sun on its list of solar system objects for obvious safety reasons. The Sun can be displayed by the end-user if required but the manufacturer makes it very clear that dedicated solar filters are absolutely essential when viewing the Sun in order to avoid permanent visual damage. Common sense really, but definitely worth mentioning.
So there we have it. This has been something of a quickfire rundown on telescope alignment but I hope the information has been useful, particularly for anyone thinking about investing in one of Celestron’s Nexstar models for the first time. Ultimately, alignment is key to getting the most out of the instrument so worth delving into in some detail, methinks.
And with that, until next time… happy stargazing!
Read next:
- Celestron NexStar 8SE | First Look and Basic Setup
- Celestron NexStar 8SE | Finderscope Alignment and Accessories
- 2022 Astronomy Calendar | Coming to a Sky Near You
Thank you!
Thanks for taking the time to read our blog, we really do hope they help you out and answer some of your questions. If you still have some unanswered, then please feel free to get in touch with our team of experts.
We have a LiveChat option on our website and we can, of course, be contacted via our email, we're also on the end of the phone too! Read more on how to contact us here >
Want to write for us?
If you've got experience with producing content on photo, video and/or optics products or techniques then we would love to hear from you. Contact our blog editor, Fee, with a sample of your work at [email protected].
- By Martin Drew
- 31 Mar 2022


