


Celestron NexStar 8SE | Finderscope Alignment and Accessories
In last month’s blog post we took a first look at Celestron’s NexStar 8SE computerised telescope and ran through the basic physical setup process for scope and tripod.
With this now complete, my next step was to attach and align the StarPointer finderscope. To say that this small and comparatively insignificant-looking accessory is a bit useful would be an understatement of stellar (sorry about the pun, couldn’t resist) proportions.
An Overview
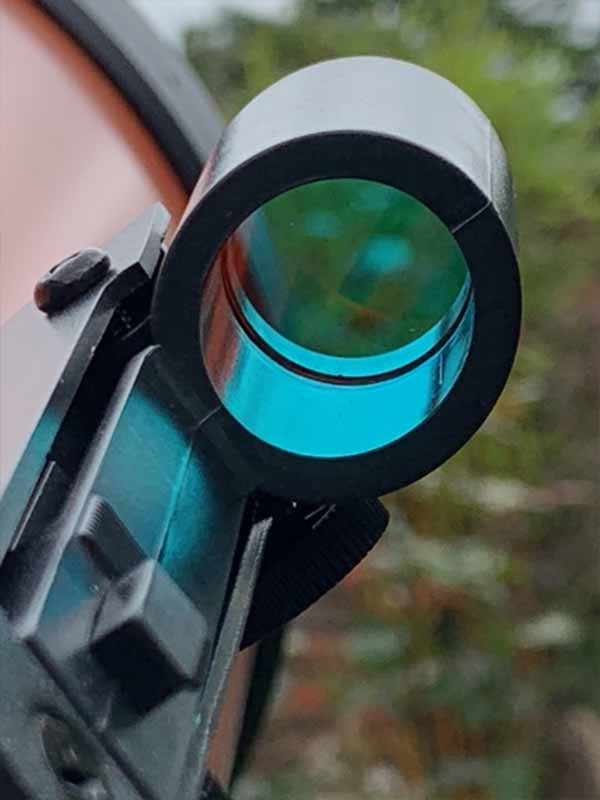
It gives what Celestron refers to as ‘point and look’ functionality to the telescope. Powered by a single CR2032 battery, the StarPointer keeps the sky ‘right side up’ to match what you’re seeing with your naked eye and makes use of an illuminated red dot. The dot in question is adjustable in terms of brightness and I can confirm that it’s nice and easy to see, even in daylight.
The StarPointer attaches to the NexStar quickly and easily by means of two screws. Once attached, aligning it with the telescope is very straightforward. It requires the assistance of a fairly tall inanimate object (I used a tree) at least a quarter of a mile or so from where you’re standing.
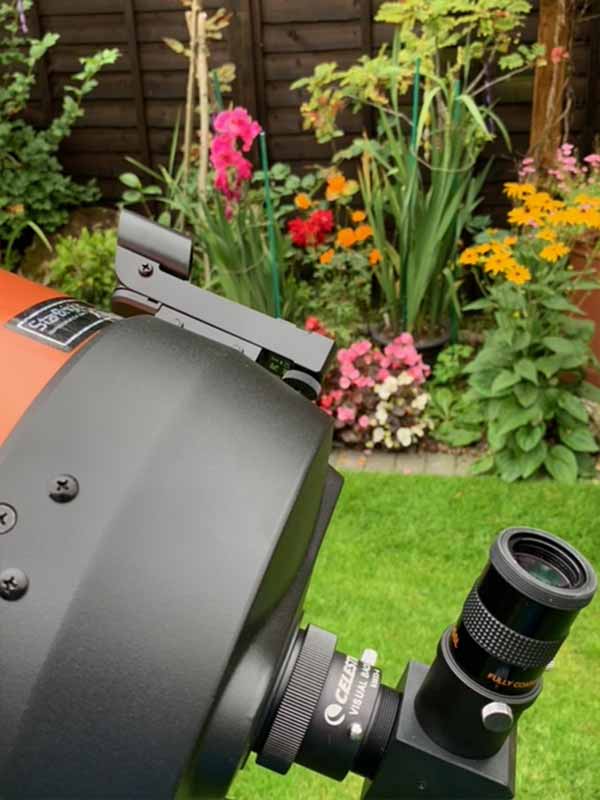

The first step is to set the telescope up so that the top of the tree (telegraph pole or whatever else you happen to be using) is dead centre in the field of view. The next step is to align the red dot from the StarPointer so that it sits directly on the same target. Movement of the dot is achieved by means of two adjustment wheels on the StarPointer and really is quick and easy to do.
The beauty of a finderscope is that, once aligned, it makes it really easy to…er…find things. With everything lined up, the user can stand back and look through the finderscope. It’s then simply a matter of using the up/down/left/right arrows on the telescope’s computerised hand controller to move the whole setup around until the red dot is lined up with whichever object you would like to view. Once this has been done you will find that, as if by magic, said object is now perfectly aligned when you take a look through the telescope. A simple process that really does work!
Worthy Optional Accessories
At this juncture, I’d like to go off on a slight tangent and flag a couple of optional accessories which I think are worthy of mention. There are other accessories available which I hope to cover in future posts but, in the meantime, these two are to the fore.
Celestron PowerTank Lithium LT
First up is the Celestron PowerTank Lithium LT. The telescope can be powered by eight AA batteries but, for me, the PowerTank is a better option. Nothing worse than getting set up for an extended period of stargazing and then having to fumble around changing batteries in the dark – which is where this particular accessory comes in.

It’s effectively a 12v battery that, once fully charged, provides a regulated, steady stream of power to the telescope for up to eight hours. It comes with a strap that allows it to be attached to one of the tripod legs and then simply connects to the telescope by means of a lead which is also included. It’s probably worth mentioning that, apart from powering your trusty telescope, the PowerTank Lithium LT also sports a rapid charge USB port so you can use it to power up your smartphone or tablet – or indeed, pretty much anything which requires 5V USB power. A really, really useful feature when out in the field, in my opinion.
Celestron Moon Filter Set
The second handy accessory is the Celestron Moon Filter Set. I think it’s probably fair to say that most people using a telescope for the first time will, quite naturally, choose the Moon as their first object to view - I know that I certainly did.
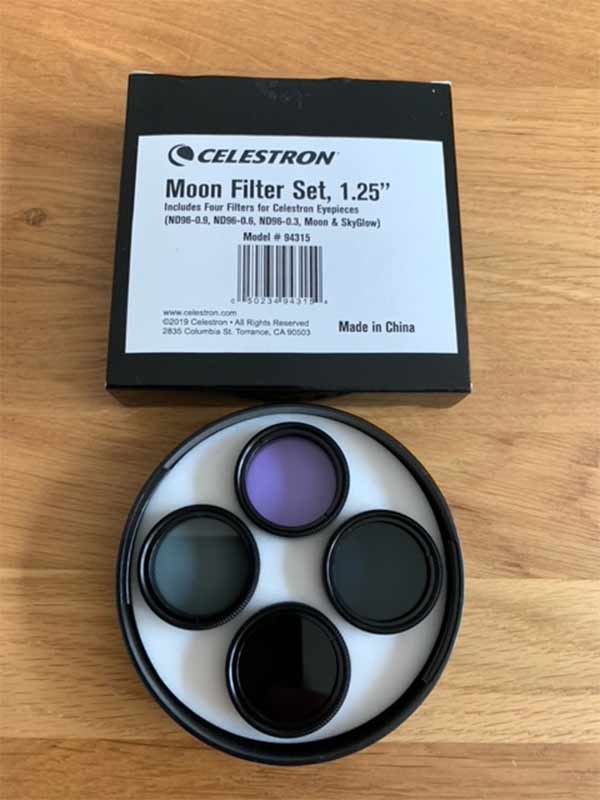
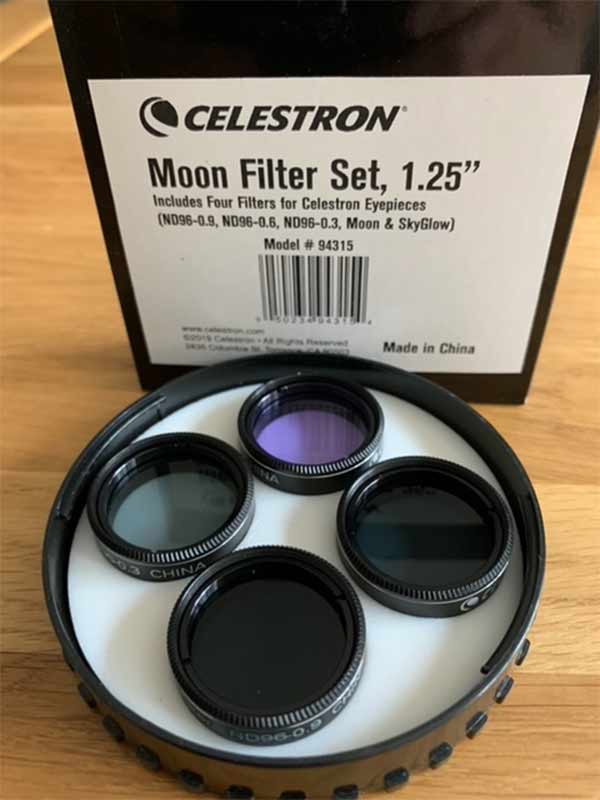
Trouble is, our only natural satellite is quite bright and, consequently, can produce a fair bit of glare which makes details harder to pick out. Moon filters address this by reducing the aforementioned glare, for which reason they are sometimes referred to as ‘sunglasses for the Moon’.
The set in question contains four filters that allow the user to choose the best one for the job depending on the current lunar phase. Three of the filters are ND (neutral density filters) which effectively reduce brightness to varying degrees. The final member of the quartet is a Moon & SkyGlow filter which helps block some of the wavelengths associated with light pollution – particularly handy for anyone viewing in an urban environment.
The filters simply screw onto any eyepiece with a 1.25’’ filter thread, this being the most popular size in general use.
Getting Down to Business
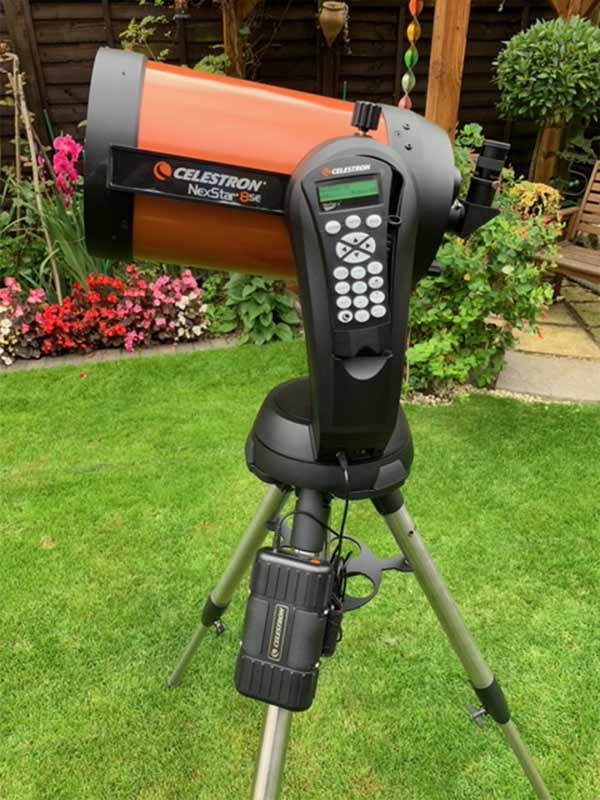
So, after that brief detour, it’s back to the NexStar 8SE itself. With scope and tripod set up, StarPointer finderscope attached and aligned, PowerTank Lithium LT fully charged and connected to the scope and expectation/anticipation building it was time to get down to the business of using the telescope in anger, so to speak.
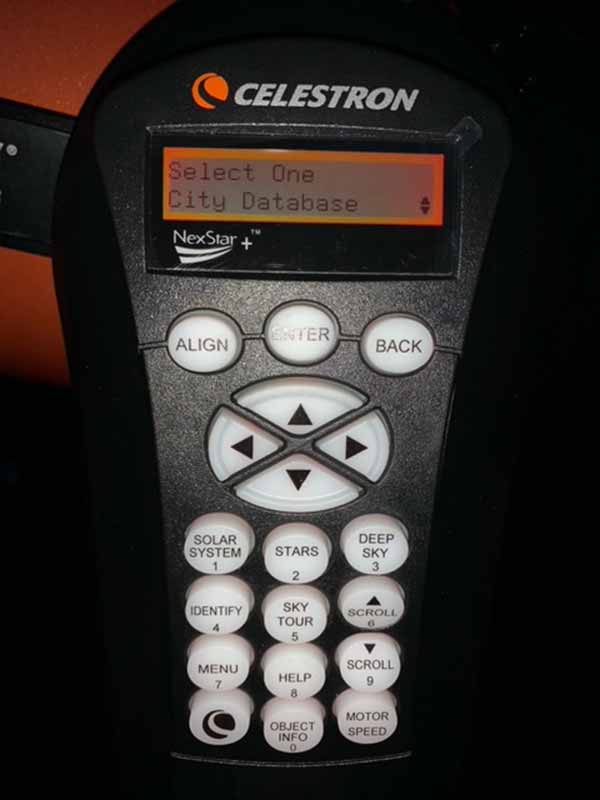
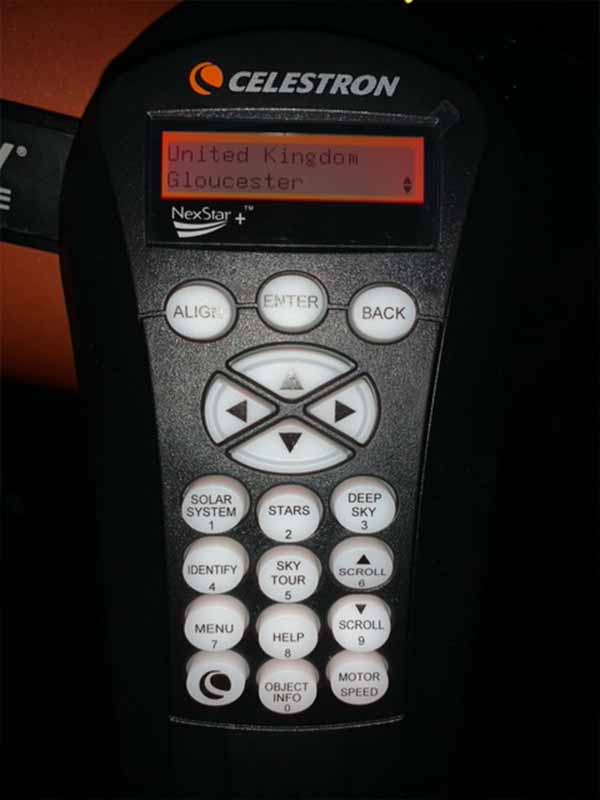
What we have here is a computerised telescope with a built-in database of 40,000 celestial objects. In order to get set up for use we have to align it with just three of those 40,000 objects. Not that there’s anything wrong with the other 39,997 of course, but all the NexStar needs is three relatively bright targets.
This alignment, coupled with the entry of location, date and time data into the telescope’s handset will then allow us to begin observing and identifying the wonders of the night sky. Well, not quite all because there is one more important ingredient to be added to the mix: a nice, clear, relatively cloudless evening.
These have been hard to come by in Gloucestershire of late but rest assured that the Celestron will be deployed at the earliest opportunity and I will report back with a full account in the next blog post. Until then…
Read next
- Celestron NexStar 8SE | First Look and Basic Setup
- Celestron NexStar 8SE | Telescope Alignment
- 2022 Astronomy Calendar | Coming to a Sky Near You
Thank you!
Thanks for taking the time to read our blog, we really do hope they help you out and answer some of your questions. If you still have some unanswered, then please feel free to get in touch with our team of experts.
We have a LiveChat option on our website and we can, of course, be contacted via our email, we're also on the end of the phone too! Read more on how to contact us here >
Want to write for us?
If you've got experience with producing content on photo, video and/or optics products or techniques then we would love to hear from you. Contact our blog editor, Fee, with a sample of your work at fee@cliftoncameras.co.uk.
- By Martin Drew
- 15 Sep 2021


