


Get Hands On With Film photography
In recent years there has been a revival in the popularity of analogue film photography. Many people find hidden gems in car boot sales, second-hand shops and even passed down from a family relative. These cameras can offer anybody an easy entry point into the world of film photography, some will need a little TLC and a little bit of know-how but it's not long before you can get out there and start shooting some brilliant film photos. 35mm film is among the more popular film formats and has become much easier to get hold of in the past year, either as single-use 35mm cameras or as a 35mm film canister. There is even a chance of finding a small hidden treasure, like some old expired film in a second-hand camera. These expired films can have unique and interesting results during the film development process.
New or Used
A few months ago, your options for film cameras would have been limited to second-hand bodies and lenses, or if it was something you were willing to invest heavily in a Leica Film camera would have been your only option in terms of new camera bodies. However, companies and brands like Ricoh and Pentax have been watching the growing popularity and demand for analogue film and 35mm cameras, and they have listened.
In recent months Ricoh has announced they have begun researching the development of new Pentax-brand 35mm film camera products. This will open film photography up to even more people looking to make a start and try it out, providing photographers with another option for buying their film cameras. But as of yet it is still currently in the development stages so watch this space for any news on the potential new film camera equipment.
Which Film Camera?
Much like DSLR, Mirrorless, Bridge and Medium Format digital cameras, film cameras come in a variety of styles, focusing systems and different formats. So when it comes to finding the right film camera for you it might take a little time, research and a lot of patience.
The good news is, keep reading below to find out what you need to be on the lookout for when buying your first film camera.
How Will You Be Using Your Film Camera?
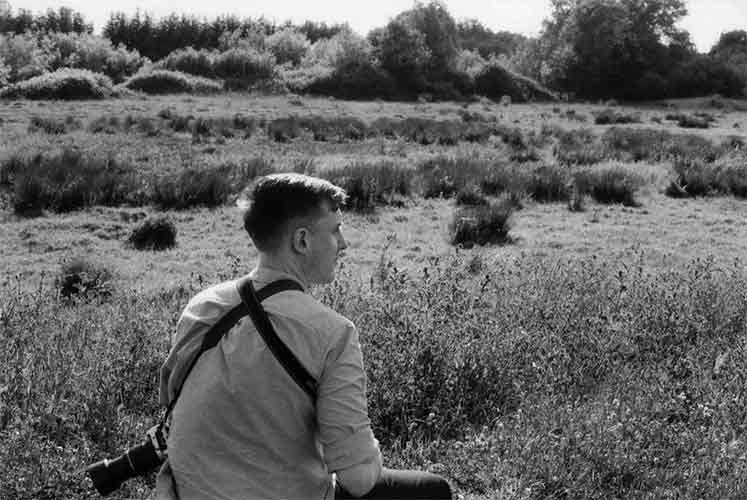
A factor to consider is how you will be using your film camera. Do you want to expand your expertise into the world of film, capturing those absolutely once-in-a-lifetime moments? Or do you want to dip your toe in, simply go out and shoot film on a casual sunny weekend?
Both are valid reasons for wanting to start with film photography, but some cameras will suit some styles of photography better than others. For example, an Olympus Trip 35 uses a set focusing distance system, which means you can set it to focus at 1 meter,1.5m, 3m and infinity and just start shooting, this straightforward system makes it a very popular camera among street photographers. On the other hand, a Leica M6 camera requires a little more finesse to capture your desired shot, making me less likely to suggest it if you want to capture on-the-fly quick photos.
Focusing On The Details
One of the main differences between many film cameras is their manual focusing system, these include the Horizontal Split Focus system, Rangefinder system, and Microprism Ring Focusing system. There are some film cameras that also provide an autofocus or power-assisted focus system like the OM 101 Power Focus which, if you are just looking to get into film photography as a hobby, might be a good place to start.
Getting Stuck Into Manual
Manual focus can be a little tricky at first and takes a little more practice and experience to get right, but it can feel very fulfilling when you are able to achieve your desired photo. There are a number of film cameras that use both a horizontal split focus and a microprism ring focusing system to produce the ideal in-focus image.
Split-Focus System – these will display two horizontally aligned images in the viewfinder, when a subject is in focus the two halves of the image will line up perfectly in the viewfinder.
Microprism Ring – presents itself as a ring in the centre of your viewfinder. Showing lots of little prisms around the ring when an image is out of focus (very similar to looking down at a kaleidoscope). When an image is in focus these tiny square prisms disappear revealing a perfectly in focus image.
Dealing With A Range Finder
Range finder film cameras, like the Leica M6, can produce an expert level of detail and have a stunningly accurate focusing system.
Range Finder System – will have two images on top of each other, when the image is in focus the two images become aligned perfectly revealing one clear image. If a subject is out of focus the images will still appear with two distinct overlaying images.
One thing that sets rangefinder systems apart from other cameras is the fact the viewfinder and lens don’t see the same point of view. The range finder system doesn’t have a mirror to reflect the image the lens is seeing into the viewfinder, which is why the viewfinder is set to the side of the lens and not above it as in traditional cameras.
The main thing to keep an eye on are any obstructions in front of your lens – and always check for lens caps before pressing the shutter!
What to consider if you’re looking for a second-hand film camera?
Will the loading mechanism work properly?
Loading the film into some cameras can be tricky, there can also be moments when the wind-on mechanism has seen too much use or it has become slightly rusted or stiff. Depending on the condition of this and other internal mechanisms it can be a quick repair or will need a complete overhaul.
What’s the overall condition of the body?
Depending on the age of the camera and how previous owners treated their camera you could find a nearly pristine camera body or a well-used and well-loved body. The main thing to look out for would be to check if the light seals are intact and in good condition, and if there are any signs of rust or dirt. A lot of dust or rust may be an indication that it has been sitting idle for a while and it might need furth inspection of the internals.
The light seals are possibly even more important, as worn-down light seals can result in unwanted light entering your camera body and potentially completely overexposing your film. If your film is exposed to light before it has had a chance to go through the development process, you will lose all of your shots, unlike digital there is an extremely limited chance of recovering any images from damaged or overexposed film.
What is the condition of the viewfinder?
Dirt can build up around the viewfinder obscuring your view over time, depending on the age and condition of the camera there may also be a potential for mould or fungus to build up inside the viewfinder. While dirt and grime can be easily cleaned, fungus and mould inside the viewfinder will require more in-depth cleaning with the potential to open up the camera itself (we would suggest that a person with experience in film camera repair conduct this).
The Film
The film side of analogue photography can be daunting, but with the increased popularity there are now tons of options when it comes to picking out film for your camera.
Film comes in two sizes, either standard 35mm which fits in the majority of film cameras or 120mm which is traditionally used in medium format or twin lens reflex cameras. It can come in either Black & White or Colour. There are multiple variations of both black and white and colour film, depending on their chemical construction and how you develop them, they can produce varying results as they allow you to push and pull the film.
Not All Film Is Created Equal
Some popular black-and-white films are Ilford HP5 Plus, Pan 400 and Kodak T-Max P3200, while some popular colour films are Kodak Gold, Kodak Ultramax and Kodak Portra 400. Not all film is created equal, as some have been designed to be more sensitive to light such as the T-Max P3200. This film has been made to be used in dim or low light situations, letting it pick up details even indoors, as it has been designed to be shot at a super fast 3200 ISO. The sensitivity and size of the film can have an impact on the price of the film with 120mm colour film generally being more expensive to buy and develop.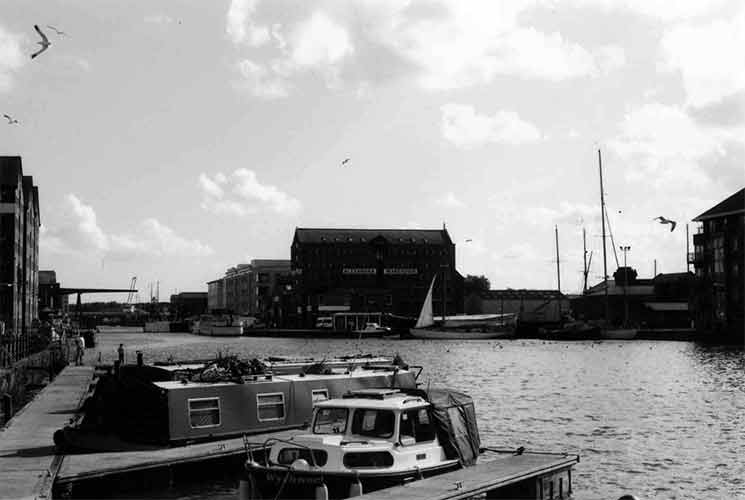
What Is Push And Pull?
Earlier I briefly mentioned how different films will allow you to push and pull them. This is in reference to a film's tolerance to being used at different ISO speeds and allows it to be shot at a different ISO speed than seen on the box. For example, HP5 Plus has been designed for optimal quality at 400 ISO, this can be seen on the box and the film canister. But you can push the HP5 film to be shot at 1600 ISO and still take detailed images with minimal grain or noise.
How far you can push a film is very dependent on the quality of the film and the lighting conditions, the further you try and push the film past its optimal ISO speed the more grain you will start to see in your final prints. This is something to be aware of if you want to experiment with different ISO settings on your camera, some films will cope better than others when being pushed.
Process & Development
There are a few ways to go about processing and developing film, for those who are just starting out or don’t have the space or facilities to create your own darkroom at home we would recommend sending your film off to a professional development lab.
This can be done either by dropping your film off at some camera shops (not all camera shops will have the facilities for this, so we would recommend checking beforehand) or sending your film off yourself in a Process Paid Envelope. In both cases, we would recommend marking on your film canister what ISO you shot it at. This will allow the technician in the development lab to make the required adjustments to the development time. For example, HP5 film will require a longer 11 minutes of development time if it has been shot at 1600 ISO compared to shooting it at the box 400 ISO. The development technique also differs slightly between 35mm colour film and black & white, requiring slightly different chemicals to fully develop the film, which can also impact the time.
Trying Out Home Development
Developing your film yourself can allow you to take your time and care of the film while it is being developed, this can limit any potential for scratches from occurring while batch processing.
There is an initial cost to getting the equipment and setting up an appropriate space for development, but in the long run, it may prove to be more cost-effective (especially if you are developing a large amount of film).
Setting Up Your Darkroom
Another option available is to develop and process your film yourself either in a local development and print lab or in a suitable at-home dark room. You will need a decent space in which to limit the amount of light. A windowless bathroom could be a suitable space as it is easily light proofed, has access to running water and will likely have an extractor fan which is particularly important to keep the room ventilated.
If you are limited on space and can’t create a guaranteed dark room, but really want to develop your film we would suggest investing in a developing tank which can be used to hold the film while you add the development chemicals and a darkroom film changing bag which will allow you to place all your film and development tank in while you remove the film from the canister and onto the development reel. This can be tricky at first, why not try practising taking the development tank apart and putting it back together again without any film at first while in the changing bag?
What kit do I need to set up a darkroom?
- An Enlarger
- A Safelight (red light)
- Focus Finder
- Film Developing Tank
- Darkroom Trays x3
- Print Tongs
- Light-sensitive paper
- Develop, Stop and Fix Chemicals
Development Time
Whether you are developing your film at home or in a lab, the most critical part of the development process to get right is the timing for the film. For example, it would take 6 ½ minutes at 20°C to develop a roll of HP5 Plus in Ilford Ilfotec HC (1+31) stock. These timings can vary depending upon the type of film used and at what ISO it was shot. We would recommend researching the specific development times you need prior to beginning the development process.
Black and White film tends to be more straightforward, requiring fewer chemicals than colour film. Colour film also requires the chemicals used to be maintained at a consistent temperature, which can be difficult to achieve. If you are just starting to develop your film at home, starting with black and white film will definitely feel less overwhelming while providing you with a good feel of the overall development process.
Read Next
Thank you!
Thanks for taking the time to read our blog, we really do hope they help you out and answer some of your questions. If you still have some unanswered, then please feel free to get in touch with our team of experts.
We have a LiveChat option on our website and we can, of course, be contacted via our email, we're also on the end of the phone too! Read more on how to contact us here >
Want to write for us?
If you've got experience with producing content on photo, video and/or optics products or techniques then we would love to hear from you. Contact our blog editor, Bea, with a sample of your work at [email protected].
- By Emma Lawson
- 12 May 2023


